Table of Contents
Advertisement
Quick Links
Advertisement
Table of Contents

Subscribe to Our Youtube Channel
Related Manuals for REVELL Concerta LCR8


Summary of Contents for REVELL Concerta LCR8
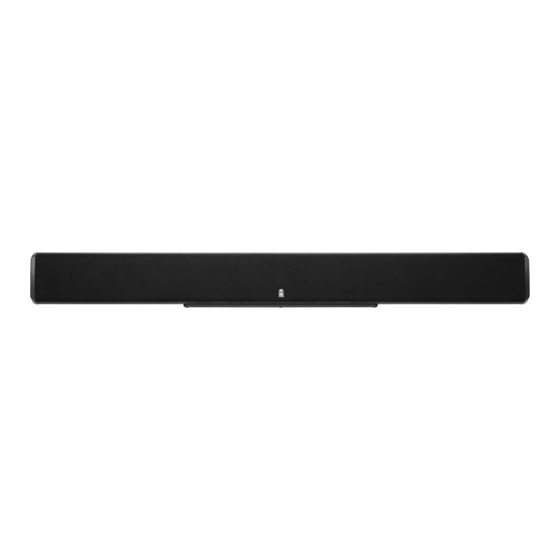
- Page 1 Revel ® LCR8 Owner’s Manual...
-
Page 2: Table Of Contents
Revel Concerta ® ™ LCR8 Owner’s Manual Table of Contents Introduction Planning Your System Placement Wall-Mounting the LCR8, Using the Included Wall Bracket Wiring the Speaker Maintenance and Service Specifications... -
Page 3: Unpacking The Speaker
(attached to the LCR8) (1) Speaker base (1) Allen wrench (1) Wall bracket with wall bracket cover Note: The Revel Concerta LCR8 is ideally suited for use with a subwoofer. Contact your Revel dealer for recommendations on subwoofer models for your application. -
Page 4: Wall-Mounting The Lcr8
Step Two Run the speaker wire for the left, center and right channels behind the wall bracket and out through the holes in the bracket. After deciding where to place the speaker, attach the wall bracket (in a horizontal position) to the wall, using the appropriate screws and anchors. - Page 5 Step Four Using the included Allen wrench, remove the top and bottom end caps of the speaker by unscrewing the single center screw on bottom. End cap 1/4-20 x 3/4" Screw Step Five Connect the wires (see page 6). Replace the end caps while capturing the wall bracket between parts A and B of the end cap, securing it in place.
-
Page 6: Surround Modes
Wiring the Speaker After placing the speaker, you are ready to connect it to your system. First, turn off all audio system power. Use high-quality speaker wire to make the connections. Consult the owner’s manuals included with your amplifier or receiver for connection and operation procedureÏs. -
Page 7: Specifications
Specifications Revel ® Concerta ™ LCR8 Frequency Response (±3dB) Recommended Amplifier Power Range Sensitivity (2.83V @ 1m, 2π anechoic) Nominal Impedance Crossover Frequency Low-Frequency Drivers LF Extension High-Frequency Drivers External Dimensions (H x W x D) Weight (Net) 4.24 39.68 2.64... -
Page 8: Limited Warranty
Limited Warranty A valid serial number is required for warranty coverage. This Revel warranty protects the original retail purchaser for a period of five (5) years (parts and labor) from any failure as a result of original manufacturing defects, so long as: 1. - Page 9 Revel, the Revel logo and Concerta are trademarks of Harman International Industries, Incorporated, in the United States and/or other countries. Dolby and Pro Logic are registered trademarks of Dolby Laboratories. DTS is a registered trademark of DTS, Inc. Features, specifications and appearance are subject to change without notice.
Need help?
Do you have a question about the Concerta LCR8 and is the answer not in the manual?
Questions and answers