Advertisement
Quick Links
Advertisement

Subscribe to Our Youtube Channel
Related Manuals for Cole Parmer B2 Series


Summary of Contents for Cole Parmer B2 Series
- Page 1 Start up Guide B2-Series Balances...
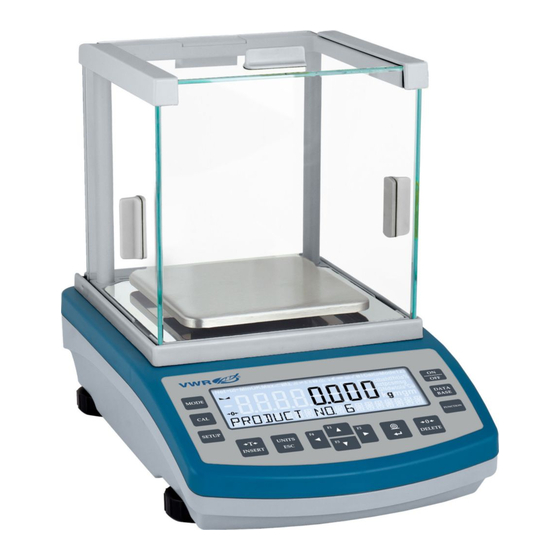
- Page 2 1. CONTENT Models: VWR-64B2 | VWR-124B2 | VWR-214B2 Balance Weighing pan Draft shield Bottom insert Power adapter Models: VWR-203B2 | VWR-403B2 | VWR-503B2 Power adapter Weighing pan Grounding foot Foot Balance Bottom insert Models: VWR-4002B2 | VWR-5002B2 Balance Weighing pan ×1 Draft shield Power adapter ×1...
- Page 3 2. WORKROOM AND BASIC OPERATION GUIDELINES Operate the device in a room where the temperature ranges between 10–40 °C +40 C (50–104 °F) and where the relative humidity is below 80%. +104 F Place the balance on a solid surface to ensure stability. To obtain stable and +10 C repeatable weighing results, an anti-vibration table is recommended.
- Page 4 4. ACTIVITIES TO BE DONE PRIOR TO OPERATION 4.1. Remove transport lock Models: VWR-64B2 | VWR-124B2 | VWR-214B2 Keep the transport lock should a warranty claim or service be required. 4.2. Grounding spring check Models: VWR-64B2 | VWR-124B2 | VWR-214B2 Check the grounding spring.
- Page 5 5. COMPONENTS ASSEMBLY Models: VWR-64B2 | VWR-124B2 | VWR-214B2 Models: VWR-203B2 | VWR-403B2 | VWR-503B2 Install the grounding foot in a freely selected opening. Models: VWR-4002B2 | VWR-5002B2...
- Page 6 6. PREPARING FOR WORK 6.1. Balance temperature stabilization time Prior to switching the device on it is necessary Balance temperature stabilization time ranges to ensure that it has reached a temperature between 1 - 8 hours. equal to room temperature. E t h e U S B B U S 1...
- Page 7 7. PANEL AND SCREEN 7.1. Panel keys 7.2. Home screen...
- Page 8 8. BASIC OPERATIONS 8.1. Adjustment External adjustment is carried out using an external Balance Mass Balance Mass mass standard of the right accuracy and weight model standard [g] model standard [g] value, which value depends on balance type and 2 000 VWR-64B2 VWR-4002B2 capacity.
- Page 9 8.2. Zeroing The balance has been zeroed. Unload the weighing pan and press "Zeroing" button. 8.3. Taring When the weighing result has been The balance has been tared. displayed press "Tare" button.
- Page 10 8.4. Working modes accessibility Using keys select "Working mode" Press to enter "Setup" menu. and press In the "Accessibility" position, press Using keys to select working modes for which accessibility is to be set and press key. Using keys to set accessibility parameter to "Yes"...
- Page 11 8.5. Selecting working mode keys, select working mode and Using Press key to enter working modes menu. key to confirm. press Weighing Parts counting Animal weighing Solids density Liquids density Deviations 8.6. Weighing unit accessibility Press to enter "Setup" menu. Using keys, select "Units"...
- Page 12 In the "Accessibility" position, press In the "Accessi Using keys to select unit for which accessibility is to be set and press key. Using keys to set accessibility parameter to "Yes" value for a selected working mode and press key to confirm. 8.7.
- Page 13 10. PERIPHERAL DEVICES CONNECTORS Power adapter Computer Printer RS 232...
- Page 14 11. DEVICE CLEANING 11.1. General Recommendations Prior to cleaning, it is necessary to Use soft cloths made of microfiber, Apply the cleanser onto the cloth first. disconnect th e balance from the mains. natural fiber or man-made fiber. Avoid Avoid applying the cleanser directly using abrasive cloths or cloths that might onto the device.
Need help?
Do you have a question about the B2 Series and is the answer not in the manual?
Questions and answers