Advertisement
- 1 Features
- 2 Filling Water Reservoir (use tap water)
- 3 Dry Ironing
- 4 Steam Ironing
- 5 Special Features
- 6 3-Way Motion Smart Auto-Off Feature
- 7 Caring for Your Iron after Use
- 8 Storing Your Iron
- 9 Maintaining Your Iron
- 10 Anti-calcium System (select models only)
- 11 Ironing Tips
- 12 Trouble Shooting
- 13 Documents / Resources
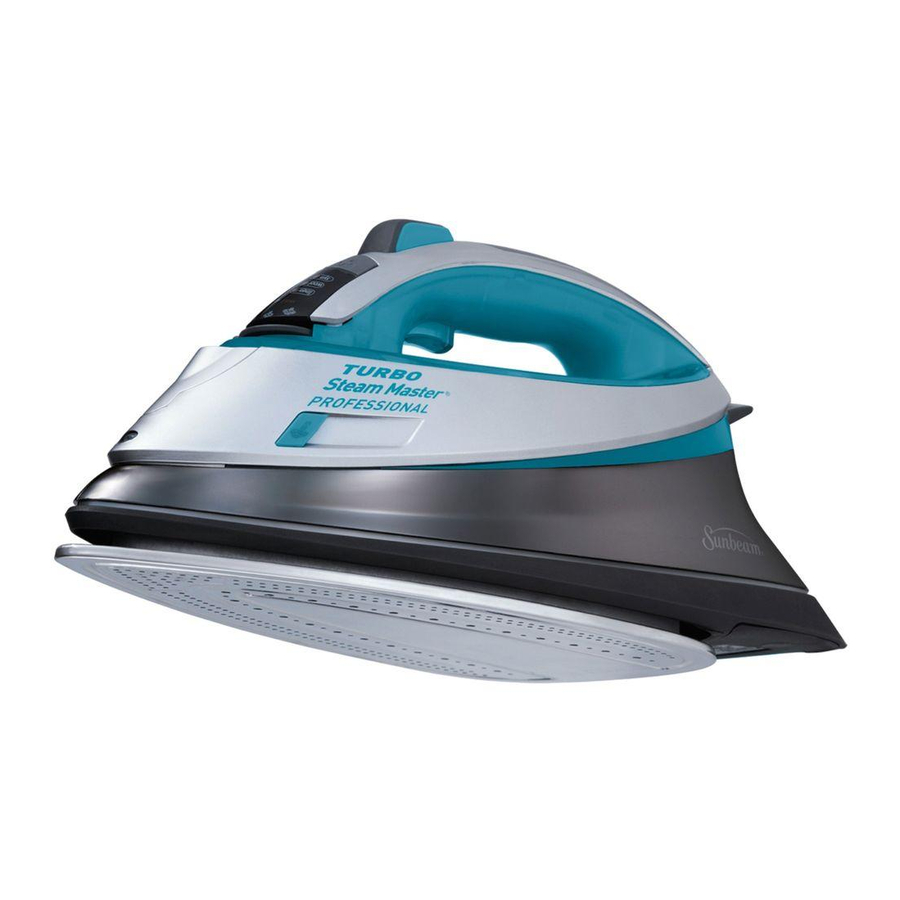
Features

- SPRAY MIST ® Release
- Covered Water Fill Hole
- Fabric Select Dial
- Wait / Ready Indicator
- Steam Lever
- SPRAY MIST ® Trigger
- SHOT OF STEAM ® / Vertical Steam Button
- Soft Grip Handle
- Power Cord
- See-Through Water Reservoir / Maximum Fill Line
- Self Clean Button
- Soleplate
- Anti-Calcium System (select models only) (not shown)
Filling Water Reservoir (use tap water)
- Turn Steam Lever to
![]() (Dry) and Fabric Select Dial to Off. Unplug.
(Dry) and Fabric Select Dial to Off. Unplug. - Lift the Water Fill Hole Cover. Use any easy-pour measuring cup to fill the water reservoir with tap water through the water fill hole. Do not fill water reservoir beyond maximum fill line.
- Close the Water Fill Hole Cover completely after filling.

To prevent the risk of burns, be careful when filling a hot iron with water. Hot metal parts, hot water and steam can cause injuries.
Dry Ironing
- Ensure Steam Lever is turned to the
![]() (Dry) setting.
(Dry) setting. - Plug the cord into a 120-Volt AC outlet. The red "Wait" indicator light will be illuminated if the iron has not reached its set temperature.
- Turn Fabric Select Dial to desired setting. Allow iron to heat on its heel rest on a stable and protected surface, until the indicator light turns green "Ready" indicating that the iron is ready.
 NOTE: While Steam Lever is turned to the
 ![]() (Dry) setting, you may still use the SHOT OF STEAM® or SPRAY MIST® features, as long as the Fabric Select Dial is set to wool, cotton, or linen. Water reservoir must be at least ¼ full of water.
(Dry) setting, you may still use the SHOT OF STEAM® or SPRAY MIST® features, as long as the Fabric Select Dial is set to wool, cotton, or linen. Water reservoir must be at least ¼ full of water.
Steam Ironing
- Fill Water Reservoir and plug the cord into a 120-Volt AC outlet. The red "Wait" indicator light will be illuminated if the iron has not reached its set temperature.
- Turn the Fabric Select Dial to desired setting. Allow the iron to heat on its heel rest on a stable and protected surface, until the indicator light turns green "Ready" indicating that the iron is ready. Turn steam control to desired setting.

When not ironing, always set the Steam Lever to (Dry) and the Fabric Select Dial to OFF.
Special Features
Spray Mist® Feature is a powerful water spray mist that dampens the fabric to aid in removing wrinkles from heavy fabrics and for setting creases.
TO USE: Press the Spray Mist® Trigger firmly.
Shot of Steam® Feature provides an extra burst of steam for deep penetration of stubborn wrinkles. You can use this feature while Dry or Steam ironing as long as the Fabric Select Dial is set to wool, cotton, or linen. The water reservoir must be at least ¼ full of water.
TO USE: Place the iron on top of the wrinkle and press the Shot of Steam® button each time you would like an extra burst of steam. The Shot of Steam® feature may be used continuously in approximately 3-second intervals.
Vertical Steam allows iron to function as a garment steamer.
 TIP: When using vertical steam, hang clothing on a hanger for best results. Hanging curtains and drapes may also be steamed.
TO USE:
- Ensure that the iron is heated up and the Ready indicator light is turned green.
- Hold iron vertically near, but not touching the fabric you want to steam. Pull the fabric tight.
- Press Shot of Steam® button in 3-second intervals as you move iron over wrinkles.
To prevent burns, keep hands away from the area being steamed.
DO NOT steam garments while wearing them; this may result in injuries.
3-Way Motion Smart® Auto-Off Feature
When iron is plugged in, the red "Wait" indicator light illuminates, indicating there is power to iron.
IF YOU LEAVE IRON ON:
- Horizontally without moving it, or accidentally tip the iron over, it will automatically stop heating after 30 seconds. The green "Ready" indicator light will blink to indicate the iron has stopped heating.
- Vertically (on its heel rest) without moving it, the iron will automatically turn off after 15 minutes. The green "Ready" indicator light blinks to indicate the iron has stopped heating.
The green "Ready" indicator light will continue to blink until the iron is unplugged or reset.
TO RESET: Move iron back and forth and reheat until the "Ready" indicator light turns green.
Caring for Your Iron after Use
TURNING OFF IRON: Turn Steam Lever to![]() (Dry) and Fabric Select Dial to Off. Unplug.
(Dry) and Fabric Select Dial to Off. Unplug.
NEVER yank power cord when unplugging iron. This can damage the cord.
Empty water reservoir completely after each use.
Storing Your Iron
- Turn off iron, unplug and allow to cool.
- Empty water reservoir after each use for a longer iron life.
- Loosely loop the power cord around the heel rest and store the iron on its heel rest.
Wrapping the cord around the iron too tightly can damage the cord.
Maintaining Your Iron
Cleaning soleplate: Clean with an all-cotton cloth if starch or other residues accumulate after iron is unplugged and cool.
Do not immerse in liquids or use abrasive cleansers, scouring pads or vinegar to clean the soleplate. This will damage the finish.
Using self-clean Feature: Use the Self-Clean feature once a month to maintain optimal iron performance.
- Turn off and unplug iron.
- Move Steam Lever/Knob back and forth to remove debris and minerals from Steam Valve. This keeps water flowing into the steam chamber.
- Fill water reservoir with tap water to MAX line.
- Plug in iron, set Fabric Select Dial to Linen and heat until the indicator light turns green.
- Turn off and unplug iron. Holding iron over a sink in a horizontal position, press Self-Clean Button and hold. Water will begin dripping from the steam vents. Slowly rock iron side to side and front to back for 30 seconds. Dip nose of the iron slightly below the rear to circulate water. Release Self-Clean Button after one minute.
- Open fill cap and empty remaining water. Carefully dry soleplate with a towel.
- Plug in iron and set Fabric Select Dial to Linen and Heat for 2 minutes to dry out completely. Set Fabric Select Dial to Off, unplug the iron, and allow to cool.
Anti-calcium System (select models only)
Anti-calcium is a permanent system located inside the water reservoir to eliminate impurities.
TO PROLONG EFFICIENCY, FOLLOW THESE STEPS ONCE A MONTH OR AFTER EVERY 30 USES:
- Turn off iron.
- Add 1 teaspoon of salt to ¾ cup water and fill water reservoir with this solution.
- Leave solution in water reservoir for 15 minutes, shake occasionally, and then empty through the fill hole or through the "clean method".
- Fill water reservoir again with salt water solution, shake and empty after 15 minutes.
- Fill water reservoir with fresh water to rinse and empty.
Ironing Tips
- Before ironing, check the garment label and follow manufacturer's instructions. If no instructions, start with a low-heat setting and test by ironing a small area, and gradually increase heat.
- Sort garments by fabric type. Iron articles requiring a low-temperature setting and gradually work up the temperature range.
- When changing from a high-temperature setting to a lower one, allow 5 minutes for change.
- When steam ironing, use long, slow passes over the fabric to allow the steam to penetrate the fabric and the heat of the soleplate to dry the moisture.
- Iron linen garments inside out to prevent shine. An ironing cloth or cotton fabric can be used to reduce shine.
- If the garment is lined, use a low heat setting.
- Ensure zippers are closed and flap is flat. Iron over the flap, holding the garment taut.
- Spray starch makes the job easier.
IRONING SHIRTS
- Begin with the collar and work toward the middle from the outer edges. Iron lengthwise, not in circles.
- Lay shoulder over narrow edge of the board and iron one side of the front. Then iron the shoulder, across the back (below the collar line), the other shoulder and the remainder of the front.
- Iron sleeves and cuffs, working down from the underarm seams. To remove creases, shift the double layer of sleeve fabric and iron out.
- Iron body of garment, from half of the front around the back, then second half of front. If your shirt does not open, slip over end of ironing board and iron front and back in turn.
IRONING PANTS
- Begin with the waistband and inseam area, then pockets and cuffs.
- Pull waistband on pointy end of the board, as if you're "dressing" the ironing board. Iron upper-front part of the pants, including the waistband.
- Place pants parallel to ironing board lengthwise so both legs are facing the same direction. Iron each leg by moving the iron back and forth along the pant leg.
- Take cuff of the leg and bring it over towards the waistband to iron the inner part of the leg. Repeat these 2 steps for the second leg.
Trouble Shooting
| PROBLEM | CAUSE/SOLUTION |
| "Ready" indicator light is blinking |
|
| Iron is not heating |
|
| Iron will not steam |
|
| Iron is leaking |
|
| Iron leaves spots/flakes on clothing |
|
| Wrinkles are not sufficiently removed |
|
| Fabrics are getting an unwanted "shine" |
|
For product questions visit us online at www.sunbeam.com or call 800-458-8407.

Documents / ResourcesDownload manual
Here you can download full pdf version of manual, it may contain additional safety instructions, warranty information, FCC rules, etc.
Download Sunbeam TURBO Steam Master PROFESSIONAL - Iron Manual
Advertisement


Need help?
Do you have a question about the TURBO Steam Master PROFESSIONAL and is the answer not in the manual?
Questions and answers