Advertisement
![]()
Introduction
G6 is a PMR 446 transceiver which may be used, without license, all over Europe. Please consult the "Restrictions on the use" charts for information regarding country specific limitations.
Main Features
- Freq. 446.00625 ÷ 446.09375 MHz
- Channel spacing: 12.5 KHz
- 8 channels
- 20 additional pre-programmed baby (b-) and parents (E-) channels fitting together
- 38 CTCSS-Sub-Tones
- Power: 500 mW ERP
- Coverage up to 4÷5 km **
- VOX sensitivity and delay time adjustable in 3 levels
- Battery pack: 600mAh 4,8V NiMH
- Alphanumeric backlit LCD Display
- Battery life up to 12 hours
- Operating temperature –20° +55°
- Weight 95 gr (batteries excluded)
- Size 58x160x28 mm
- Jack MIC CHG: 2 pins for audio accessories, wall charger Specifications are subject to change without notice.
Battery compartment
To open the battery compartment, hold the unit face down and unhook the battery holder in the lower part of the radio and gently slide the cover. G6 accepts the supplied battery pack or 4AAA alkaline rechargeable batteries
Note1: when you replace the battery pack, always switch off the radio.
Note2: when you clean the G6, remove the battery pack.
Coverage
The maximum range is obtained during use in an open space.
The only limitation to maximum possible range are environmental factors such as blockage caused by trees, buildings, or other obstructions. Inside a car or a metallic constructions, the range can be reduced.
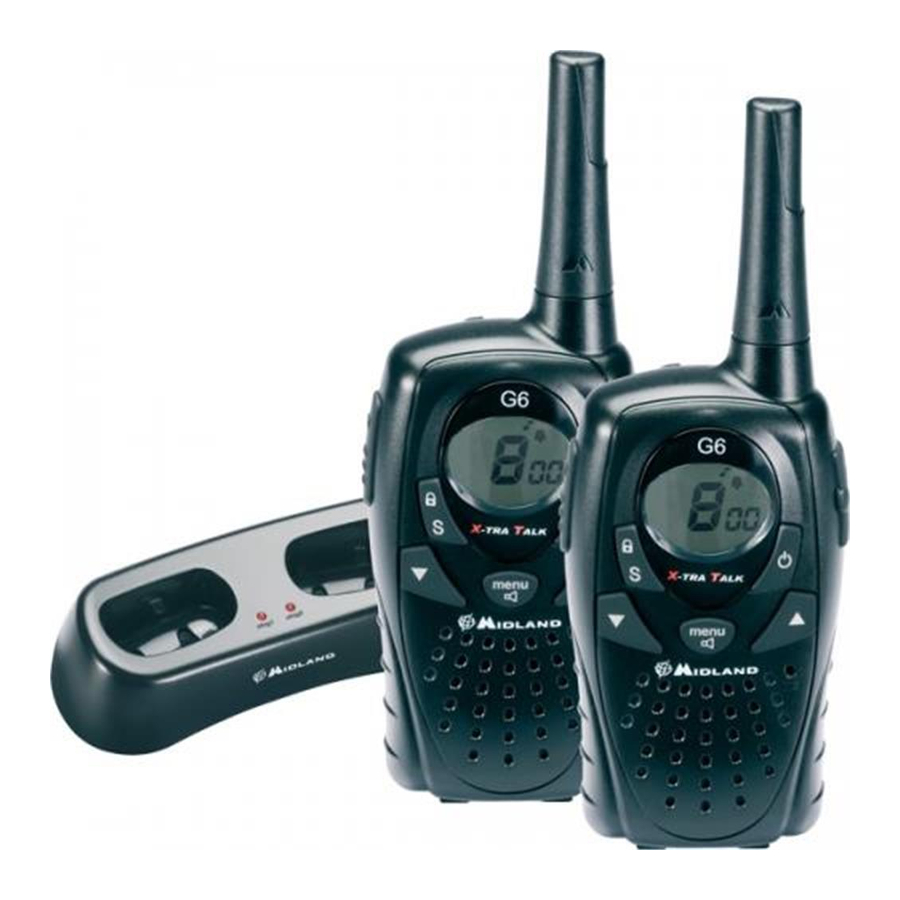
Content
- 2 G6 transceivers
- 1 user guide
- 2 belt clips
- 2 600mAh battery packs
- 1 double desktop charger
- 1 wall adaptor
LET'S COMMUNICATE
To turn radio on/off
Hold down the  for 3 seconds.
Volume Adjustment
Use the  buttons to adjust the volume to the desired level.
Transmission
Keep the PTT button pressed and speak into the unit. Hold the radio 4/10cm away from your mouth. The display shows 'TX'. When the PTT is released, the radio beeps to confirm to other users that your transmission has finished (Roger beep. See the paragraph).
Reception
Simply release the PTT button. When you receive a signal, 'RX' is displayed.
Background noise reduction (Squelch)
In your G6 the background noise reduction device (squelch) is activated by default. Hold the "menu/  " button down to deactivate it.
Automatic power save
G6 is supplied with an automatic current economy circuit. If the transceiver receives no signal for more than 10 seconds, the "power save function" automatically activates. The battery life may increase by up to 50%.
When the battery pack is in need of charging,  icon will be displayed: it is necessary to place the radio with its battery pack into the desktop charger (CA-G6).
Recharge
Once you placed the G6 into the seat of the supplied desktop charger, it doesn't matter if the radio is switched off or on: in both cases, the charger led will light up to indicate that the unit is being charged; if the radio is turned on, the icon will blink on the display. A complete recharge of the battery pack takes about 10/12hours (discharged battery pack and radio switched off during the charge).
MIC/CHG jack
External charger jack. We recommend use of the appropriate charger only.
Attention: alkaline batteries cannot be recharged.
DEVICE FUNCTIONS
Buttons
- Channel selection
Press once the "menu/![]() " button and then select the desired channel by the
" button and then select the desired channel by the ![]() buttons. Press PTT to confirm the selection.
buttons. Press PTT to confirm the selection.
 " button and then select the desired channel by the
 | Channel | Frequency | VOX |
| 1 | 446.00625 MHz | OFF |
| 2 | 446.01875 MHz | OFF |
| 3 | 446.03125 MHz | OFF |
| 4 | 446.04375 MHz | OFF |
| 5 | 446.05625 MHz | OFF |
| 6 | 446.06875 MHz | OFF |
| 7 | 446.08125 MHz | OFF |
| 8 | 446.09375 MHz | OFF |
- To select babymonitor channels and parent channels
The PMR has additional pre-programmed baby (b-) and parent (E-) channels fitting together.
Channels from b1 to b10/b0 have the VOX and Out-of-range functions activated by default: the radio set on these channels must be placed close to the baby, while the unit used to keep a check of the baby must be set on the E- (from E1 to E10/E0) channels, where the VOX function is deactivated.
The baby-sitter function is correctly activated only if the two transceivers are tuned on the same frequency (same channel and same CTCSS tone, see the chart in the column below).
Example: if the radio close to the baby is set on channel 'b1', the other radio must be set on channel 'E1'.
For the baby monitoring channels the VOX sensitivity is fixed at level 1.
| Ch. | Frequency | CTCSS | VOX | VOX level | Out of range | Beep tones |
| b1 | 446.00625 MHz | - | ON | L1 | on | off |
| b2 | 446.01875 MHz | - | ON | L1 | on | off |
| b3 | 446.03125 MHz | 151.4 Hz | ON | L1 | on | off |
| b4 | 446.04375 MHz | 156.7 Hz | ON | L1 | on | off |
| b5 | 446.05625 MHz | 162.2 Hz | ON | L1 | on | off |
| b6 | 446.06875 MHz | 167.9 Hz | ON | L1 | on | off |
| b7 | 446.08125 MHz | 173.9 Hz | ON | L1 | on | off |
| b8 | 446.09375 MHz | 179.9 Hz | ON | L1 | on | off |
| b9 | 446.00625 MHz | 186.2 Hz | ON | L1 | on | off |
| b10/b0 | 446.01875 MHz | 192.8 Hz | ON | L1 | on | off |
| E1 | 446.00625 MHz | - | OFF | - | on | on |
| E2 | 446.01875 MHz | - | OFF | - | on | on |
| E3 | 446.03125 MHz | 151.4 Hz | OFF | - | on | on |
| E4 | 446.04375 MHz | 156.7 Hz | OFF | - | on | on |
| E5 | 446.05625 MHz | 162.2 Hz | OFF | - | on | on |
| E6 | 446.06875 MHz | 167.9 Hz | OFF | - | on | on |
| E7 | 446.08125 MHz | 173.9 Hz | OFF | - | on | on |
| E8 | 446.09375 MHz | 179.9 Hz | OFF | - | on | on |
| E9 | 446.00625 MHz | 186.2 Hz | OFF | - | on | on |
| E10/E0 | 446.01875 MHz | 192.8 Hz | OFF | - | on | on |
"Menu/  " BUTTON
Following functions can be selected by pressing the "menu/  " button:
- VOX
- CTCSS Tones setting
- Dual Watch activation
- Roger Beep activation
- To enable/disable keypad beeps
- Channel setting
- Out of range control
- Dual Watch (DW)
This feature allows you to scan 2 channels of your choice. It is useful when you want to keep track of two other people.
Activation:- Turn the radio on.
- Select by the
![]() keys the first channel you want to monitor.
keys the first channel you want to monitor. - Press repeatedly the "menu/
![]() " button until "DW" blinks on the display.
" button until "DW" blinks on the display. - Select the second channel to monitor by the
![]() buttons.
buttons.
 keys the first channel you want to monitor.
Now the radio begins scanning between these 2 channels until activity is heard on either channel. The scanning restarts when the carrier disappears. To stop the function, press the PTT or  button.
- ROGER BEEP: end transmission tone
When PTT is released the radio will beep to confirm to other users that your transmission has finished. This feature is enabled by default and it is displayed with the![]() icon.
icon.
To disable the Roger Beep- Push the "menu/
![]() " control 7 times until the display shows the symbol
" control 7 times until the display shows the symbol ![]()
- Select 'OF' by means of the p/q buttons
- Confirm the selection by pushing the PTT button.
- Push the "menu/
- To disable the keypad beeps
- Press repeatedly the "menu/
![]() " button until the LCD shows "oN" and the
" button until the LCD shows "oN" and the ![]() blinks.
blinks. - Select "oF" by means of p/q keys.
- Push the
![]() to confirm your selection.
to confirm your selection.
- Press repeatedly the "menu/
- Out-of-range control
The G6 is equipped with the "out of range" function. By setting this mode a pair of G6 is transmitting every 30 seconds a data control code. As soon as the contact between both units is getting lost and one station doesn't receive this data control code twice consecutively, the icon![]() starts flashing in the display and you will hear a beep tone.
starts flashing in the display and you will hear a beep tone.
 icon.
icon.
 blinks.
 to confirm your selection.
 starts flashing in the display and you will hear a beep tone.
To enable/disable the Out-Of-Range function
- Switch on the unit and select the desired channel.
- Press the MENU key 4 times until the display shows "OF" and the icon for Out-Of-Range control
![]() is flashing.
is flashing. - Select "ON" or "OF" by means of the
![]() buttons.
buttons. - Confirm the selection by pushing the PTT key.
- Repeat the same procedure with the other transceiver within 5 seconds.
Do not switch the radios off as long as You need the Out-Of-Range control. If You should need the out-of-range control later again, please enter again the MENU step and confirm once more the "ON " setting at both radios within 5 seconds.
Hint: If You need to use the Out-Of-Range function up to larger communication distances, we recommend to use channels without CTCSS coding.
CALL-BUTTON
- Sending audio signal
By pressing rapidly the PTT button twice, your G6 will send an audio signal to other users on the same frequency. - VOX function and its sensitivity
To get the most use from the VOX feature you must first determine what sensitivity (noise level) is needed to activate the VOX circuit.
Push the "menu/![]() " button for three times; 'VOX' blinks on the display. Select the desired VOX level (1, 2, 3) by means of the p/q buttons and then press the PTT button.
" button for three times; 'VOX' blinks on the display. Select the desired VOX level (1, 2, 3) by means of the p/q buttons and then press the PTT button.
VOX can be adjusted in 3 positions:
- 1: high sensitivity (normal voice with no background noise)
- 2: medium sensitivity (for slightly noisier areas)
- 3: low sensitivity (useful in very noisy areas or if you talk loudly)
To disable the VOX mode, press the "menu/ " button. 'VOX' blinks on the display. Select 'OF' by means of the  buttons and then push PTT.
 /S" BUTTON
- Keypad lock
Press and hold the "![]() /S" button for more than 3 seconds. The
/S" button for more than 3 seconds. The ![]() icon confirms that the keypad lock is activated. Only PTT and
icon confirms that the keypad lock is activated. Only PTT and ![]() will still be active. Repeat the same procedure to unlock the keypad.
will still be active. Repeat the same procedure to unlock the keypad. - Display illumination
When you push![]() or one of the 5 controls on the front side, the display lights up for approx. 10 seconds.
or one of the 5 controls on the front side, the display lights up for approx. 10 seconds. - SCAN-mode
The SCAN mode monitors the busy channels.
It is used to check the traffic radio on the 8 channels before transmitting and allows the unit to stop on a channel that someone is talking on. When the radio stops on a busy channel, the scan will resume after about 5 seconds. To activate the SCAN function: Press the "![]() /S" button and you will see 'SCAN' on the display.
/S" button and you will see 'SCAN' on the display.
To deactivate it: push the "![]() /S" or PTT button.
/S" or PTT button. - CTCSS-sub-tone setting
G6 can receive in two modalities:
open traffic: in this case you will hear any communication transmitted on the selected channel.
group mode CTCSS: CTCSS tones are access keys that allow you to receive only messages coming from parties using the same channel and code. Speaker will remain muted until the correct CTCSS tone is received.
To activate 38 different CTCSS tones in RX and TX follow these steps:- Turn on the radio.
- Select with the
![]() buttons one of the 8 channels.
buttons one of the 8 channels. - Press twice the "menu/
![]() " button until the display shows the selected channel with the flashing CTCSS tone
" button until the display shows the selected channel with the flashing CTCSS tone - Select with the
![]() buttons the desired CTCSS tone.
buttons the desired CTCSS tone. - To confirm the setting press PTT.
 /S" button for more than 3 seconds. The
 Now the radio transmits and receives using the programmed CTCSS tone.
If you don't want to use any CTCSS tone, select "00".
Produced or imported by:
CTE INTERNATIONAL s.r.l.
Via. R.Sevardi 7 42010 Mancasale Reggio Emilia Italy
Imported by:
ALAN UK
Unit 2, Callenders, Paddington Drive, Churchward Park, Swindon, Wiltshire, SN5 7YW - UK
The use of this transceiver can be subject to national restrictions. Read the instructions carefully before installation and use. if the product contains batteries: do not throw the battery into fire.
To disperse after use, throw into the appropriate containers.

Documents / ResourcesDownload manual
Here you can download full pdf version of manual, it may contain additional safety instructions, warranty information, FCC rules, etc.
Advertisement


Need help?
Do you have a question about the G6 and is the answer not in the manual?
Questions and answers