Table of Contents
Advertisement
RIEJU S.A. is very grateful for the trust you have placed in our company and congratulates you on your
excellent choice.
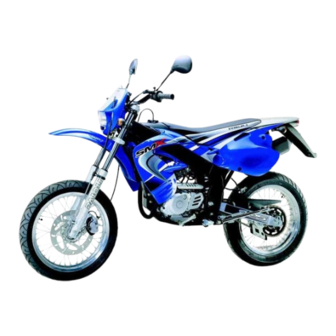
The Model MRX – SMX 125 is the result of long RIEJU experience developing a highly-reliable, multi-pur-
pose vehicle.
The purpose of this Owners Manual is to indicate how to use and maintain your vehicle, please carefully
read the information and instructions that it contains.
We would remind you that a vehicle's life depends the use and maintenance you provide it with, keeping
it in perfect running order will reduce repair costs.
This manual should be considered as an integral part of the motorbike and as such, should remain in the
basic equipment, including the case of change of ownership.
For any quer y, please consult a RIEJU dealer, who will assist you ate all times.
Remember that to guarantee correct operation of your motorbike, original psare parts parts should
always be employed.
1
Advertisement
Table of Contents


Need help?
Do you have a question about the MRX 125 and is the answer not in the manual?
Questions and answers