Table of Contents
Advertisement
Advertisement
Table of Contents

Subscribe to Our Youtube Channel
Related Manuals for UNIVIEW IPB5E40X


Summary of Contents for UNIVIEW IPB5E40X
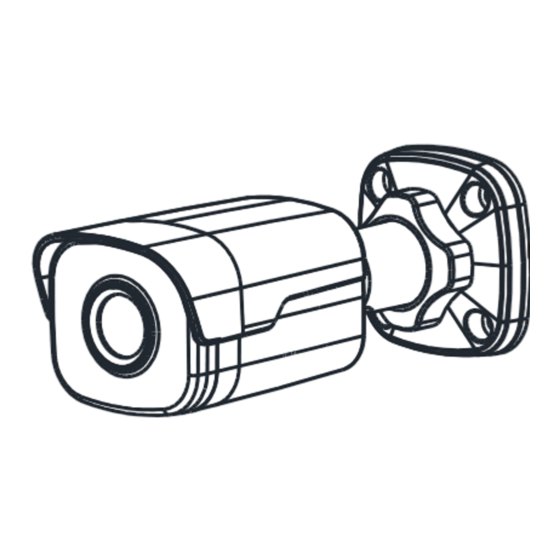
- Page 1 Network Bullet Cameras Quick Guide V2.05 BOM:3101C0ER...
-
Page 2: Safety And Compliance Information
Safety and Compliance Information Installation and removal of the unit and its accessories must be carried out by qualified personnel. You must read all of the Safety Instructions supplied with your equipment before installation and operation. Installation This device is a class A product and may cause radio interference. ... - Page 3 scratch and contamination, etc. In order to keep the cover clean, do not remove the protective film on the cover during mounting. After mounting is finished, remove the film before the device is powered Contact professionals for maintenance information. Do not attempt ...
-
Page 4: Regulatory Compliance
Regulatory Compliance FCC statements This device complies with Part 15 of the FCC Rules. Operation is subject to the following two conditions: (1) this device may not cause harmful interference, and (2) this device must accept any interference received, including interference that may cause undesired operation. Caution: The user is cautioned that changes or modifications not expressly approved by the party responsible for compliance could void the user's authority to operate the equipment. - Page 5 Battery Directive-2013/56/EC Battery in the product complies with the European Battery Directive 2013/56/EC.For proper recycling,return the battery to your supplier or to a designated collection point.
-
Page 6: Default Ip, Username And Password
Default IP, Username and Password Default IP address: 192.168.1.13 Default username: admin Default password: 123456 The default password is used for your first login. To ensure account security, please change the password after your first login. You are recommended to set a strong password (no less than eight characters). -
Page 7: Cable Connection
actual appearance may vary with the product model. Reset button Earth terminal Φ 4.5mm 39mm (0.18") (1.54") Cable Connection Power interface (12VDC) Network interface IP Network specifications, latest product datasheets. Press and hold the RESET button for at least 15 ... -
Page 8: Mount Your Camera
Mount Your Camera Wall Mount You can adopt wall mount or ceiling mount and purchase hardware accessories by yourself. The following part takes wall mount as an example. Ceiling mount is similar to wall mount and therefore is omitted here. 1. - Page 9 Knock the plastic rivets into the guide holes and ensure that they are tightened up. Locknut 5. Mount your camera onto 6. Adjust the monitoring direction. the wall and connect all cables. Lead tapping screws through the guide holes in the base and fix them on the wall by using a screwdriver.
-
Page 10: Waterproof Components For An Rj45 Plug
installation is adopted, cables are not penetrated into the wall but threaded out from the outlet on one side of the base. Waterproof Components for an RJ45 Plug Attach the seal ring to the Seal ring Ethernet interface. Mount the waterproof components in order. - Page 11 2. Enter the username and password and then click Login. Install the ActiveX at your first login. When the installation of the ActiveX is completed, open your IE to log in. For your first login with Windows 7, if the system ...
Need help?
Do you have a question about the IPB5E40X and is the answer not in the manual?
Questions and answers