Advertisement
Introduction
BEFORE YOU BEGIN
ZIRCON® STUD FINDERS WORK BY SENSING DENSITY CHANGES BEHIND THE WALL. OTHER OBJECTS CAN BE DETECTED ESPECIALLY IF THEY ARE VERY CLOSE TO THE WALL. DO NOT ASSUME EVERYTHING DETECTED IS A STUD.
- Always use a new alkaline battery with an extended expiration date at least 3 years beyond current date. Match battery direction to image inside of battery cavity.
- Do not rely exclusively on the scanner to locate items behind a surface. Use other information to help locate such items before penetrating the surface, including construction plans, visible points of entry of pipes and wiring into walls such as in a basement, and standard stud-spacing practices.
- Always start your scan in StudScan Mode which scans through surfaces up to 19 mm deep. Scanning in DeepScan™ Mode may detect an object further behind the wall that may or may not be a stud.
- Always scan for studs at several different heights on the wall and mark the location of every target indicated by the stud finder. This is called "mapping the wall." Pipes and other objects will likely not give consistent readings from floor to ceiling, like a stud would.
- Readings should always be consistent and repeatable.
- Zircon stud finders are recommended for interior use only.
- Studs normally run from floor to ceiling, except above and below windows, and above doors.
- Other objects commonly contained in walls, floors, or ceilings are water pipes, gas lines, firestops, and electrical wiring.- Sensing depth and accuracy can vary depending on scanning environment conditions such as mineral content, moisture, texture and consistency of the wall materials.
- Always turn off power when working near electrical wires.
- Depending on the proximity of electrical wiring or pipes to the wall surface, the scanner may detect them in the same manner as studs. Caution should always be used when nailing, cutting, or drilling in walls, floors, and ceilings that may contain these items.
- Studs and joists are normally spaced 40 or 60 cm apart, are normally 38 mm wide, and may be separated by firestops. Anything closer together, or of a different width, may not be a stud or joist.
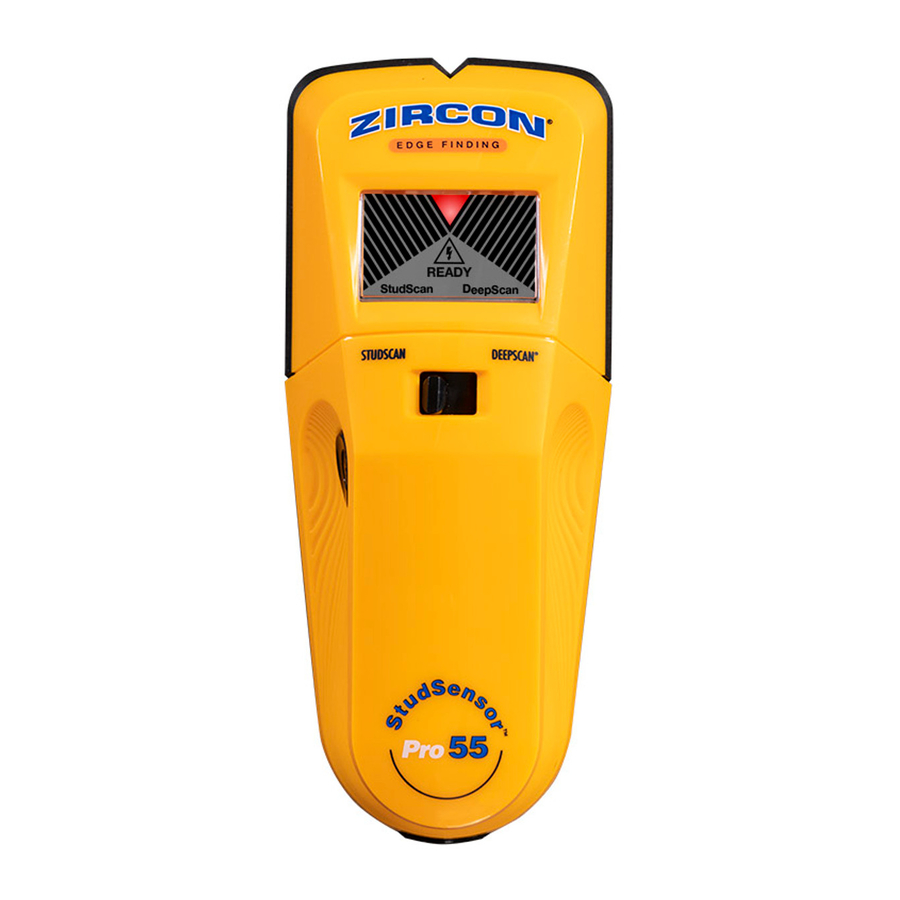
Overview

2 scanning modes:
- StudScan locates edges of stud (wood or metal) up to 19 mm deep
- DeepScan locates edges of stud up to 38 mm deep
WireWarning Detection automatically detects and alerts for live, unshielded AC (alternating current) wires in both modes. When AC voltage is detected, the WireWarning Detection Indicator shows on display.
INSTALL 9-VOLT BATTERY
Always use a new alkaline battery with an extended expiration date at least 3 years beyond current date. Match battery direction to image inside of battery cavity.


Do not rely exclusively on the scanner to locate items behind a surface. Use other information to help locate items before penetrating the surface, including construction plans, visible points of entry of pipes and wiring into walls such as in a basement, and standard stud-spacing practices.
SELECT MODE / POWER UP
Move Mode Selector Switch to desired mode: StudScan or DeepScan.
To activate tool, press and hold Power Button.
If button is not pressed and held, unit shuts off.
FIND A STUD
For best results, hold the tool as shown (Figure A) and move slowly when scanning.
Do not touch the surface during calibration or scan.

- Hold tool flat against wall, then press and hold Power Button.
In 1–2 seconds, the unit will calibrate. A short beep confirms that calibration is complete.
DO NOT MOVE TOOL DURING CALIBRATION. - While holding down the Power Button, slide the tool slowly along the wall. (Figure B)

- When the tool reaches the edge of the stud, all bars show, the SpotLite Pointer will shine, and a steady tone will sound. Mark the spot. (Figure C)

- Without releasing Power Button, continue the scan direction until the Target Indicator Bars and the SpotLite Pointer turn off, then reverse direction. (Figure D)

- Slide tool until the other edge of the stud is detected, and mark this as well. (Figure E)
The centre of the stud is the midpoint between the two marks.


DEEPSCAN MODE
DeepScan Mode will detect studs up to 38 mm deep, or twice the depth of StudScan. Move the Mode Selector Switch to DeepScan Mode, then follow steps 1–5 under FIND A STUD.
DO NOT ASSUME THERE ARE NO LIVE ELECTRICAL WIRES IN THE WALL.
DO NOT TAKE ACTIONS THAT COULD BE DANGEROUS IF THE WALL CONTAINS A LIVE ELECTRICAL WIRE. ALWAYS TURN OFF THE ELECTRICAL, GAS, AND WATER SUPPLIES BEFORE PENETRATING A SURFACE.
FAILURE TO FOLLOW THESE INSTRUCTIONS MAY RESULT IN ELECTRIC SHOCK, FIRE, AND/OR SERIOUS INJURY OR PROPERTY DAMAGE.
OVER-THE-STUD WARNING
If scanning begins directly over a stud, the tool will emit a continual beep and Target Indicator Bars will flash. If this happens, restart the scan in a different location.
WIREWARNING DETECTION
The Zircon® WireWarning Detection feature works continuously in both modes. When live, unshielded AC voltage is detected, the WireWarning Detection Indicator shows. If scanning begins over a live, unshielded AC wire, the indicator will flash continuously. (Figure F)

Use extreme caution under these circumstances, or whenever live AC wiring is present.
THE TOOL MAY NOT DETECT LIVE CURRENT IF WIRES ARE MORE THAN 50 mm BELOW THE SCANNED SURFACE, IN CONCRETE, ENCASED IN CONDUIT, BEHIND A PLYWOOD SHEAR WALL OR METALLIC WALL COVERING, OR IF MOISTURE IS PRESENT IN THE ENVIRONMENT OR SCANNED SURFACE.
WORKING WITH DIFFERENT MATERIALS
This tool can scan effectively through most sheet materials, including:
- Bare wood flooring (in DeepScan Mode)
- Linoleum on wood base
- Gypsum drywall over plywood sheathing
- Walls with wallpaper (if dry)
- Textured ceilings with uniform thickness (place a thin piece of cardboard on ceiling and scan over it to avoid damage to texturing)
It is not designed for use with:
- Ceramic tile, slate, granite, marble and other rock surfaces
- Carpeting and padding
- Wallpaper with metallic fibres
- Freshly painted walls that are still damp (may take one week or longer to dry after application)
- Lath and plaster walls
- Foil covered insulation
- Glass or any other dense material
- Bathroom inserts such as bathtubs and showers
- Surfaces thicker than 38 mm
Wallpaper
This tool functions normally on walls covered with wallpaper or fabric, unless the materials are metallic foil, contain metallic fibers, or are still wet after application. Wallpaper may need to dry for several weeks after application.
Freshly painted walls
It may take a week or longer to dry after application.
Lath and plaster
Due to irregularities in plaster thickness, this tool is not recommended for use on lath and plaster.
Highly textured walls or acoustic ceilings
When scanning a ceiling or wall with an uneven surface, place thin cardboard on the surface to be scanned and scan over the cardboard in DeepScan Mode.
Wood flooring, subflooring, or gypsum drywall over plywood sheathing
Use DeepScan Mode and move the tool slowly.
This tool cannot scan for studs and joists through carpet and padding.
NOTE:
Sensing depth and accuracy can vary depending on scanning environment conditions such as mineral content, moisture, texture and consistency of the wall materials.
Electrical wiring and pipes
Depending on the proximity of electrical wiring or pipes to the wall surface, the tool may detect them in the same manner as studs.
Caution should always be used when nailing, cutting, or drilling in walls, floors, and ceilings that may contain these items.
Studs and joists
are normally spaced 40 or 60 cm apart, and are 38 mm wide. Anything closer together, or of a different width, may not be a stud or joist.![]()
TROUBLESHOOTING & CONSTRUCTION TIPS
| SITUATION | LIKELY CAUSE | SOLUTION |
| All display elements turn on at the same time and the tool beeps continuously. | Tool not held flat against wall. |
|
| Tool tilted or lifted during scan. |
| |
| Scanning surface is too dense or too wet for tool to operate. | If tool is used on a recently taped, painted, or wallpapered wall, allow time to dry and try again. | |
| Power Button pressed before placing tool on surface. | Place tool on wall, then press Power Button and wait for tool to calibrate before scanning. | |
| Unable to detect studs in StudScan Mode; middle Target Indicator Bars do not display or flash. | Wall is thick or dense. |
|
| READY Icon shows but nothing happens during scan. | Tool may not be flat against wall. | Hold tool so that the pads on the back make full contact with the surface. |
| Calibration may have occurred over a stud in DeepScan Mode. | Recalibrate in a different area, then continue the scan. | |
| Can't detect studs in DeepScan Mode. | Calibration may have been over a stud. | Move the unit to a different area, then scan again. Also ensure that the tool is held against the wall as shown in illustrations. |
| Tool detects objects other than studs, or finds more studs than should be there. | Electrical wiring and metal or plastic pipes may be near or touching the back of the wall surface. | Check for other studs equally spaced to either side at 30, 40, or 60 cm, or check for the same stud at spots directly above or below the first scan area. Studs will run straight up and down, from floor to ceiling, while pipes may change direction. Standard studs measure approximately 38 mm between edges. Anything larger or smaller is likely not a stud (unless near door or window). |
| Area of voltage detection is too large. | Voltage detection can spread on drywall by as much as 30 cm on each side of the wire. | Narrow the scan detection:
|
| Electrical wires suspected, but WireWarning™ Detection does not alert. | Wires are shielded by a metal conduit, braided wire or metallic wall covering. | If there is an outlet switch, turn it to ON position while scanning, but turn OFF when working near the wires. Use extra caution if the area has plywood, thick wood backing behind drywall, or walls that are thicker than normal. |
| Wires deeper than 50 mm from the surface might not be detected. | See above. | |
| Wires may not be live. | Plug a lamp into the outlet and turn it on to test whether wires are live. |
Visit uk.zircon.com for the most current instructions.

ZirconCorporation

ZirconTools | ZirconToolPro

ZirconTV

ZirconTools

Documents / Resources
References
Download manual
Here you can download full pdf version of manual, it may contain additional safety instructions, warranty information, FCC rules, etc.
Download Zircon StudSensor Pro55 - Edge-Finding Stud Finder Manual
Advertisement


Need help?
Do you have a question about the StudSensor Pro55 and is the answer not in the manual?
Questions and answers