Advertisement
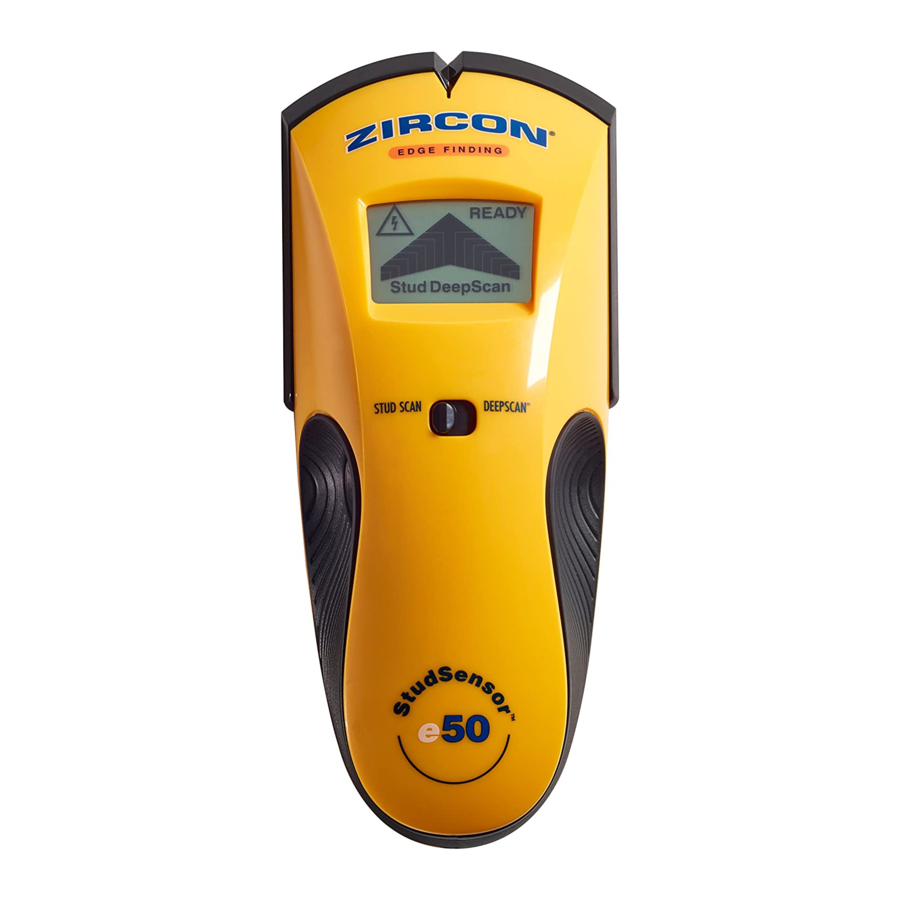
StudSensor
Stud Finder
The StudSensor
e
™
scanning modes:
of wood and metal studs up to
3
⁄
in. (19 mm) deep
4
: Locates the edges
®
of wood and metal studs up to
1
1
⁄ in. (38 mm) deep
WireWarning
detection automatically
®
detects and alerts the user to live AC
wires in STUD SCAN and DEEPSCAN
modes. When AC voltage is detected,
the AC WireWarning
icon will be
®
displayed on screen.
Note: This product is
intended for use in the
U.S.A. and Canada only.
DeepScan, SpotLite, StudSensor, TruCal, WireWarning, and Zircon are registered trademarks or trademarks of Zircon Corporation.
Visit www.zircon.com/support for the most current instructions.
Zircon Corporation, ("Zircon") warrants this product to be free from defects
in materials and workmanship for one years from the date of purchase. Any
in-warranty defective product returned to Zircon*, freight prepaid with proof
replaced at Zircon's option. This warranty is limited to the electronic circuitry and
original case of the product and specifically excludes damage caused by abuse,
unreasonable use or neglect. This warranty is in lieu of all other warranties, express
or implied, and no other representations or claims of any nature shall bind or
obligate Zircon. Any implied warranties applicable to this product are limited to
In accordance with government regulations, you are advised that: (i) some states
do not allow limitations on how long an implied warranty lasts and/or the exclusion
or exclusions may not apply to you, and further (ii) this warranty gives you specific
legal rights and you may also have other rights which vary from state to state.
locate items before penetrating the surface.
Such additional sources include construction
plans, visible points of entry of pipes and
wiring into walls, such as in a basement, and in
standard 16 in. (41 cm) and 24 in. (61 cm) stud
spacing practices.
DO NOT ASSUME THERE
WARNING
ARE NO LIVE ELECTRICAL
WIRES IN THE WALL. DO NOT TAKE ACTIONS
THAT COULD BE DANGEROUS IF THE WALL
CONTAINS A LIVE ELECTRICAL WIRE. ALWAYS
TURN OFF THE ELECTRICAL POWER, GAS,
AND WATER SUPPLIES BEFORE PENETRATING
A SURFACE. FAILURE TO FOLLOW THESE
INSTRUCTIONS MAY RESULT IN ELECTRIC
SHOCK, FIRE, AND/OR SERIOUS INJURY OR
PROPERTY DAMAGE.
5. OPERATING TIPS
For optimum scanning results:
the studs, and do not rotate the tool.
tilt, or press hard when slowly sliding across the
surface being scanned.
part of your body, on the surface being scanned.
or pipes to the wall surface, the scanner may
detect them in the same manner as studs.
Caution should always be used when nailing,
cutting, or drilling in walls, floors, and ceilings
that may contain these items.
e50
™
WireWarning
®
Detection
Indicator
STUD SCAN
®
Mode
Power
Button
Battery
Door Tab
Zircon Corporation
service and repair, where proof of purchase is not provided, shall be
(38 mm) in width. Anything closer together
or a different width may not be a stud,
joist, or firebreak.
Always turn off the power when working near
electrical wires.
WORKING WITH DIFFERENT MATERIALS
StudSensor
™
walls only.
Note: Sensing depth and accuracy can vary due
to moisture, content of materials, wall texture,
and paint.
StudSensor
™
most sheet materials, including:
thin piece of cardboard on ceiling and scan over
it to avoid damage to texturing)
StudSensor
™
materials such as:
take one week or longer to dry after application)
FCC Part 15 Class B Registration Warning
(1) this device may not cause harmful interference, and
including interference that may cause undesired operation.
1. INSTALLING THE BATTERY
Push in the battery
door tab at the bottom
of the tool and open
the door.
SpotLite
Pointer
®
Insert a new 9-volt
battery, matching the
positive (+) and negative
(-) terminals to the icons
printed on the back. Snap
the battery into place and
TruCal
Icon
®
replace the door.
2. SELECTING THE MODE
Move selector switch to the desired mode:
DEEPSCAN
®
STUD SCAN for finding wood or metal studs or
Mode
DEEPSCAN
for finding studs behind walls more
®
than
3
⁄
in. (19 mm) thick.
4
Mode Switch
Unit will remain off if Power button is not depressed.
3. FINDING A STUD
Always scan for studs with the scanner placed
flat against the wall. Move the mode switch to
STUD SCAN, place the tool flat against the wall,
then press and hold the Power button. Wait for
beep to confirm calibration has completed before
moving scanner.
Continue to hold
the Power button,
then slowly slide unit
horizontally across
the wall, left or right.
As you begin to
approach a stud,
the arrow segments
will begin to turn on.
6. HELPFUL HINTS
Situation
⁄ in.
1
All LCD icons
flash and the unit
beeps continuously.
Unable to detect studs
in STUD SCAN mode.
Middle LCD segment
doesn't turn on or flash
in STUD SCAN mode.
mode)
®
The TruCal
icon
®
turns on but, when
scanning, unit doesn't
do anything else.
Working in DEEPSCAN
®
mode and can't
detect studs.
Detects other objects
besides studs.
You suspect electrical
wires, but do not
detect any.
Area of voltage
detection appears much
larger than actual wire
(AC only).
When the full arrow
is first displayed,
the SpotLite
®
shines, and a steady
tone sounds, you have
located the edge of the
stud. Mark this spot.
Without releasing
Power button, continue
scanning beyond
marked spot until some
segments of the arrow
turn off. Slide unit in
reverse direction to
locate other edge
of stud.
Mark this second
spot. Middle of stud
is centered between
the two marks.
4. WIREWARNING
WireWarning
STUD SCAN and DEEPSCAN
AC voltage is detected, the WireWarning
will appear on the display. If scanning begins over
a live AC wire, the WireWarning
flash continuously. Use extreme caution in these
circumstances or whenever live AC is present.
WARNING
is present in the wall, or if wires are more than
2 in. (51 mm) from the scanned surface, in plastic
conduit or behind a plywood shear wall or
metallic wall covering. Do not rely exclusively on
the detector to locate items behind the scanned
surface. Use other information sources to help
(See also number 5, Operating Tips)
Probable Causes
over a stud.
press Power button, and start again.
wall, scanning over it to help slide unit more smoothly.
(All these factors affect proper
calibration.)
finger no higher than handgrips. Be careful not to
move your fingers after calibration.
wet for unit to operate.
perpendicular to the stud you're trying to locate.
wallpapered wall, allow time to dry and try again.
stud edge.
contact with wall.
mode
®
(DEEPSCAN
is lit), you may have
®
calibrated over a stud.
stud. (The error condition is disabled
in DEEPSCAN
mode because it is
®
contact with wall.
twice as sensitive as STUD SCAN.)
pipes may be near or touching back
surface of wall.
the same stud at several places directly above or
below the first scan area.
metallic wall coverings, plywood
backing behind drywall, or thicker-than-normal walls.
shearwall, or other dense material,
or in conduit.
detection, but turned off when working near electrical
wires.
Always turn off power when cutting, nailing, or
from surface may not be detected.
drilling near electrical wires.
edge of where wire was detected and scan again.
from each side of an actual
Always turn off power when cutting, nailing, or
electrical wire.
drilling near electrical wires.
pointer
DETECTION
®
detection works continuously in
®
modes. When live
®
indicator
®
indicator will
®
Electrical field locators may not
detect live AC wires if moisture
Solutions
mode to locate the stud.
®
strips on the back make
®
strips on the back make
®
Advertisement
Table of Contents


Need help?
Do you have a question about the StudSensor e50 and is the answer not in the manual?
Questions and answers