Advertisement
Quick Links
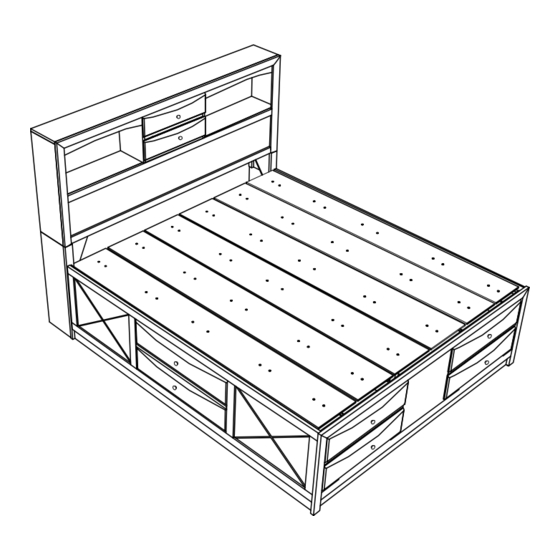
King
Storage
Bed
MODEL
B4285/B4255
B4265/B4275
Assembly
Installation
Guide
DESCRIPTION:
King Headboard
King Footboard
King Side Rails
King Slat & Support Legs
Storage Drawer
A
=
INSTALLATION AREA
+
!
C
B
+
Caution : Please read instructions thoroughly before unpacking assembly parts.
Sharp, exposed staple tips can cause injury, therefore, for your protection,
please remove any exposed staples used in packing.
1. We recommend that you should assemble this product with the assistance of another person ;
this will make assembly easier, and will help to eliminate damage to the product or injury to
persons during assembly.
2. Be sure to check all packing materials carefully for small parts that may have come loose inside
the carton during shipment.
3. Please do not over tighten screws or bolts.
4. Please put all parts on a non - abrasive floor before assembly. and follow the assembly step to
assemble your newly purchased product correctly and efficiently .
Drawer N Q & N R are identical & compatible, to each other regardless left or right.
During assembly, do not tighten any hardware until the complete unit has beeb assembled.
2 PERSON
installation recommended
N :R
20 - 25
20 - 25
mins
minutes for installation
PAGE 1 OF 11
N :R
N :Q
Advertisement


Need help?
Do you have a question about the Emily B4285 and is the answer not in the manual?
Questions and answers