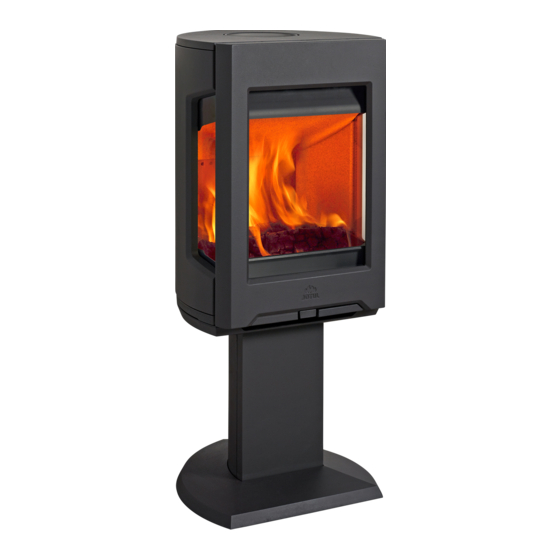
Jøtul F 164 Installation And Operating Instructions Manual
Hide thumbs
Also See for F 164:
- Installation and operating instructions manual (72 pages) ,
- Installation and operating instructions manual (68 pages) ,
- Installation and operating instructions manual (16 pages)
Advertisement
Quick Links
Jøtul F 166 / F 166 C / F 167 / F 167 C
GB
- Installation and Operating Instructions
FR
- Manuel d'installation et d'utilisation
ES
- Instrucciones para instalación
IT
- Manuale di installazione ed uso
NL
- Installatie- en montagehandleiding
Jøtul F 164
Jøtul F 165
MILJØMERKET, ovner, 278 012
Manualene må oppbevares under hele produktets levetid. The manuals which are enclosed with the product must be kept throughout the product's entire
service life. Les manuels fournis avec le produit doivent être conservés pendant toute la durée de vie du produit. Los manuales suministrados con este producto
deben guardarse durante todo el ciclo de vida del producto. I manuali inclusi con il prodotto vanno conservati per l'intera durata di vita del prodotto. Das im
Lieferumfang des Produkts enthaltene Begleitmaterial ist über die gesamte Nutzungsdauer aufzubewahren. De bij de haard meegeleverde handleidingen moeten
gedurende de volledige gebruiksduur van de haard bewaard blijven.
Jøtul F 164 / F 165
Jøtul F 166
Jøtul F 167
28
54
Jøtul F 166 C
Jøtul F 167 C
3
15
41
Advertisement

Summary of Contents for Jøtul F 164
- Page 1 Jøtul F 164 / F 165 Jøtul F 166 / F 166 C / F 167 / F 167 C - Installation and Operating Instructions - Manuel d’installation et d’utilisation - Instrucciones para instalación - Manuale di installazione ed uso - Installatie- en montagehandleiding Jøtul F 164...
-
Page 3: Table Of Contents
33 cm Flue outlet: Top/rear Flue pipe dimension: Ø150 mm, 177 cm cross section Weight F 164 / F 165: 145 kg • with soapstone set: 225 kg Weight F 166 / F 167: 140 kg Weight F 166 C / F 167 C: 159 kg... - Page 4 ENGLISH...
- Page 5 ENGLISH...
- Page 6 ENGLISH...
- Page 7 ENGLISH...
- Page 8 (only if the chimney has its own duct for external air) and to the product’s outside air connector. Fig. 2a, for Jøtul F 164 and Jøtul F 165: Use a heavy mallet and strike hard in the middle of the knockout.
-
Page 9: Technical Data
ENGLISH 3.1 Fire Prevention Measures Fig. 2d, through the floor and ground plate There is a certain element of danger every time you use your fireplace. The following instructions must therefore be followed: • The minimum safety distances when installing and using the fireplace are given in fig. - Page 10 Chimney draught; See «2.0 Technical data». If the draught is too strong you can install and operate a flue damper to control the draught. For Jøtul F 164 and Jøtul F 165: 1. Remove the heat shield (Fig. 4 A). 2. Loosen the screw (Fig. 4 B).
- Page 11 ENGLISH For Jøtul F 166 and Jøtul F 167: Fig. 7 1. Loosen the screw (Fig. 4 B). 2. Adjust the spring by moving the bracket. 3. Tighten the screw. 4.6 Leveling the fireplace Fig. 5 Unscrew the screws (Fig. 7 A) and remove the smoke outlet (Fig.
-
Page 12: Daily Use
When the product is set up, always check the control functions. Fig. 11 These shall move easily and function satisfactorily. Jøtul F 164, F 165, F 166 and F 167 are equipped with the following control: Ignition vent/air vent Ignition Fig. -
Page 13: Service
There are various ways of heating the stove but it is always important to be careful about what you put in the stove. See the Jøtul F 164 / F 165 / F 166 / F 167 have an ash pan which makes section on “Wood quality”. -
Page 14: Maintenance
F) and remove the burn plate. Then lift up and remove the inner bottom plate (Fig. 13 C). For Jøtul F 164 and Jøtul F 165 only. Follow the same procedure for installation, but in the opposite Cat. no. 50036912 sequence. - Page 16 Jøtul arbeider kontinuerlig for om mulig å forbedre sine produkter, og vi forbeholder oss rett til å endre spesifikasjoner, farger og utstyr uten nærmere kunngjøring. Jøtul bemüht sich ständig um die Verbesserung seiner Produkte, deshalb können Spezifikationen, Farben und Zubehör von den Abbildungen und den Beschreibungen in der Broschüre abweichen.


Need help?
Do you have a question about the F 164 and is the answer not in the manual?
Questions and answers