Table of Contents
Advertisement
Quick Links
XPA U Full Rack Series Audio Power Amplifiers • Setup Guide
This guide provides startup instructions for experienced, professional installers to set up and operate the XPA U Full Rack Series
audio power amplifiers:
•
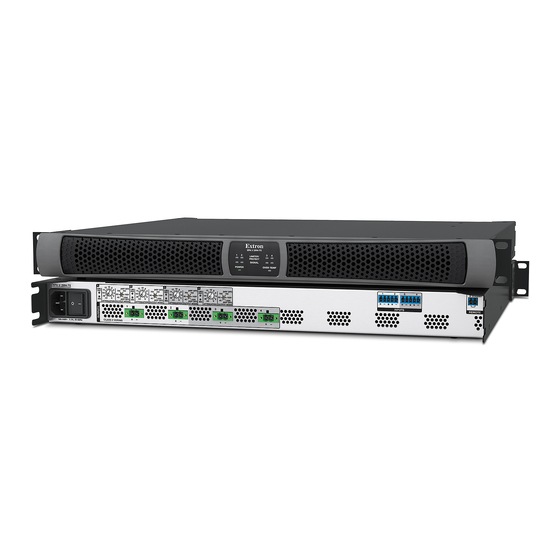
XPA U 2004 FX — 4 x 200 watts per channel at 8Ω, 4Ω, 70V, or 100V
•
XPA U 2008 FX — 8 x 200 watts per channel at 8Ω, 4Ω, 70V, or 100V
For information not included in this setup guide, see the XPA U Full Rack Series User Guide, at www.extron.com.
WARNING: Installation and service must be performed by experienced, professional installers only.
AVERTISSEMENT : L'installation et l'entretien doivent être effectués par des installateurs professionnels
expérimentés.
Rack Mounting
Before mounting the amplifiers, ensure that power to the amplifier is turned off.
Turn off all other equipment and disconnect the power cables. Verify that the amplifier is disconnected from the power source
before proceeding.
The XPA U Full-Rack Series ships with two rear rack ears to provide additional stability and support for the amplifier. Each rear
rack ear attaches to the amplifier by means of two SEMS screws that connect though slots in the two support flanges on the
enclosure that extend past the rear panel, through the slots in the rear rack ear and into the backing plate. The backing plate
comes loosely attached to the rear rack ear, which allows it to slide along the slots. The rear rack ears will support rack rail
depths of 15.69" (399 mm) to 26.34" (669 mm), as measured from outward-facing surfaces of the front and rear rack rails.
16.49" (419 mm)
16.39" (416 mm)
15.69" (399 mm)
Figure 1.
XPA U Full Rack Series Side View
27.04" (689 mm)
26.34" (669 mm)
1
Advertisement
Table of Contents

Related Manuals for Extron electronics XPA U Series


Summary of Contents for Extron electronics XPA U Series
- Page 1 XPA U Full Rack Series Audio Power Amplifiers • Setup Guide This guide provides startup instructions for experienced, professional installers to set up and operate the XPA U Full Rack Series audio power amplifiers: • XPA U 2004 FX — 4 x 200 watts per channel at 8Ω, 4Ω, 70V, or 100V •...
- Page 2 XPA U Full Rack Series Audio Power Amplifiers • Setup Guide (Continued) To install the amplifier into the equipment rack, follow these steps: Equipment Rack 1 1 1 Screws Rear Rack Ear 1 1 1 2 2 2 3 3 3 Front Rack Ear Screws 3 3 3...
- Page 3 XPA U Full Rack Series Connections and Controls XPA U 2004 FX G STANDBY (HPF OFF) (HPF OFF) (HPF OFF) (HPF OFF) LIM/ LIM/ LIM/ LIM/ 100V 100V 100V 100V ∞ ∞ ∞ ∞ 100V 100V 100V 100V (HPF OFF) (HPF OFF) (HPF OFF) (HPF OFF)
- Page 4 XPA U Full Rack Series Audio Power Amplifiers • Setup Guide (Continued) Output Mode Selection Switch (see figure 3 on page 3) This switch determines the function of each amplifier channel. There are six settings: two low-impedance (HPF OFF) (8 ohms, 4 ohms) and four high-impedance modes. 100V Low-Impedance Modes (8 ohm/4 ohm): 100V...
- Page 5 Remote Port (see figure 3) — Use the 3.5 mm 2-pole captive screw connector to connect the STANDBY pin to the G pin. This places the amplifier in standby mode. STANDBY The XPA U Full Rack Series amplifiers can enter standby mode (reduced power state) if they meet one of the following two conditions: After 25 minutes (±...
- Page 6 XPA U Full Rack Series Audio Power Amplifiers • Setup Guide (Continued) Power LED (see figure 5 on page 5) — A single LED power indicator will light as follows: Green when the unit is on and active • Amber •...
Need help?
Do you have a question about the XPA U Series and is the answer not in the manual?
Questions and answers