Table of Contents
Advertisement
Quick Links
TOOLS REQUIRED
Hammer
Safety goggles
Measuring tape
Wall hardware
Installation
1
PREPARING FOR INSTALLATION
NOTE: Before installation, make sure all parts
are present. Compare parts with the Hardware
Included list. If any part is missing or damaged,
do not attempt to install the product.
□ Determine the desired mounting location,
and mark the wall where the unit will be
installed.
NOTE: For secure installation, the unit
must be mounted to at least one wall stud.
3
INSTALLING THE CABINET
□ For wall stud installation, insert #12 x 3 in. screws with
washers into the stud locations (not included).
□ For drywall installation, drill holes at the appropriate
locations and insert toggle bolts with washers (not included).
□ For concrete wall installation, drill 1/4 in. holes at the
appropriate locations and insert #12 wall anchors, followed
by #12 x 3 in. screws (not included).
4
INSTALLING THE VANITY TOP
IMPORTANT: Do not use plumber's putty.
NOTE: The faucet, drain, and supply lines are not included. Install these
parts to the vanity top according to the manufacturer's instructions.
□ Apply silicone caulk/sealant (not included) to all four corners of the cabinet.
□ Place the vanity top onto the cabinet.
□ Position the top so that it has an equal amount of overhang on each side and
use a level to ensure the vanity top surface is level.
□ Apply silicone onto the seam between the edge of the vanity top and the wall,
smooth the bead, and allow to cure before use.
5
INSTALLING THE HARDWARE
□ Attach the handles (AA) to the cabinet with the provided screws (BB).
Phillips screwdriver
Power drill
Caulk/sealant
Use and Care Guide
HARDWARE INCLUDED
AA - Handle x 2
BB - Handle Screw x 4
Level
2
POSITIONING THE CABINET
□ Move the cabinet into place, and use wood
shims to level the cabinet against the wall.
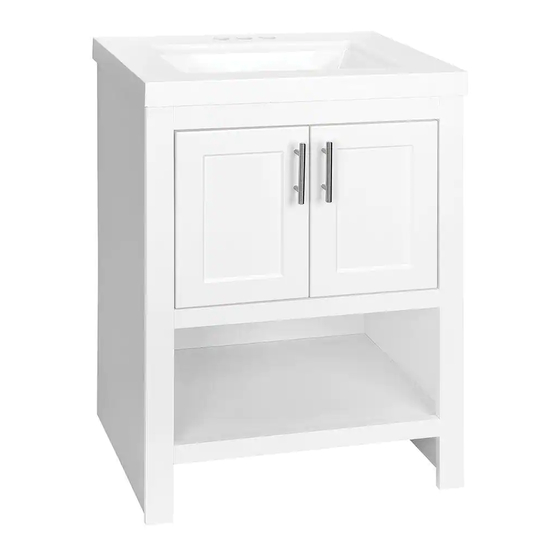
Item #1000 288 829
Item #1002 954 696
Item #1002 954 693
Item #1002 954 701
Model #PPSPAWHT24M
Model #PPSPAWHT30M
Model #PPSPADVR24M
Model #PPSPADVR30M
Vanity Combo
CC - Hanging bracket x 2
DD - Screw x 4
BB
AA
HOMEDEPOT.COM
Please contact 1-888-774-8062 for further assistance.
Advertisement
Table of Contents

Related Manuals for Glacier bay PPSPAWHT24M


Summary of Contents for Glacier bay PPSPAWHT24M
- Page 1 Item #1000 288 829 Item #1002 954 696 Item #1002 954 693 Item #1002 954 701 Model #PPSPAWHT24M Model #PPSPAWHT30M Model #PPSPADVR24M Model #PPSPADVR30M Use and Care Guide Vanity Combo TOOLS REQUIRED HARDWARE INCLUDED Hammer Safety goggles Phillips screwdriver Power drill...
- Page 2 Installation (continued) INSTALLING THE HANGING BRACKETS INSTALLING THE HANGING WIRE NOTE: Before installing, make sure all parts NOTE: This step is optional, and the are present. Compare parts with the Hardware hanging hardware is not included. Included list. If any part is missing or damaged, do not attempt to install the product.
Need help?
Do you have a question about the PPSPAWHT24M and is the answer not in the manual?
Questions and answers