Plextor PX-43CE User Manual
Cd-rom drive
Hide thumbs
Also See for PX-43CE:
- Operation manual (27 pages) ,
- Manual (8 pages) ,
- Operation manual (22 pages)
Table of Contents
Advertisement
Quick Links
Download this manual
See also:
Operating Manual
Advertisement
Table of Contents

Related Manuals for Plextor PX-43CE


Summary of Contents for Plextor PX-43CE
- Page 1 CD-ROM DRIVE PX-43CE Internal PX-45CE External...
- Page 2 Further, Plextor Corp. reserves the right to revise this manual and to make changes in its content without obligation to notify any person or organization of such revision or change.
-
Page 3: Table Of Contents
6. Drive Switch/Jumper/Dial Settings ... 13 PX-43CE Internal Drive ....14 SCSI ID Number ....15 PX-45CE External Drive . - Page 4 14. Specifications ..... 70 About Plextor ......72...
-
Page 5: Introduction
---- CHAPTER 1 ---- Introduction Thank you for purchasing a Plextor 4PleX Plus, the first self-configuring CD-ROM drive. Your new drive is compatible with Microsoft Plug and Play SCAM specifica- tions. Throughout the rest of this manual we will occasionally refer to the 4PleX Plus as well as the internal and external model numbers. -
Page 6: Box Contents
Compare what you find in the box with the tables on the following pages. What you should find in your Plextor box depends on two factors: 1) what configu- ration you purchased; and 2) what the company that sold you the box put in ---- or took out ---- while it was in their possession. -
Page 7: Internal Drives
Use the following tables to check the contents of your box: PX-43CE Internal Drives CD-ROM drive Side rails with 4 chrome and 4 black screws Caddy Plextor Device Driver floppy disk 16-bit SCSI interface board & installation guide Audio cable SCSI cable Plextor operation manual... -
Page 8: External Drives
CHAPTER 2 ---- Box Contents PX-45CE External Drives CD-ROM drive Caddy Plextor Device Driver floppy disk 16-bit SCSI interface board & installation guide Audio Cable SCSI Cable Plextor operation manual Warranty registration card Mac device drivers manual & disk Quick installation guide... -
Page 9: A Gentle Reminder
Therefore, please ship your drive in the safest manner possible. We believe your drive will be most secure if it is shipped in a Plextor box. We hope you will never have to ship your drive back to us. If you do, however, we hope you will send it packaged in a Plextor box. -
Page 10: What Else Do I Need
Inventory your current computer system; check list below. If you are a PC owner and you purchased a Plextor box labeled ‘‘Drive with 16-bit SCSI Interface Kit’’ your needs are simple: none. The same holds true if you are a Mac owner and purchased a Plextor box labeled ‘‘Drive with Mac Kit.’’... - Page 11 Chapter 9 of this manual. Once you have assembled everything you need, you’re ready to install your drive. But first, a few words of caution are in order. CHAPTER 3 ---- What Else Do I Need? PX-43CE/PX-45CE OPERATION MANUAL...
-
Page 12: Precautions
Please read this manual carefully and keep it handy for easy reference. Use this manual for installation, operation, and troubleshooting. See your dealer or call Plextor’s Technical Support Department should your drive require repair or service. Do not put your computer monitor (or any other device weighing more than 30 lbs.) on top of the 4PleX Plus external drive. -
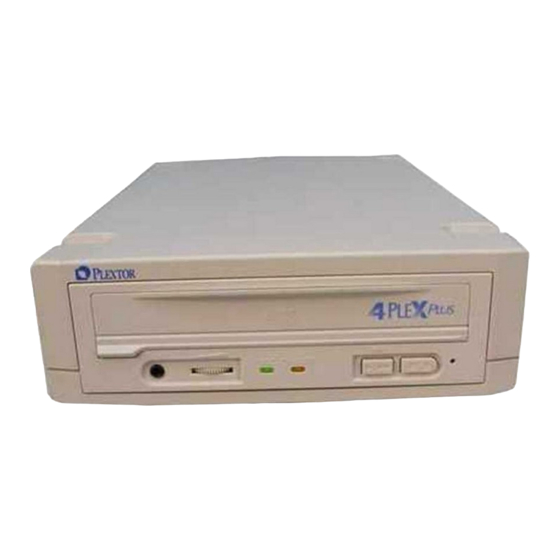
Page 13: Drive Features
Learn how to operate different features of the drive. Learn what goes where. Learn some terms that will be used elsewhere in the manual. YOUR METHOD: Match the parts of your drive to the diagrams below. PX-43CE Internal Drive----FRONT PANEL Door Closed Caddy Slot Front Door Volume... -
Page 14: Rear Panel
Volume Control: Controls volume of headphone jack. This control has no effect on the rear panel audio outputs. Headphone Jack: Stereo mini-jack for headphones and powered speakers. PX-43CE Internal Drive---- REAR PANEL Audio Output Connector SCSI Interface Connector Audio Output Connector: Outputs stereo analog signal. Use to connect to sound- board or audio amplifier. -
Page 15: Px-45Ce External Drive
Volume Control: Controls volume of headphone jack. This control has no effect on the rear-panel audio outputs. Headphone Jack: Stereo mini-jack for headphones and powered speakers. CHAPTER 5 ---- Drive Features Caddy Slot Emergency Eject Hole Stop/Eject Button Audio CD Play Button ON/BUSY Indicator PX-43CE/PX-45CE OPERATION MANUAL... -
Page 16: Rear Panel
CD-ROM drive to your SCSI host adapter; the other to link your CD-ROM drive to another SCSI peripheral with a daisy chain cable (see page 31). You may use either connector for either purpose. PX-43CE/PX-45CE OPERATION MANUAL DIP Switches Power Switch... -
Page 17: Drive Switch/Jumper/Dial Settings
You should leave the jumpers found on the rear panel of the PX-43CE and the switches and rotary dial found on the rear panel of the PX-45CE at their factory settings unless: 1) you plan to use another SCSI peripheral (e.g., hard disk, scanner) with your... -
Page 18: Px-43Ce Internal Drive
To remove a jumper, pull it off with your fingers or a pair of needle-nose pliers. To add a jumper, push it onto the jumper pins. Three extra jumpers are supplied with the PX-43CE in addition to the four jumpers already installed at the factory. Caution: across each pin as shown. -
Page 19: Scsi Id Number
SCSI peripherals, it is necessary to set each peripheral to a unique SCSI ID number. Your Plextor CD-ROM drive can be set to use one of eight SCSI ID numbers. The drive should arrive with its SCSI ID set to 3. Accordingly, if you already use another SCSI peripheral and its SCSI ID also is set to 3, you must change the SCSI ID number of either this peripheral or the CD-ROM drive. -
Page 20: Px-45Ce External Drive
Using the blade of a screwdriver, rotate the dial’s arrow to a different SCSI ID number. Changing DIP Switch Settings Use a screwdriver, pen or paper clip to push the DIP switches to an OFF or ON setting. Other Switch/Jumper Settings----PX-43CE/PX-45CE The remaining switches (external drives) and jumpers (internal drives) are: Parity Leave this ON. - Page 21 Eject button. A software eject command must be issued for the disc to eject from the drive. Check your device driver manual for instructions on how to issue a software eject command. CHAPTER 6 ---- Drive Switch/Jumper/Dial Settings PX-43CE/PX-45CE OPERATION MANUAL...
-
Page 22: Termination
SCSI termination DIP switch by following instructions below. You must enable SCSI termination if the PX-43CE or PX-45CE is the only SCSI peripheral used with your computer. In addition you must enable termination if you are using multiple SCSI peripherals with your computer, and the PX-43CE or PX-45CE last peripheral in a daisy chain. -
Page 23: Px-43Ce Internal Termination
CHAPTER 7 ---- Termination PX-43CE Internal Termination The PX-43CE is shipped from the factory with its termination enabled (ON). To disable termination, remove the jumper from the termination pins on the back panel of your drive. Refer to the pictures on pages 10 and 14 for the location of the termination pins (labeled ‘‘Term’’).
Need help?
Do you have a question about the PX-43CE and is the answer not in the manual?
Questions and answers