Andis BTF2, BTF - T-Blade Trimmers Manual
- Use & care instructions manual (25 pages) ,
- User manual (2 pages) ,
- Use & care instructions manual (21 pages)
Advertisement
OPERATING INSTRUCTIONS
CHARGING UNIT
READ THE FOLLOWING BEFORE CHARGING THIS TRIMMER
Remove Andis cordless trimmer and AC adapter from carton. The dual voltage adapter will have to be set manually to the correct voltage before plugging into an electrical outlet. In the U.S.A., adapter must be at 120V setting (Diagram A). Plug adapter into a 120V (or 240V AC outlet, as according to your local power standards). Note that the trimmer ON/OFF switch must be in the OFF position for the battery to charge. Plug adapter cord directly into the trimmer (Diagram B). The green light on the trimmer will turn on. The trimmer is not charged at the factory. Please recharge trimmer for 12 hours (overnight) before first use for maximum performance.

You can keep the trimmer plugged into the adapter when not in use. The adapter will maintain the battery at full charge and the green light will stay on. The unit has a Nickel Metal Hydride battery that cannot be damaged by overcharging. However, we recommend that the adapter be unplugged if the trimmer won't be used for seven or more days.
PLEASE NOTE: Nickel Metal Hydride batteries have less "memory effect" than Nickel Cadmium batteries. Memory effect is caused by repeated short uses of the trimmer, followed by charging. The battery never fully discharges and, therefore, "forgets" how much energy it can store. In order to maximize the performance of your Nickel Metal Hydride battery, please follow these steps:
- Oil blade. Turn trimmer on and allow it to run until the blade slows significantly. It is not necessary to let the blade stop completely.
- Turn trimmer off. Charge overnight.
- Conduct the above exercise every sixty days.
FAILURE TO CHARGE:
- Make sure voltage is present at the wall outlet (confirm with an appliance you know is working).
- Check to make sure adapter cord is plugged firmly into trimmer. Twist the adapter connector slightly to ensure good electrical connection. If failure to charge still exists, return trimmer to Andis or an Andis Authorized Service Station for examination and repair or replacement.

ATTENTION: The product you have purchased contains a rechargeable battery. The battery is recyclable. At the end of its useful life, under various state and local laws, it may be illegal to dispose of this battery into the municipal waste stream.
Check with your local solid waste officials (or call 1-800-822-8837) for details in your area for recycling options or proper disposal.
PROPER BATTERY DISPOSAL
Batteries may contain heavy metals such as mercury, lead, cadmium, and nickel, which can be harmful to the environment when improperly disposed of. Remove dead batteries from the unit and dispose of properly. Some communities offer recycling or collection of batteries – contact your local government for disposal practices in your area.
OPERATION
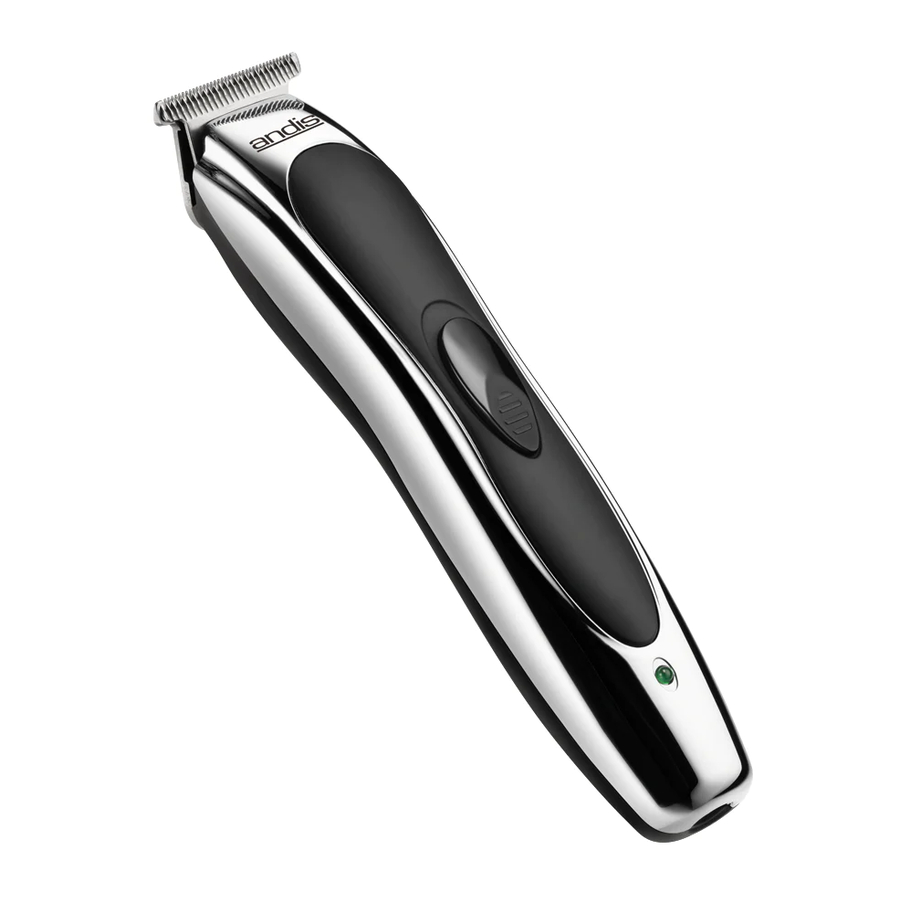
To use trimmer, move switch button toward the blade to turn on. To stop, move switch button to the original position.
USER MAINTENANCE
The internal mechanism of your trimmer has been permanently lubricated at the factory. Other than the recommended maintenance described in this manual, no other maintenance should be performed, except by Andis Company or an Andis Authorized Repair Service Station.
CARE AND SERVICING OF YOUR DEVICE'S BLADES
(Trimmer shown in diagrams may vary from the one that you have.) Blades should be oiled before, during, and after each use. If your trimmer blades leave streaks or slow down, it's a sure sign blades need oil. The trimmer should be held in a position shown in Diagram C to prevent oil from getting into motor. Place a few drops of Andis Clipper Oil on the front and side of the cutter blades (Diagram D). Wipe excess oil off blades with a soft dry cloth. Spray lubricants contain insufficient oil for good lubrication, but are an excellent clipper coolant. Always replace broken or nicked blades to prevent injury. You can clean the excess hair from your blades by using a small brush or worn out tooth brush. To clean the blades we suggest to immerse the blades only into a shallow pan of Andis Clipper Oil, while the clipper is running. Any excess hair and dirt that has accumulated between the blades should come out. After cleaning, turn your trimmer off and dry blades with a dry cloth and start clipping again.

REPLACEMENT (REMOVAL) OF BLADE SET
To remove the blades, first unplug the trimmer from the electrical outlet. Turn the trimmer upside down so teeth of blades are facing down. You may wish to set the clipper on a flat surface while performing these operations. Using a phillips type screwdriver, unscrew the two blade screws as shown below. Remove blade set from trimmer.

To install new blade set, align upper blade set and lower blade set using the black blade guide. Next, align slot in upper blade (smaller of two blades) and center over yoke of trimmer. Align screw holes of lower blade (larger of the two blades) to housing screw holes. While holding in place, replace blade screws. Tighten down screws.

USING TRIMMING COMBS
Your cord/cordless rechargeable trimmer comes complete with six trimming guides. They are 1/2", 3/8", 1/4", 7 day, 5 day and a 3 day for even closer trimming.

ATTACHING THE TRIMMING COMBS
Slide front of comb over the teeth of the blade. Snap comb down over back of blade.

BLADES:
When trimming is complete, slide on/off switch to off position and remove the trimming comb (if being used). Lightly brush out blades with the blade cleaning brush provided. For best results put a drop of Andis clipper oil on the blade when necessary. Motor bearings are permanently lubricated–do not attempt to oil. Blades should be handled carefully and never bumped or used to cut dirty or abrasive material. Do not use while bathing or in the shower, as damage to batteries and product may occur.
TRIMMING NECKLINE
Your cord/cordless rechargeable trimmer makes trimming the neckline easier. The results are professional, too. Simply comb hair into natural position and choose an attachment comb for the length of cut desired. Trim with the natural grain of the hair. You may wish to use a comb to hold the hair in position until you feel comfortable using your trimmer. For a closer trim, you may wish to select one of the closer cutting comb attachments.

TRIMMING BEARD
Always begin with a slightly damp beard for more control when shaping. Comb your beard in the direction the hair grows, to give you an indication of what areas you need to trim. To trim the outer edge of your beard and add definition, hold the trimmer horizontally with on/off switch facing out. Following the line of your jawbone, cut away longer hairs along the outer edge of your beard (Diagrams J & K). To trim your beard line, hold the trimmer vertically (on/off switch facing you). Start at the trimmed edge of your beard and, with a downward motion, trim the area right under your beard line. For added definition of your beard line, use the horizontal position to trim any stray hair (Diagram L).


TRIMMING MUSTACHE
Always begin with a slightly damp mustache. When trimming your mustache the first few times you may wish to use a comb to hold in place while you trim. As the hair is held in place, trim the hair ends (on/off switch facing out using an upward motion). Once you feel comfortable using your cordless rechargeable trimmer, you may wish to use it without the comb. Simply place a finger on upper lip to lift hair away from skin and trim mustache using an upward motion. When you've achieved the desired length, use a downward motion to blend the hairs of your mustache. Be sure to trim slowly and gently. Too much pressure too quickly may trim off too much.


Documents / ResourcesDownload manual
Here you can download full pdf version of manual, it may contain additional safety instructions, warranty information, FCC rules, etc.
Advertisement


Need help?
Do you have a question about the BTF2 and is the answer not in the manual?
Questions and answers