
Subscribe to Our Youtube Channel
Related Manuals for JWA DORSEY 74861


Summary of Contents for JWA DORSEY 74861
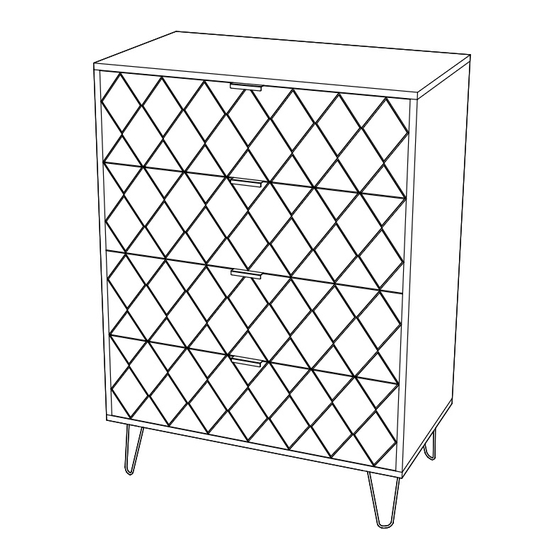
- Page 1 ASSEMBLY INSTRUCTION DORSEY 4 DRAWER WIDE TALL CHEST ITEM CODE 74861/74862/74863/74864 Imported by JWA Furniture Pty Ltd, Qld, Brisbane Australia. For any assistance with assembly or for missing parts please refer to your receipt...
-
Page 2: Pre-Assembly Preparation
PRE-ASSEMBLY PREPARATION Before you start: 1.Choose a clean, level, spacious assembly area. Avoid hard surfaces that may damage the product 2.Take care when li�ing. Product should be assembled as near as possible to the point of 3.Ensure that you have all required contents for complete assembly 4.Always read the assembly instruc�ons carefully before beginning assembly. -
Page 3: Parts List
PARTS LIST... - Page 4 PARTS LIST ITEM QTY NO. ITEM 16PCS 34PCS Φ6*35 16PCS 34PCS Φ15*10 Φ3*16 14PCS 20PCS Φ6*30 Φ4*14 4PCS 4PCS Φ4*40 2PCS 20PCS 4PCS Φ4*35 4PCS 8PCS Φ3.5*12 48PCS Φ3*12 ITEM QTY NO. ITEM TOP PANEL 1 PC 2 PCE DRAWER FRONT PANEL 1 PC LEFT SIDE PANEL 4 PCE...
- Page 5 STEP 1: STEP 2: N(CL) N(CL) N(CL) N(CL) N(CL)
- Page 6 STEP 3: N(CR) N(CR) N(CR) N(CR) N(CR) STEP 4:...
- Page 7 STEP 5: STEP 6:...
- Page 8 STEP 7: STEP 8:...
- Page 9 STEP 9: STEP 10:...
- Page 10 STEP 11: STEP 12:...
- Page 11 STEP 13: N(DL) N(DR) STEP 14: N(DL) N(DR)
- Page 12 STEP 15: STEP 16:...
- Page 13 STEP 17: WALL ASSEMBLY IS COMPLETE CAUTION:Always Lift Your Furniture When Moving /Relocating - Do Not Drag. Dragging Can Cause The Legs To Bend/Break.
- Page 14 SAFETY BRACKETS INSTRUCTIONS 1. Attach one Mounting Plate to the wall with the Large Screws. Make sure to attach the Mounting Plate into a stud. If mounting into brick or masonry you will need to acquire wall anchors. 2. Attach the second Mounting Plate to the furniture frame with the Short Screws.
- Page 15 To protect your furniture, we suggest the following: • Avoid placing your furniture in direct sunlight. • Do not place furniture directly under windows. • Do not place sharp materials (knife, fork, etc.) directly onto your furniture as sharp material may scrape and damage the finish.
Need help?
Do you have a question about the DORSEY 74861 and is the answer not in the manual?
Questions and answers