HP 1810-8 Quick Start Manual
8g switch
Hide thumbs
Also See for 1810-8:
- Installation and getting started manual (58 pages) ,
- Management and configuration manual (71 pages)
Advertisement
Quick Links
HP 1810-8 and 8G Switch Quick Start Guide
For more detailed instructions and information to set up your switch, view or download the Installation and Getting Started
Guide for your switch at www.hp.com/networking/support.
1.
Unpack and check included parts.
2.
Prepare for installation. To avoid personal injury or product damage, follow the "Safety Precautions" on
page 4.
3
. Power on and verify that Self-Test completes normally. The switch does not have a power switch. It is powered on
by connecting the AC power adapter supplied with your switch, or by a PoE connection to Port 1 (8G Switch only).
4.
Mount the switch. Unplug the AC power from the switch before mounting it.
Table or Desktop Mounting: Attach the four self-
adhesive pads (included in the accessory kit) to the bottom
corners of the switch.
Documentation kit
■
Switch
■
Accessory kit (installation hardware)
■
Inline AC/DC adapter with power cord
■
or wall mount AC/DC adapter
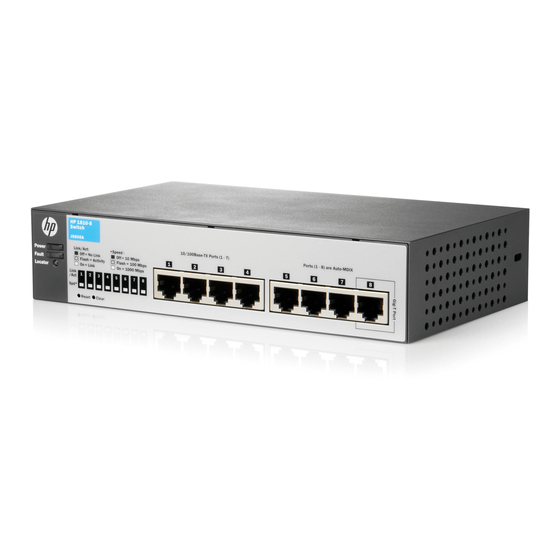
After Self-Test:
Power LED = On
Fault LED = Off
1
Advertisement

Related Manuals for HP 1810-8


Summary of Contents for HP 1810-8
- Page 1 HP 1810-8 and 8G Switch Quick Start Guide For more detailed instructions and information to set up your switch, view or download the Installation and Getting Started Guide for your switch at www.hp.com/networking/support. Unpack and check included parts. Documentation kit ■...
- Page 2 Mount the switch. (continued) Wall Mounting: Install two 5/8-inch (15.875 mm) Number 12 wood screws, (included) into the mounting surface, positioned 5.5 inches (140 mm) apart. Use the wall anchors if necessary. Then, position the switch over the screws and slide to lock in place.
- Page 3 . Connect the network cables. 8. (Optional) Lock the Switch: Use a Kensington lock or similar device (not included) to physically secure the switch. ® Example: Initial Switch Network Configuration using Windows 1. Reconfigure the PC’s IP address and Subnet Mask so that it can communicate with the switch. a.
-
Page 4: Safety Precautions
Safety Precautions To avoid personal injury or product damage when installing your switch, read the installation precautions and guidelines below. Installation Precautions Warnings Do not wall-mount any switch without checking for restrictions in the Installation and Getting Started ■ Guide. Wall-mount the switch with network ports facing up or down (away from or toward the floor). - Page 5 Printed in China © Copyright 2012 Hewlett-Packard Development Company, L.P. June 2012 The information contained herein is subject to change 5998-3195 without notice. 5998-3195...
Need help?
Do you have a question about the 1810-8 and is the answer not in the manual?
Questions and answers