Advertisement
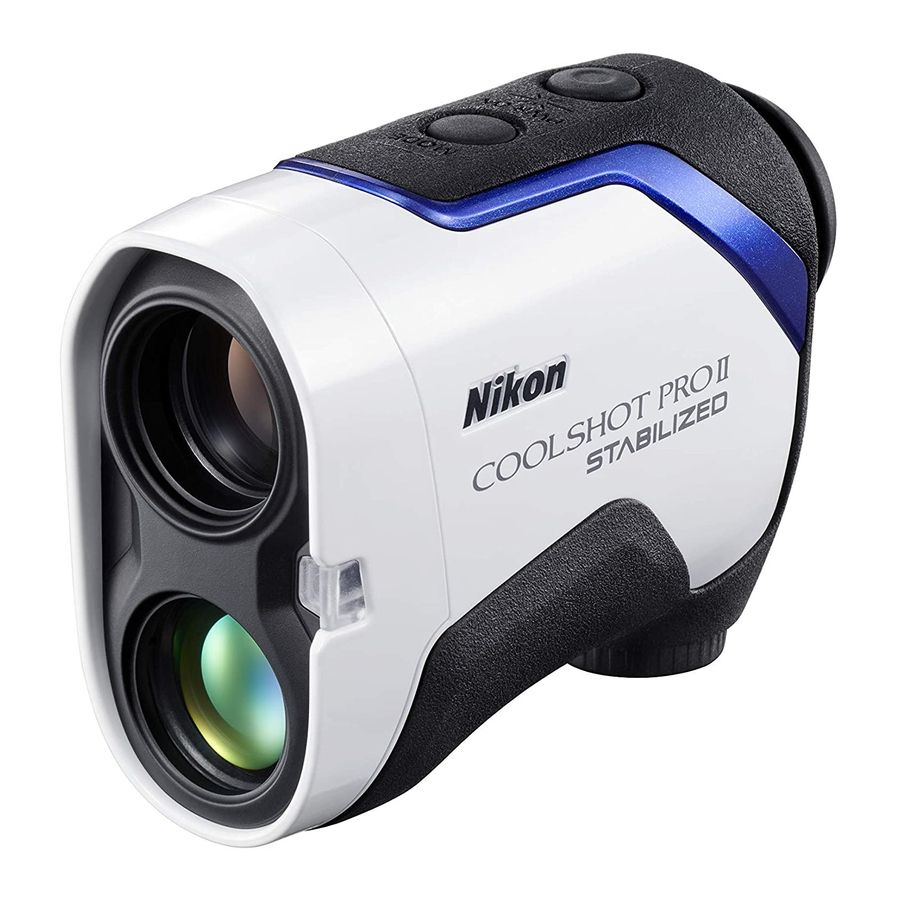
Getting to know the Device
Key features
- STABILIZED function is employed for reducing the vibrations caused by hand movement
- Red internal display is easy-to-read
- Employs the First Target Priority algorithm that makes a flagstick easy to measure
- Notifies with a LOCKED ON sign (First Target Priority detection sign) and electronic sound when measuring overlapping subjects and the distance to the closest subject is displayed
- High-quality 6× finder with multilayer coating
- Larger ocular for easy viewing
- Select from four measurement display modes
- Golf mode (default setting) displays the slope adjusted distance (horizontal distance ± height) which is useful for golf
- Built-in Actual Distance Indicator
- Press and hold down the PWR button to activate the continuous measurement function (up to approx. 8 seconds)
- Automatic power shut-off (approx. 8 sec.unoperated from standby screen)
- Waterproof and fogproof (not designed for underwater usage)
- Invisible/Eyesafe EN/IEC Class 1M Laser
This product uses an invisible laser beam for measuring. It measures the time the laser beam takes to travel from the rangefinder to the target and back. Laser reflectivity and measurement results may vary according to climatic and environmental conditions, as well as the color, surface finish, size, shape and other characteristics of the target.
Measurement may be inaccurate or fail in the following cases:
- In snow, rain or fog
- Small or slender target
- Black or dark target
- Target has stepped surface
- Moving or vibrating target
- When measuring the surface of water
- Target measured through glass
- When the target is glass or a mirror
- When laser incidence to the target's reflective surface is oblique
About measurement results
This device is a basic rangefinder. Its measurement results cannot be used as official evidence.
Nomenclature

- MODE button
- PWR button (POWER ON/Measurement button)
- 6× monocular eyepiece
- Eyecup/Diopter adjustment ring
- Diopter index
- Strap eyelet
- Battery-chamber cover
- Battery-chamber cover "Open" indication
- Monocular objective lens/Laser emission aperture
- Actual Distance Indicator
- Invisible Laser detector aperture
- Product number label
- Indication
Composition
- Body ×1
- Case ×1
- Lithium battery (CR2) ×1
Internal display

- Height (actual distance at golf mode setting)
![]() : "Failure to measure" or "Unable to measure"
: "Failure to measure" or "Unable to measure" - Target mark
![]() : Aim at the target you want to measure. Position the target at the center of the mark.
: Aim at the target you want to measure. Position the target at the center of the mark. - Unit of measure (m: meter/YD: yard)
- Distance
![]() : "Failure to measure" or "Unable to measure"
: "Failure to measure" or "Unable to measure" - Battery level indicator
- Measurement display mode indications
- Laser irradiation mark
![]() : Appears while the laser is being irradiated for a measurement. Do not look towards the objective lens side while this mark is shown.
: Appears while the laser is being irradiated for a measurement. Do not look towards the objective lens side while this mark is shown. - LOCKED ON sign (First Target Priority detection sign)
![]() : When measuring overlapping subjects, and the distance to the closest subject is displayed, this sign is lit.
: When measuring overlapping subjects, and the distance to the closest subject is displayed, this sign is lit.
 : "Failure to measure" or "Unable to measure"
 : Aim at the target you want to measure. Position the target at the center of the mark.
 : "Failure to measure" or "Unable to measure"
 : Appears while the laser is being irradiated for a measurement. Do not look towards the objective lens side while this mark is shown.
- The internal display of this product is enlarged by the eyepiece. Although you may see dust that has entered, it does not effect the accuracy of measurement.
Functions
STABILIZED function
- ON and OFF
The STABILIZED function is activated concurrently when the Laser Rangefinder is ON. When the Laser Rangefinder is OFF, the STABILIZED function automatically turns off.
First Target Priority algorithm
When measuring overlapping subjects, First Target Priority algorithm displays the distance to the closest subject.
Dual LOCKED ON (First Target Priority detection notice function)
When measuring overlapping subjects, such as a flagstick with trees in the background, and the distance to a closest subject is displayed, LOCKED ON sign (First Target Priority detection sign)* is lit in the viewfinder with an electronic sound (if the electronic sound setting is on).
* Single measurement: When measuring overlapping subjects and the distance to a closest subject is displayed, the LOCKED ON sign appears with an electronic sound.
Continuous measurement: When displayed figures shift to a closer subject, the LOCKED ON sign appears with an electronic sound.

LOCKED ON sign (First Target Priority detection sign) is lit.
Actual Distance Indicator
When the measurement display mode is actual distance mode, the Actual Distance Indicator blinks while the Laser Rangefinder is ON.
You can find out at a glance that the inclinometer function is not being used.
Inserting/Replacing battery
Type of battery
3V CR2 lithium battery ×1
Inserting/Replacing battery
- Open the battery-chamber cover.
Rotate the battery-chamber cover counterclockwise and remove it. - Insert the battery.
To replace the battery, take out the old battery before inserting a new one.
Follow the battery insertion mark inside the battery chamber to insert the + and - ends of the battery in the correct orientation (insert the battery so that + is pointing outward). If the battery is not inserted correctly, the Laser Rangefinder will not operate.
![]()
- Attach the battery-chamber cover.
Rotate the battery-chamber cover clockwise and secure it firmly. When attaching the battery-chamber cover, securely screw it all the way and check that it is secured.

- The battery-chamber cover may be difficult to rotate because this product uses a rubber seal to maintain its waterproof capabilities.
Battery level indicator
| Display | Description | |
 | After power on, displays for 2 seconds only. | Sufficient power available. |
 | After power on, displays for 2 seconds only. | Power getting low. Prepare to replace the battery. |
 | Displayed continuously. | Low. Battery should be replaced with a new one. |
 | Blinks. After blinking 3 times, automatically powers off. | The battery is empty. Replace the battery. |
Navigating the menus
- Operating the MODE button
There are two ways to press the MODE button. Operate the button while following the descriptions in this manual.- "Press and hold" means to continue pressing the button for 1.5 seconds or longer.
- "Press" means to press the button quickly (less than 1.5 seconds).
Changing the measurement display mode
Switch between four modes (refer to the figure below) according to your golf playstyle. The displayed information differs depending on the mode. Factory default setting is golf mode.

- Press the PWR button to turn on the Laser Rangefinder.
- The measurement display mode switches every time you press the MODE button.


- The setting is saved even when the Laser Rangefinder is turned OFF.
Changing the internal display luminance (F1)
Adjust the brightness of the internal display. The factory default setting is A (Auto, automatic brightness control). You can select A, or 1 to 5.

- A (Auto): The luminance is adjusted automatically according to the brightness of the surroundings.
- 1 - 5: 1 is the darkest, while 5 is the brightest.
- Press the PWR button to turn on the Laser Rangefinder.
- Press and hold the MODE button.
- You can now change the internal display luminance.
- The setting switches every time you press the PWR button.


- If you press and hold the MODE button or do not operate the buttons for about 8 seconds, the displayed setting is saved and the Laser Rangefinder returns to standby.
- The setting is saved even when the Laser Rangefinder is turned OFF.
Changing the distance display unit (F2)
For the display unit of the measurement results, select YD (yards) or m (meters). Factory default setting is YD (yard).

- Press the PWR button to turn on the Laser Rangefinder.
- Press and hold the MODE button.
- Press the MODE button once.
- You can now change the distance display unit.
- The setting switches every time you press the PWR button.


- If you press and hold the MODE button or do not operate the buttons for about 8 seconds, the displayed setting is saved and the Laser Rangefinder returns to standby.
- The setting is saved even when the Laser Rangefinder is turned OFF.
Switching the electronic sound (F3) ON or OFF
When the electronic sound setting is ON, the LOCKED ON sign (First Target Priority detection sign) is lit with an electronic sound. Factory default setting is On (on).

- Press the PWR button to turn on the Laser Rangefinder.
- Press and hold the MODE button.
- Press the MODE button two times.
- You can now switch the electronic sound ON or OFF.
- The setting switches every time you press the PWR button.


- If you press the MODE button or do not operate the buttons for about 8 seconds, the displayed setting is saved and the Laser Rangefinder returns to standby.
- The setting is saved even when the Laser Rangefinder is turned OFF.
Operation diagram of the setting menus

 Press and hold the MODE button.
 Press the MODE button.
 Press the PWR button.
Measurement

Controls, adjustments or usage of procedures other than those specified herein may produce negative effects or damage to your health due to laser radiation.
- Before measuring, be sure to confirm each menu setting. Refer to "Navigating the menus" for menu details and how to change the settings.
Adjusting the focus of the internal display
If the internal display is difficult to see, adjust the focus with the following procedure.
- Press the PWR button to turn on the power.
- Look through the eyepiece and rotate the diopter adjustment ring until the internal display comes into focus.
![]()

Measuring
- Press the PWR button to turn on the power.
- If you do not operate the button for about 8 seconds, the power turns off automatically.
![]()
- If you do not operate the button for about 8 seconds, the power turns off automatically.

- Aim at the target.
Position the center of the target mark on the target.
![]()
- Press the PWR button to measure.
After measurement, the result is displayed for approx. 8 seconds, then power automatically turns off.
Press the PWR button while the power is on to measure again.

Single measurement
Pressing the PWR button once starts single measurement, then displays the results.

Continuous measurement
Press and hold down the PWR button to start continuous measurement up to approx. 8 seconds. During measurement, the measured result is displayed consecutively while the laser irradiation mark is blinking. If you release your finger from the button, continuous measurement stops.

- When measuring a flagstick at a golf course
Keep targeting the flagstick at the center of the target mark with the continuous measurement function to minimize the effects of hand shake.
Specifications
| Measurement range (actual distance) | 7.5-1,090 meters/8-1,200 yards |
| Distance display (increment) | Actual distance (upper): Every 1 m/yd. Actual distance (lower): Every 0.5 m/yd. Horizontal distance/Slope adjusted distance (lower): Every 0.2 m/yd. Height (upper): Every 0.2 m/yd. (shorter than 100 m/yd.) Every 1 m/yd. (100 m/yd. and over) |
| Accuracy (actual distance)*1 | ±0.75 m/yd. (shorter than 700 m/yd.) ±1.25 m/yd. (700 m/yd. and over, shorter than 1,000 m/yd.) ±1.75 m/yd. (1,000 m/yd. and over) |
| Magnification (×) | 6 |
| Effective diameter of objective lens (mm) | 21 |
| Angular field of view (real) (˚) | 7.5 |
| Eye relief (mm) | 18.0 |
| Exit pupil (mm) | 3.5 |
| Diopter adjustment | ±4 m-1 |
| Dimensions (L × H × W) (mm/in.) | 100 × 75 × 42/3.9 × 3.0 × 1.7 |
| Weight (g/oz.) | Approx. 180/6.3 (without battery) |
| Operating temperature (˚C/˚F) | -10 — +50/14 — 122 |
| Operating humidity (%RH) | 80 or less (without dew condensation) |
| Power source | CR2 lithium battery × 1 (DC 3V) Automatic power shut-off (after approx. 8 sec. unoperated) |
| Structure | Waterproof (up to 1 m/3.3 ft for 10 minutes)*2, fogproof Battery chamber is rainproof — JIS/IEC protection class 4 (IPX4) equivalent (under Nikon's testing conditions)*3 |
| Electromagnetic compatibility | FCC Part15 SubPartB class B, EU:EMC directive, AS/NZS, VCCI classB, CU TR 020, ICES-003 |
| Environment | RoHS, WEEE |
| Laser classification | IEC60825-1: Class 1M/Laser Product FDA/21 CFR Part 1040.10: Class I Laser Product |
| Wavelength (nm) | 905 |
| Pulse duration (ns) | 9.7 |
| Output (W) | 33.8 |
| Beam divergence (mrad) | Vertical: 0.25, Horizontal: 1.8 |
- The specifications of the product may not be achieved depending on the target object's shape, surface texture and nature, and/or weather conditions.
*1 Under Nikon's measurement conditions.
*2 Waterproof models
This product has waterproof capabilities, and will suffer no damage to the optical system nor observation if submerged or dropped in water to a maximum depth of 1 m/3.3 ft for up to 10 minutes.
This product offers the following advantages:
- Can be used in conditions of high humidity, dust and rain without risk of damage to internal functions.
- Nitrogen-filled design makes it resistant to condensation and mold.
However, observe the following when using the Nikon Laser Rangefinder:
- Do not operate or hold the product in running water.
- If any moisture is found on movable parts of this product, stop using the product and wipe it off.
*3 The battery chamber is rainproof, not waterproof. Water may enter the device if the Rangefinder is submerged in water. If water enters the battery chamber, wipe out any moisture and allow time for the chamber to dry.
Battery life
Approx. 2,200 times (at approx. 20°C (68°F))
This figure may differ according to conditions such as temperature and other factors. Use only as a guide.
- The battery supplied with this Nikon Laser Rangefinder is for operation checking. Due to natural electrical discharge, the life of this battery will likely be shorter than that noted above.
Troubleshooting/Repair
If this product fails to function as expected, check the list below before consulting your local dealer or the store where you purchased it.
- If there is a problem with the product.
| Problem | Cause/Solution |
|
|
|
|
|
|
|
|
|
|
|
|
|
|
|
|
 ] is displayed in the internal display
- If you require a repair, please contact your local dealer or the store where you purchased the product.
Do not repair or disassemble. It may result in a serious incident.
Please note that Nikon is not responsible for any direct or indirect damage if the user attempts to repair or disassemble the product.
- About performance parts for repair and the repairable period
The repairable period is within the holding period of performance parts for repair (parts necessary to maintain performance). In some cases, repairs may be possible even after the parts holding period has passed, so please contact a Nikon service organization, the store where you purchased the product, or your nearest dealer. In addition, if the product is found to be completely damaged due to malfunction or damage caused by submersion, fire, or dropping, it cannot be repaired even within the holding period.
Evaluation of the degree of failure or damage is at the discretion of the Nikon service organization.

Documents / ResourcesDownload manual
Here you can download full pdf version of manual, it may contain additional safety instructions, warranty information, FCC rules, etc.
Download Nikon COOLSHOT PRO II STABILIZED - 6x21 Golf Laser Rangefinder Manual
Advertisement


Need help?
Do you have a question about the COOLSHOT PRO II STABILIZED and is the answer not in the manual?
Questions and answers