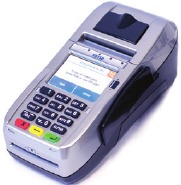
First Data FD150 - Terminal Quick Set-Up Guide
- User manual (80 pages) ,
- Quick setup manual (10 pages) ,
- Setup manual (3 pages)
Advertisement
- 1 What's in the box
- 2 What else will you need
- 3 Let's get started
- 4 Where to put the Device
- 5 Loading the paper
- 6 Get connected
- 7 Add an (optional) Device
- 8 Plug in the power
- 9 Using the magnetic stripe reader
- 10 Using the chip card reader
- 11 Using the contactless reader
- 12 Using the keypad
- 13 Using the touchscreen
- 14 Documents / Resources
What's in the box
- First Data FD150 Terminal
- Thermal Paper Roll
- Telephone Cord and/or Ethernet Cable
- Two-piece AC Power Supply
What else will you need
If connecting through Cable:
- Router
- Modem
- Ethernet Cable
- Coaxial Cable
If connecting through DSL:
- Router
- Modem
- Ethernet Cable (2)
If connecting through Dial-up:
- Splitter (optional)
Note:
To prevent damage to the FD Terminals and connected devices, we strongly recommend using a surge protector or UPS (Uninterruptible Power Supply) with a battery backup and phone/fax protection.
Let's get started
Typical set-up time: 10 –15 minutes
Where to put the Device
Place the terminal on a desk or tabletop. Avoid areas with direct sunlight, objects that radiate heat, excessive dust and other electrical devices that can cause excessive voltage.
Loading the paper
Pop the printer cover's latch to open the cover; then lift the cover. Load a roll of paper (Appleton POS Grade Plus 600-2.4 is recommended) into the printer. The thermal print-side of the paper will feed out facing the operator. Close the cover and tear off any excess paper.

Get connected
You may choose an IP connection, (DSL or cable), Wi-Fi or dial-up.
If you choose dial-up, you should use a dedicated phone line.

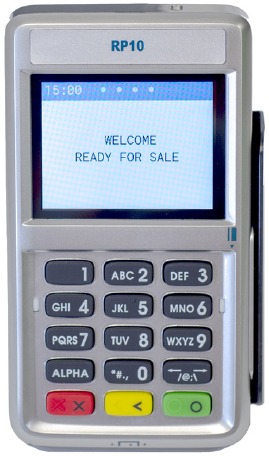
Add an (optional) Device
If you have another device to connect to the terminal, such as the RP10 PIN Pad or MagTek MiniMICR Check Reader, you can now connect them to either the USB or RS-232 port. Please see the device-specific installation instructions.
Plug in the power
Before using the power supply, please connect all peripherals to the terminal. Not doing so may result in damage to the unit or connected devices.

Connect the power cord to the power supply via the three-prong end and receiver.

Find the power input on the right side of the terminal. Connect the single-pole AC adapter plug to the power input at the right side of the terminal. Turn the plug so that cord is directed toward the back of the terminal.
The power supply should be the last item connected to the unit. Plug the adapter into a surge protector (strongly recommended) or a standard 120V electrical outlet.

Adapter spec: LI SHIN INT./LSE0107A1240:
Input: 100-240Vac, 50/60Hz 1A /
Output: 12Vdc, 3.33A
Operating Temperature: 0C to +50C
Battery spec: 3V, CR2032

Risk of explosion if the battery is replaced by an incorrect type. Please dispose of used battery according to local regulations.
Use only shielded signal cables to connect I/O devices to this equipment. You are cautioned that changes or modifications not expressly approved by the party responsible for compliance could void your authority to operate the equipment.

This is a Class A product. In a domestic environment, this product may cause radio interference, in which case the user may be required to take adequate measures.
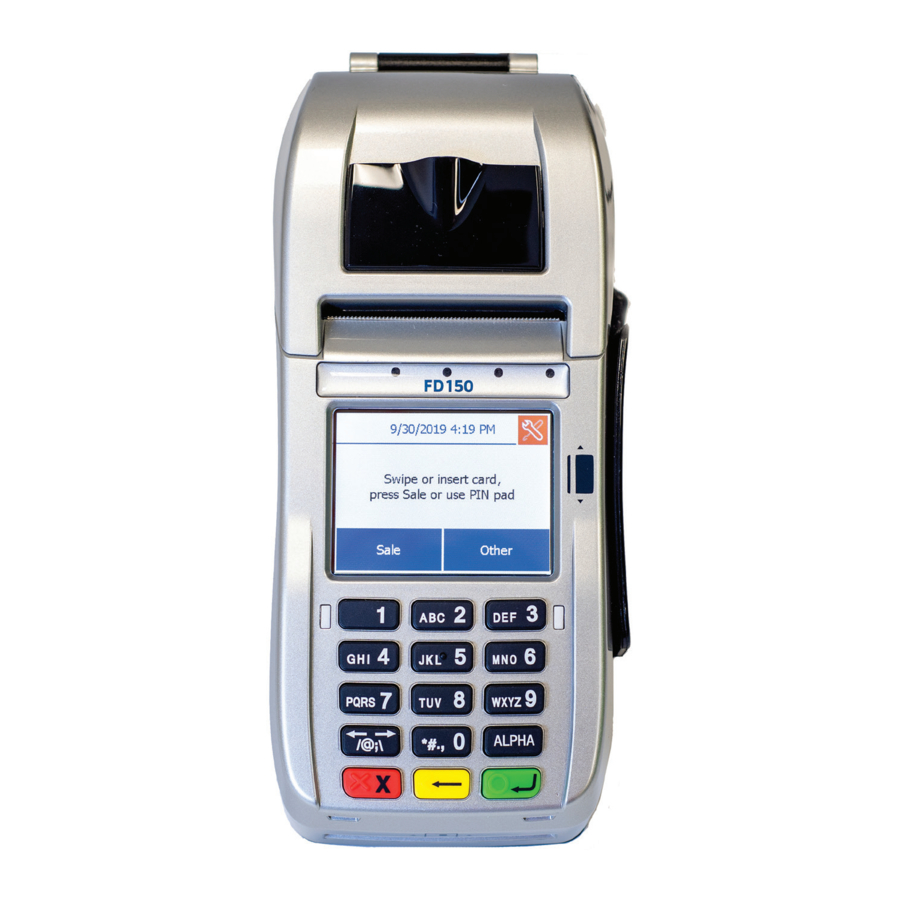
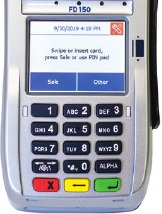
Using the magnetic stripe reader
With the idle message displayed, select the desired transaction type. Insert the card into the card reader slot, with the magnetic stripe lying in the slot and facing the terminal.
Slide the card in either direction through the slot without stopping.
If the card swipe fails, check the position of the magnetic stripe and slide the card again. If failure persists, the card's stripe may be damaged and user will have to manually enter the account number on the keypad.
Follow remaining prompts on the display to complete the transaction. Refer to quick reference guide for details.
Using the chip card reader
(Optional: Smart card capability must be enabled. Contact your sales or customer service representative.)

Find the card reader slot at the front of the FD150 and insert the card completely so the microprocessor chip is no longer visible and the front of the card is facing up. The card must remain inserted throughout the entire transaction.
Using the contactless reader
The card holder will tap his or her contactless card or device against the contactless icon located on the FD150. In some cases, the device may prompt for a second tap to complete the transaction.
Using the keypad
Through the keypad, the user can select transaction types and enter information.
The FD150 has 15 keys that can be used to select numbers, letters and to enter data.
To enter numbers or letters, simply press the appropriate key. For example, to type the letter A, press [ALPHA]; then the number 2 key. For the second letter on the keyboard, such as B, press [ALPHA] twice then [2]. Or for C press [ALPHA] three times then [2].
Using the touchscreen
In addition to the keypad, the FD150 also includes an easy to use touchscreen with a simplified menu. Many functions can be selected using the touchscreen for added convenience.
© 2009–2019 Fiserv, Inc. or its affiliates. Fiserv is a registered trademark.
Other products referenced in this material may be trademarks or registered trademarks of their respective companies.

Documents / ResourcesDownload manual
Here you can download full pdf version of manual, it may contain additional safety instructions, warranty information, FCC rules, etc.
Advertisement


Need help?
Do you have a question about the FD150 and is the answer not in the manual?
Questions and answers