
Related Manuals for Myson Rio


Summary of Contents for Myson Rio
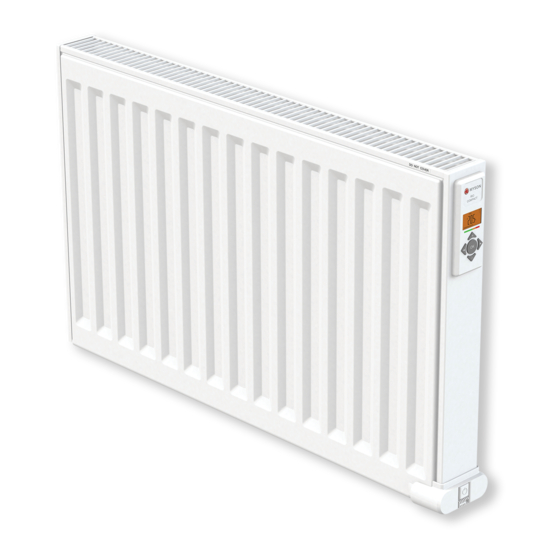
- Page 1 RIO range Installation, operating, and instruction manual Please leave this manual with the end user Class I - 230V - 50 Hz Register your warranty online at www.myson.co.uk...
- Page 2 PRODUCT INFORMATION Min. 100mm Min. 200mm Min. 100mm Min. 100mm Min. 100mm OUTSIDE ZONES Zone 1 Zone 2 Zone 2 Zone 0 Safety Clip-on Brackets Step 1 Step 2...
- Page 3 PRODUCT INFORMATION Height (mm) Length (mm) 1000 1250 1300 1600 2000 1016 1320 1727 Cable Hook Assembly...
- Page 4 PRODUCT INFORMATION Stand alone operation Switched Fused Spur Terminal Block Wire Colours BR = Brown BK = Black (Neutral) BL = Blue G/Y = Green/Yellow Connected to a Touch 4 programmer PILOT WIRE FROM PROGRAMMER (switched live) Wire Colours BR = Brown Mark switched live BK = Black 230V 50Hz SUPPLY...
- Page 5 PRODUCT INFORMATION Touch Wire Colours BR = Brown BK = Black BL = Blue CH4 CH3 CH2 CH1 G/Y = Green/Yellow Other products in Zone 1 Other products in Zone 2 Zone 2 Zone 1 Other products in Zone 3 Other products in Zone 4 Zone 4...
- Page 6 PRODUCT INFORMATION 0h 1 2 9 10 11 12 13 14 15 16 17 18 19 20 21 22 23 0h 1 2 9 10 11 12 13 14 15 16 17 18 19 20 21 22 23 0h 1 2 9 10 11 12 13 14 15 16 17 18 19 20 21 22 23 0h 1 2 9 10 11 12 13 14 15 16 17 18 19 20 21 22 23...
- Page 7 PRODUCT INFORMATION...
-
Page 8: Safety Information
SAFETY INFORMATION SAFETY INFORMATION Due to the safety standard EN 60335, the out of reach of children aged less than text below is obligatory for all electric 8 years. Children of less than 3 years products, not only radiators. should be kept away from the unit unless continuously supervised. -
Page 9: General Info
GENERAL INFORMATION 1. GENERAL INFO • For the correct installation of radiators it is essential that the fixing of the radiator is carried out in such a way that it is suitable for intended use AND predictable misuse. A • This appliance is a sealed electric radiator designed for fixed number of elements need to be taken into consideration wall-mounted installation. -
Page 10: Operation
GENERAL INFORMATION 3. OPERATION GENERAL HOW TO CHANGE BETWEEN THE OPERATING MODES In basic mode, only Comfort and Program mode are available. •The On/Off button is located at the bottom of the control side of the radiator (C, picture 5). The radiator should only be switched “on”... -
Page 11: Advanced Mode
GENERAL INFORMATION HEATING To select a heating program, please refer to section 4.0, • When the radiator is heating, the , in section 14 of and select parameter number 11 to view the available the LCD display, is constantly displayed. As the radiator heating programs. - Page 12 Use the Key Lock function to prevent any changes to your settings (in a child’s room, public area… etc) Rio PLUS electric radiators can be connected to a • To activate the Key Lock function, simultaneously programmable system by either a Unisenza PLUS Gateway and press and hold the "<"...
-
Page 13: Parameter Menu
GENERAL INFORMATION 4. PARAMETER MENU __._ : CALIBRATION OF THE INTERNAL PROBE The calibration must be done after 1 day working with the same setting temperature in accordance with the following The thermostat has a parameter menu. In order to enter this description: menu, simultaneously press and hold the "<"... -
Page 14: Firmware Version
GENERAL INFORMATION , in section 5 of the LCD display, is constantly NOTE: When considering the permanent use of the radiator displayed (program mode only). The adaptive start icon at 60°C or 75°C maximum, the following correction factor should be applied for the output. will blink when pre-heating commences. - Page 15 GENERAL INFORMATION prog: SELECT/DEFINE HEATING PROGRAM NOTE: If connected to a Unisenza PLUS Gateway, this setting will only be available in the App. SELECTING A PROGRAM • The above screen will be shown, where the symbol, the time value 00:00, and the time segment in the program information bar along the bottom of the screen will blink continuously.
- Page 16 GENERAL INFORMATION • Press the “OK” key to confirm the time at which the mode • Press the “OK” key to confirm the time at which the mode will change over from Comfort to Reduced. The symbol will change over from Comfort to Reduced. The symbol will start to blink instead of the symbol, signifying the...
-
Page 17: General Information
GENERAL INFORMATION • The day number will increment to the next day and the time will be set back to “00:00”. • When all of the days have been defined, the word “SAVE” will be displayed. To save the program, press the “OK” key to confirm. -
Page 18: Maintenance, Repair And Disposal
GENERAL INFORMATION 5. MAINTENANCE, 7. TECHNICAL REPAIR AND DISPOSAL CHARACTERISTICS • WARNING: Disconnect electrical supply before carrying out ENVIRONMENTAL: any maintenance activity. - Operating temperature -30°C to +50°C • The product should be cleaned using a soft damp cloth. Do - Storage temperature -30°C to +70°C NOT use chemical or abrasive cleaners as they will... - Page 19 ECO DIRECTIVE TABLE 2 Model identifier(s): RIO D xxxxxx Z RIO P xxxxxx Z RIO L xxxxxx Z Type of heat input, for electric storage Heat Output local space heaters only manual heat charge control, with – Nominal heat output where “xxxxxx” = 30DX50 or P nom 0.50...
- Page 20 Purmo Group UK Ltd P24MI539 ver3 Eastern Avenue, Team Valley Gateshead, Tyne & Wear NE11 0PG, UK T: 0330 041 5474 F: 0191 491 7568 generalenquiries.uk@purmogroup.com www.myson.co.uk...
Need help?
Do you have a question about the Rio and is the answer not in the manual?
Questions and answers
Why does my myson Rio radiator keep switching itself off. It is only 14 months old
The Myson Rio radiator may keep switching off due to one of the following reasons:
1. Program Settings: It may be set to a heating program that turns the radiator off at certain times. Check parameter number 11 to confirm the correct heating program is selected.
2. Clock Settings: If the internal clock is not set (parameter number 10), the radiator may not follow the intended schedule. Ensure the time is set correctly.
3. Anti-Freeze Mode: If "Anti-Freeze" mode is active, the radiator operates only to prevent freezing, and may switch off when the temperature is above the threshold.
4. Key Lock Function: If the Key Lock is active, settings cannot be changed, which could prevent manual override of the off state.
5. Power Supply Issues: If connected via a programmable system or spur, there may be issues with the power or control signal.
Check each of these settings to identify the cause.
This answer is automatically generated