Advertisement
Quick Links
Advertisement

Subscribe to Our Youtube Channel
Related Manuals for Baxton Studio WI11250


Summary of Contents for Baxton Studio WI11250
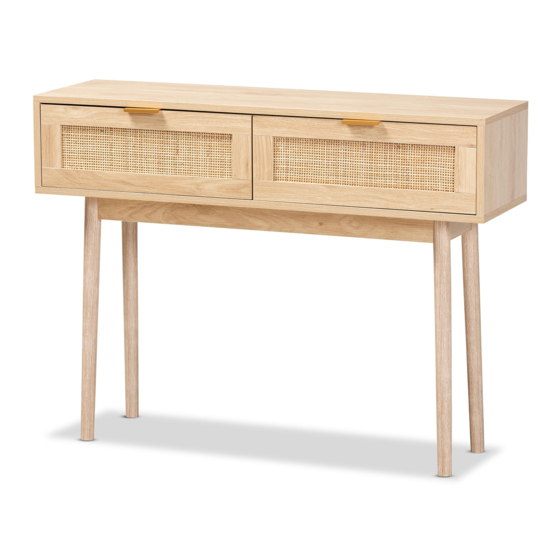
- Page 1 WI11250...
- Page 4 • Fix hardware F to Part 2 with screw G. • Fix hardware F to Part 3 with screw G. • Fix hardware F to Part 8 with screw G. Right Left •Screw hardware B to Part 1.
- Page 5 • Connect Part 8 to Part 1 with hardware C, then tight Part 8 to Part 1 with hardware A. • Connect Part 2/3 to Part 1 with hardware C, then tight Part 2/3 to Part 1 with hardware A.
- Page 6 • Put Part 9 to the kerve of Part 1/2/3. • Connect Part 10 to Part 2/3/8 with hardware C, then tight Part 10 to Part 2/3 /8 with screw H.
- Page 7 • Connect Part 12 to Part 10 with hardware D. • Connect Part 11 to Part 10 with hardware C, then tight Part 11 to Part 10 with screw D.
- Page 8 • Connect Part 13 to Part 11/12 with hardware I • Connect Part 14 to Part 11/12 with hardware E/L/N, stick hardware R to Part 14.
- Page 9 • Connect Part 14 to Part 11/12 with hardware E/L/N, stick hardware R to Part 14. • Fix Part 7 to Part 4/5 with hardware T, then put Part 6 to the kerve of Part 4/5/7. • Fix hardware K to Part 15 with screw G. •...
- Page 10 • Put the drawers into frame, and fix hardware J to Part 4/5. • Fix hardware M to four cor ner with screw U. • Fix hardware P and N to Part 1 with screw Q.
- Page 11 • Fix hardware O to wall, then fix hardware O and P to the wall with screw S.
Need help?
Do you have a question about the WI11250 and is the answer not in the manual?
Questions and answers