Table of Contents
Advertisement
Quick Links
Advertisement
Table of Contents

Related Manuals for Goldair GBQR120


Summary of Contents for Goldair GBQR120
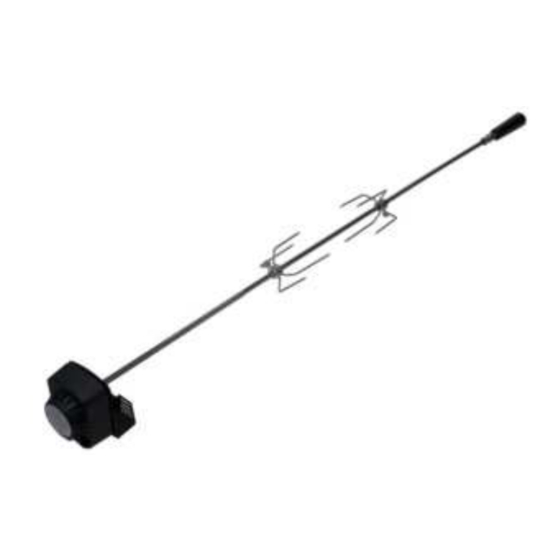
- Page 1 Operating Instructions Universal Rotisserie Model: GBQR120...
-
Page 3: Read Me First
Before attempting to assemble your Goldair Rotisserie, ensure all parts are correct and contained within the box as per the components list. o Goldair suggests laying out all components on a large flat surface and removing any plastic or protective material before assembling your Rotisserie. -
Page 4: Safety Guide
Safety Guide Page 2 • Do not use your Rotisserie in wet weather conditions • Store Rotisserie indoors after use • Do not leave food unattended on the Rotisserie • In case of a fat fire turn gas off at cylinder immediately •... -
Page 5: Parts List
Parts List Page 3 Part Number Part Name Fork Screw Meat Fork Rod C Motor Motor Bracket Screw M5*16 Screw Pad M5 Screw Nut Rod A Mounting Bracket Rod B... -
Page 6: Assembly Procedure
Assembly Procedure Page 4 Note: Tools required for assembly - Medium Philips screwdriver • Open the lid and make sure that all burners are in the OFF position • Remove warming rack, NOTE Always remove the warming rack when using the Rotisserie Step 1. - Page 7 Assembly Procedure, continued Page 5 Step 4. Assembling the rotisserie rod. Your rod is broken down into 3 pieces. 4 Burner Assembly To assemble the rods for a 4 Burner BBQ, tighten together rods A and C.
- Page 8 Assembly Procedure, continued Page 6 6 Burner Assembly To assemble the rods for a 6 Burner BBQ, tighten together rods A into B and then tighten C into B. Step 5. Insert the rotisserie rod into the motor and rest the handle on the other bracket. HANDLE END MOTOR END...
- Page 9 Operating your Rotisserie Page 7 • Never leave burners on high for more than 10 minutes unless actually cooking. If the burner makes hissing sounds when lit, it may be burning inside. Turn burner off, allow it to cool and try again.
- Page 10 Operating your Rotisserie Page 8 Controlling the flames The knobs have three basic positions: Off, High and Low. You can achieve any flame height between low and high by rotating the BBQ control knob between these positions. Checking the flame Look underneath the BBQ so that you can see the flames.
- Page 11 Cooking with your Rotisserie Page 9 Tips Avoid burning or charring food as this has been shown to be unhealthy. Don’t leave cooked food standing for too long before eating. Indirect Cooking Method Using indirect cooking, there is no direct heat on the food. To achieve this the hood needs to be closed and the burners either side (not directly under) the meat need to be on.
- Page 12 Cook until meat thermometer registers a cooked temperature. (Do not leave the meat thermometer in the roast during cooking). Three Burner direct Cooking Good for bigger cuts of meat. Generates higher temperatures around the meat. TECHNICAL SPECIFICATION Model: HCF-P01 Item: GBQR120 Supply: 220V-240 VAC 50HZ Wattage:...
-
Page 13: Maintenance
Always use a soft cloth to clean your Rotisserie. SUPPORT AND TECHNICAL ADVICE PO Box 100707, NSMC, Auckland, New Zealand Monday – Friday 8am-5pm Phone: 0800 232 633 Website: www.goldair.co.nz... -
Page 14: One Year Warranty
In non-domestic use Goldair limits the voluntary warranty to three months. Goldair undertake to repair or replace this product at no charge if found to be defective due to a manufacturing fault during the warranty period. - Page 16 New Zealand PO Box 100707, North Shore Mail Centre, Auckland, 0745 www.goldair.co.nz Australia PO Box 574, South Morang, Victoria, 3752 www.goldair.com.au...
Need help?
Do you have a question about the GBQR120 and is the answer not in the manual?
Questions and answers