
Related Manuals for YOSensi Airflow Pro2


Summary of Contents for YOSensi Airflow Pro2
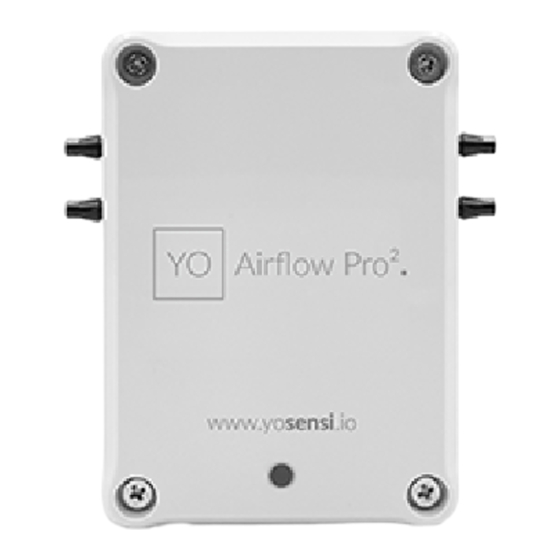
- Page 1 1. Unscrew the device and remove all four screws from the enclosure. Figure 1 Opening the enclosure of the device.
- Page 2 2. Place three LR6 batteries in the device according to the polarity indicated on the battery holder. Figure 2 Battery placement instructions. 3. Test to ensure the device turns on, then screw the enclosure back together. 4. Insert the silicone tubing into the sensor inputs. Figure 3 Silicone tubing connection instructions.
- Page 3 Figure 4 Silicone tubing connection instructions (side view). Important to avoid breaking the device! When removing silicone tubes, it is necessary to use a sharp tool. First, the tubes must be cut off at the edge of the sensor, then you can cut off the rest of the tube located along the black sensor. Be careful to gently remove the rest of the silicon tube without breaking the sensor.
Need help?
Do you have a question about the Airflow Pro2 and is the answer not in the manual?
Questions and answers