Table of Contents
Advertisement
Quick Links
Parts
Installation
ProMix
Third Flush Valve Kit
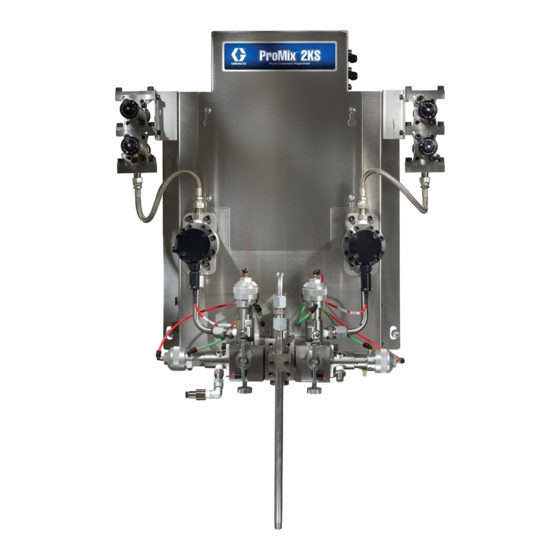
For proportional mixing of plural component coatings.
Graco Inc. P.O. Box 1441 Minneapolis, MN 55440-1441
Copyright 2006, Graco Inc. is registered to I.S. EN ISO 9001
™
Auto
Important Safety Instructions
Read all warnings and instructions in this manual.
Save these instructions.
Wall Mount Fluid Panel
311395 rev.A
TI6802b
Advertisement
Table of Contents

Related Manuals for Graco ProMix Auto


Summary of Contents for Graco ProMix Auto
- Page 1 For proportional mixing of plural component coatings. Important Safety Instructions Read all warnings and instructions in this manual. Save these instructions. Wall Mount Fluid Panel TI6802b Graco Inc. P.O. Box 1441 Minneapolis, MN 55440-1441 Copyright 2006, Graco Inc. is registered to I.S. EN ISO 9001...
-
Page 2: Table Of Contents
Parts ........10 15G731 ProMix Auto Third Flush Valve Kit ..10 Graco Standard Warranty ....12 Related Manuals Component Manuals in U.S. -
Page 3: Warnings
Warnings Warnings The following general warnings are for the setup, use, grounding, maintenance, and repair of this equipment. Addi- tional, more specific warnings may be found throughout the body of this manual where applicable. Symbols appear- ing in the body of the manual refer to these general warnings. When these symbols appear throughout the manual, refer back to these pages for a description of the specific hazard. - Page 4 Read fluid and solvent manufacturer’s warnings. For complete information about your material, request MSDS forms from distributor or retailer. • Check equipment daily. Repair or replace worn or damaged parts immediately with genuine Graco replacement parts only. •...
-
Page 5: Shutdown And Service
Shutdown and Service Shutdown and Service Pressure Relief Procedure Before Servicing Follow Pressure Relief Procedure when you stop spraying, before changing spray tips, and before clean- ing, checking, or servicing equipment. Read warnings, • To avoid electric shock, turn off EasyKey™ power page 3. -
Page 6: Installation
Installation Installation 2. Install the tee (14) into the port that the air purge valve was removed from. See F . 4. 3. Install the stainless steel check valve (19) into the 1/4” stainless steel street tee (14). Follow Pressure Relief Procedure on page 5 before cleaning, checking, or servicing equipment. -
Page 7: Third Flush Valve Installation
Installation Third Flush Valve Installation Pneumatic Tubing Connections 1. Use the two 1/4-20 screws (3) to mount the 1. Attach the red pneumatic tubing (17) to the top side pre-assembled valve and bracket (1) in the upright of the valve (1) and the green pneumatic tubing (18) position to the fluid panel. -
Page 8: Manifold And Electrical Connections
Installation Manifold and Electrical Connections must be attached to the A side (closest to the front). See F . 9. 1. Remove the cover of the electrical panel. 2. Remove the center pipe plug from the existing A B Side side manifold (D) and install the swivel elbow (11) included with the kit. -
Page 9: How To Enable Promix Auto Third Flush Valve
A and B A and B different file name. . 11 5. Restore setup values to the ProMix Auto by click- ing the button and selecting the modified file. 9. Replace the electrical panel cover. Kit installation is complete. 6. Your system will now use the third purge valve. -
Page 10: Parts
Parts Parts 15G731 ProMix Auto Third Flush Valve Kit Ref. Ref. Part No. Description Part No. Description 110110 SEALANT, pipe, SST (not shown) 287394 DISPENSE, valve 15G527 FITTING, 1/4” SST Street Tee (not 15G624 BRACKET, flush valve Shown) 112925 SCREW, cap... - Page 11 Parts 311395A...
-
Page 12: Graco Standard Warranty
With the exception of any special, extended, or limited warranty published by Graco, Graco will, for a period of twelve months from the date of sale, repair or replace any part of the equipment determined by Graco to be defective.
Need help?
Do you have a question about the ProMix Auto and is the answer not in the manual?
Questions and answers