Advertisement
GENUINE GRACO PARTS AND ACCESSORIES
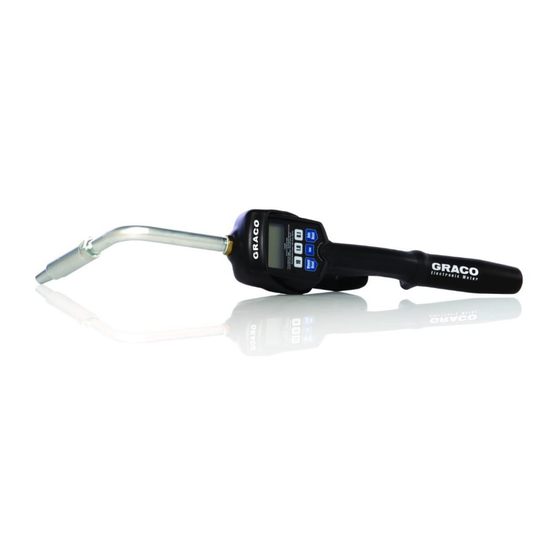
Valve Repair Kit 240453
™
™
For EM5
, PM5
, LDM5 , LDP5 Electronic Metered Dispense Valves
Important Safety Instructions
Read all warnings and instructions in your meter
operation manual. Save your instructions.
NOTES:
•
Replace all parts
•
Use all parts in this kit
Service Instructions
(Refer to EM5, PM5, LDM5 and LDP5 parts, page 2)
1.
Follow Pressure Relief Procedure provided in meter
instruction manual.
2.
Remove six screws holding cover together and sepa-
rate the two cover from the meter housing.
3.
Remove trigger from valve stem assembly (16b).
4.
Unscrew valve seat (16e)
5.
Remove valve seat (16e) and valve stem (16b)
assembly.
6.
Pull valve stem (16b) out of valve seat (16e)
assembly (16e).
7.
Discard old valve stem assembly and spring (16a).
8.
Apply lubricant to all new parts. Place new spring
(16a) in new valve stem assembly (16b.
Graco Inc. P.O. Box 1441 Minneapolis, MN 55440-1441
406390 Rev, F 07/2008
Copyright 1998, Graco Inc. is registered to I.S. EN ISO 9001
9.
Push new valve stem assembly (16b) into valve seat
(16e).
10. Install valve stem assembly, seat and spring (16) into
the meter housing. Thread valve seat into meter hous-
ing. Torque to 140-150 in-lb (15 to 17 N•m).
Note: Be careful not to pinch spring when installing
valve stem.
11. Install trigger on valve stem assembly.
12. Install meter housing and cover pieces together. Install
six screws. Torque to 7 - 10 in-lbs (0.8 to 1.1 N•m).
Filter Replacement
1.
If not already done, follow Pressure Relief Procedure
provided in meter instruction manual.
2.
Unscrew the hose from the swivel (3).
3.
Remove o–ring (27) and filter (25) from inside of the
swivel with an o–ring pick.
4.
Push the new filter (25) into the swivel. Verify it is
properly seated.
Orient the new filter (25) correctly, so the concave
side of the screen faces downstream, as shown in
illustrations on page 2 .
406390F
Advertisement
Table of Contents

Related Manuals for Graco M5


Summary of Contents for Graco M5
- Page 1 Orient the new filter (25) correctly, so the concave Graco Inc. P.O. Box 1441 Minneapolis, MN 55440-1441 side of the screen faces downstream, as shown in 406390 Rev, F 07/2008 illustrations on page 2 . Copyright 1998, Graco Inc. is registered to I.S. EN ISO 9001...
- Page 2 EM5/PM5 LDM5/LDP5 Reference numbers in this parts list and drawing corre- Reference numbers in this parts list and drawing cor- spond to reference numbers in instruction manuals respond to reference numbers in instruction manual 309142 (EM5) or 309377 (PM5). 312668. Ref.
Need help?
Do you have a question about the M5 and is the answer not in the manual?
Questions and answers