Table of Contents
Advertisement
Quick Links
Advertisement
Table of Contents

Related Manuals for National Instruments USB-7856


Summary of Contents for National Instruments USB-7856
- Page 1 USB-7856 Getting Started 2023-05-10...
-
Page 2: Table Of Contents
USB-7856 Getting Started Contents Getting Started..............3 Safety Guidelines. -
Page 3: Getting Started
Furthermore, any changes or modifications to the product not expressly approved by National Instruments could void your authority to operate it under your local regulatory rules. © National Instruments... -
Page 4: Unpacking The Kit
USB-7856 Getting Started Caution To ensure the specified EMC performance, you must install the included snap-on ferrite bead onto the DC power cord of the power supply as described in this document. Notice To ensure the specified EMC performance, operate this product only with shielded cables and accessories. -
Page 5: Installing Software On The Host Computer
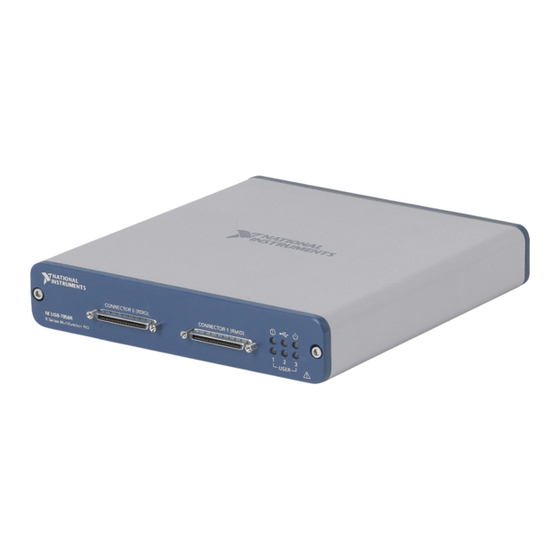
USB-7856 Getting Started Figure 1. Kit Contents for the NI USB-7856R 1. NI USB-7856R Module 2. USB Cable 3. Ferrite Bead 4. NI-RIO Media 5. Power Supply 6. Getting Started Guide Installing Software on the Host Computer Before using the NI USB-7856R, you must install the following application software and device drivers on the host computer. -
Page 6: Powering The Module
USB-7856 Getting Started Connecting the USB Cable USB modules can be connected directly to the host PC, to a powered USB hub, or to an NI PXI or PXI Express chassis featuring a USB port. 1. Connect the USB cable to the NI USB-7856R using the cable device port. -
Page 7: Verifying Hardware Installation
USB-7856 Getting Started 4. Connect the other end of the power supply to a user-supplied power cord. 5. Connect the user-supplied power cord to the appropriate power source. 6. Turn the power switch on the NI USB-7856R to the on position. -
Page 8: Where To Go Next
USB-7856 Getting Started Caution To ensure the specified EMC performance, operate this product only with shielded cables and accessories. Note NI is not liable for connections that exceed any of the maximum ratings of input or output signals on the NI USB-7856R and on the computer chassis. -
Page 9: Where To Go For Support
USB-7856 Getting Started Where to Go for Support © National Instruments © 2023 National Instruments Corporation.
Need help?
Do you have a question about the USB-7856 and is the answer not in the manual?
Questions and answers