
Subscribe to Our Youtube Channel
Related Manuals for Black Box RADIAN 1000 Series


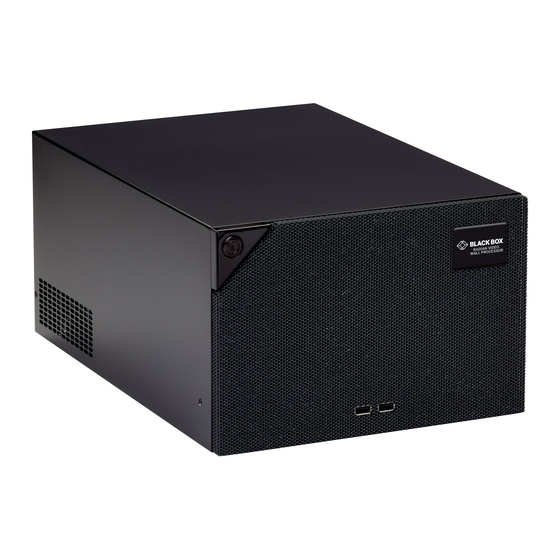
Summary of Contents for Black Box RADIAN 1000 Series
- Page 1 STEP X - Name of Step QUICK START GUIDE VWP-1060 RADIAN 1000 SERIES 24/7 TECHNICAL SUPPORT AT 877.877.2269 OR VISIT BLACKBOX.COM...
-
Page 2: Step 1 - Keyboard And Mouse
STEP 1 - Keyboard and Mouse CONNECT TO USB PORTS Connect the keyboard and mouse to USB ports. -
Page 3: Step 2 - Connect To A Network (Optional)
STEP 2 - Connect to a Network (Optional) -
Page 4: Input Sources
STEP 3 - Connect to an Input Source INPUT SOURCE(S) Because each system is custom built, the number and type of inputs will differ from INPUT CONNECTORS system to system. - Page 5 STEP 4 - Control Screen (Optional) and Monitors 4 X 2 VIDEO WALL MONITOR 1 MONITOR 2 MONITOR 3 MONITOR 4 MONITOR 5 MONITOR 6 MONITOR 7 MONITOR 8 CONNECT CONTROL SCREEN Many of our wall controllers are configured (OPTIONAL) to use a control screen (Internal Graphics Device) before leaving the factory.
-
Page 6: Step 5 - Powering On The System
STEP 5 - Powering On the System POWER SWITCH POWER 1. Connect the power cable, then plug into and turn on the power supply. 2. Switch on the system. -
Page 7: Step 6 - Windows 7 Setup
STEP 6 - Windows 7 Setup THE PRODUCT KEY IS LOCATED BEHIND THE FRONT PANEL. GENTLY PULL AWAY THE FRONT PANEL FOR ACCESS. FOLLOW THESE STEPS 1. Open the Windows Setup window. 2. Type in the Product Key. NOTE: The Product Key is located behind the front panel. -
Page 8: Step 7 - Activate Windows 7
STEP 7 - Activate Windows 7 Start | Computer | Properties | Activate Windows now. ACTIVATE WINDOWS 7 1. Select the appropriate method available. 2. To view the product key, gently pull away the front panel of the 6-Slot Chassis. The front panel is held in place with a series of magnetic points. -
Page 9: Step 8 - Display Setup
STEP 8 - Display Setup Start | Control Panel | Appearance and Personalization | Adjust screen resolution. LAYOUT AND RESOLUTION SETTINGS All Radian wall controllers have pre-configured settings for the wall layout and screen resolution. Change settings using the TWIN tab. - Page 10 STEP 9 - Radian Video Wall Manager (Optional) Start | All Programs | Radian Video Wall Manager - Server Start | All Programs | Radian Video Wall Manager - Client STARTING VIDEO WALL MANAGER 1. Before opening the Client interface, you will need to start the Server by clicking on it in the Programs menu.
- Page 11 STEP 9A - Radian Video Wall Manager User Interface TABLE 1. RADIAN VIDEO WALL MANAGER USER INTERFACE COMPONENTS NUMBER IN ABOVE DIAGRAM DESCRIPTION Indicates the server you are connected to A representation of the display wall associated with the server Sources tab —...
-
Page 12: Display Wall Tab
STEP 9B - Display Wall Tab DISPLAY WALL DISPLAY WALL SOURCES REPRESENTATION DISPLAY WALL TAB The application help file contains videos When opened, the display wall tab shows a explaining how multiple sources can be selected, live representation of the physical wall and the sources available to display on it. - Page 13 STEP 10 - Download the User Manuals (Optional) OPTIONAL: DOWNLOAD USER MANUALS For product specifications and regulatory information, refer to the Radian User Manuals. You can download these documents from our web site. 1. Go to www.blackbox.com 2. Enter the part number (VWP-1060, VWP-2040*) in the search box.
- Page 14 STEP X - Name of Step COPYRIGHT 2017 BLACK BOX CORPORATION. ALL RIGHTS RESERVED.
Need help?
Do you have a question about the RADIAN 1000 Series and is the answer not in the manual?
Questions and answers