Table of Contents
Advertisement
Quick Links
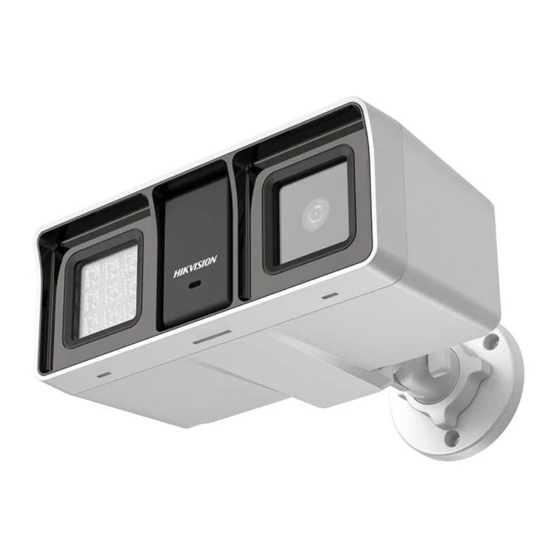
Smart Hybrid Light Audio Fixed
Bullet Camera
User Manual
User Manual
Thank you for purchasing our product. If there are any
questions, or requests, do not hesitate to contact the
dealer.
This manual applies to the models below:
Model
DS-2CE18D0T-LFS
This manual may contain several technical mistakes or
printing errors, and the content is subject to change
without notice. The updates will be added to the new
version of this manual. We will readily improve or update
the products or procedures described in the manual.
01000020230320
Advertisement
Table of Contents

Subscribe to Our Youtube Channel
Related Manuals for HIKVISION DS-2CE18D0T-LFS


Summary of Contents for HIKVISION DS-2CE18D0T-LFS
- Page 1 This manual applies to the models below: Model DS-2CE18D0T-LFS This manual may contain several technical mistakes or printing errors, and the content is subject to change without notice. The updates will be added to the new version of this manual.
- Page 2 With the philosophy of “Technology for the Good”, Hikvision requests that every end user of video technology and video products shall comply with all the applicable laws and regulations, as well as ethical customs, aiming to jointly create a better community.
- Page 3 believe that these products will also play an active role in more aspects of social life. Any abuse of video products in violation of human rights or leading to criminal activities are contrary to the original intent of technological innovation and product development. Therefore, each user shall establish an evaluation and tracking mechanism of their product application to ensure that every product is used in a proper and reasonable manner and with good...
- Page 4 DOCUMENTATION, WHETHER BASED ON BREACH OF CONTRACT, TORT (INCLUDING NEGLIGENCE), PRODUCT LIABILITY, OR OTHERWISE, IN CONNECTION WITH THE USE OF THE PRODUCT, EVEN IF HIKVISION HAS BEEN ADVISED OF THE POSSIBILITY OF SUCH DAMAGES OR LOSS. YOU ACKNOWLEDGE THAT THE NATURE OF THE INTERNET...
-
Page 5: Regulatory Information
NUCLEAR FUEL-CYCLE, OR IN SUPPORT OF HUMAN RIGHTS ABUSES. IN THE EVENT OF ANY CONFLICTS BETWEEN THIS MANUAL AND THE APPLICABLE LAW, THE LATTER PREVAILS. Regulatory Information EU Compliance Statement This product and - if applicable - the supplied accessories too are marked with "CE"... - Page 6 Warnings Follow Cautions Follow these these safeguards to precautions to prevent prevent serious injury potential injury or or death. material damage. Warnings In the use of the product, you must be in strict compliance with the electrical safety regulations of the nation and region.
-
Page 7: Product Features
Keep the camera away from liquid while in use for non- water-proof device. While in delivery, the camera shall be packed in its original packing, or packing of the same texture. The beam of the light at the distance of 200 mm is ... - Page 8 Installation of Camera 2.1.1 Ceiling/Wall Mounting Steps: 1. Paste the drill template (supplied) to the installation location. 2. (Optional) For cement ceiling, drill the screw holes with a 5.5 mm drill and insert the supplied wall plugs. 3. (Optional) Drill the cable hole, when the cables are routed through the ceiling.
- Page 9 7. Route the cables through the bottom cable hole or side cable hole of the junction box and connect the cables. 8. Fix the junction box cover on its body with three PM3 × 16 L6 screws. Figure 2-5 Fix the Cover to Its Body 9.
-
Page 10: Menu Description
Figure 2-9 Secure Camera to Wall Mount Cover 7. Route the cables through the cable hole of the wall mount and connect the cables. 8. Insert one end of the wall mount cover diagonally into the wall mount body, and then snap the other end of the cover upward on the body. -
Page 11: Video Format
VIDEO FORMAT EXPOSURE MODE ANTI-BANDING EXPOSURE BACK EXIT SAVE & EXIT LIGHTING MODE WHITE LIGHT/IR SMART IR THRESHOLD LIGHTING SETTINGS LEVEL BACK EXIT SAVE & EXIT IMAGE MODE WHITE BALANCE BRIGHTNESS CONTRAST VIDEO SHARPNESS SETTINGS SATURATION MAIN MENU BACK EXIT SAVE &... -
Page 12: White Light
BLC (Backlight Compensation) compensates light to the object in the front to make it clear, but this may cause over-exposure of the background where the light is strong. HLC (Highlight Compensation) HLC stands for highlight compensation. The camera detects strong spots (over-exposure portion of image) and reduces the brightness of strong spots to improve the overall images. -
Page 13: Video Settings
3.4 VIDEO SETTINGS Move the cursor to VIDEO SETTINGS and click Iris+ to enter the submenu. IMAGE MODE, WHITE BALANCE, BRIGHTNESS, CONTRAST, SHARPNESS, SATURATION, and DNR are adjustable. VIDEO SETT INGS IMAGE MO DE WHITE BALANC E BRIGHTNESS CON TRAST SHARPNESS SATURATIO N BACK... -
Page 14: Audio Settings
3.5 AUDIO SETTINGS Under the AUTO SETTINGS sub-menu, you can set the mode to ON or OFF. Adjust the VOLUME to a higher value to raise the volume. 3.6 FACTORY DEFAULT Reset all the settings except video format to factory defaults.
Need help?
Do you have a question about the DS-2CE18D0T-LFS and is the answer not in the manual?
Questions and answers