Table of Contents
Advertisement
Quick Links
Advertisement
Table of Contents

Subscribe to Our Youtube Channel
Related Manuals for VEVOR LCWB90


Summary of Contents for VEVOR LCWB90
- Page 1 Portable Workbench LCWB90 USER MANUAL...
- Page 3 CustomerService@vevor.com This is the original instruction, please read all manual instructions carefully before operating. VEVOR reserves clear interpretation of our user manual. The appear- ance of the product shall be subject to the product you received. Please forgive us that we won't inform you again if there is any technology or software updates on...
-
Page 4: General Safety Rules
GENERAL SAFETY RULES IMPORTANT: carefully read the instructions in this manual as well as the general safety instructions before using this tool. Before using the tool, read the instruction book carefully. WARNING ! Read the instructions and use or operate without following the instruc- tions listed below will result in deformation, inflexible movement, loss of bearing weight or serious injury. -
Page 5: Maintenance
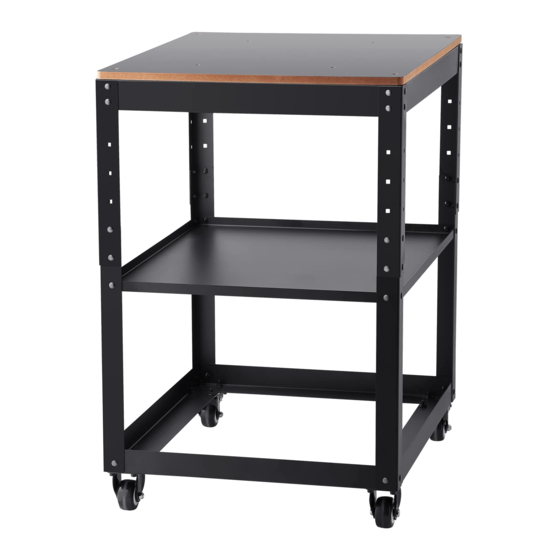
1) Send your portable workbench to professional maintenance personnel, must use the same spare parts for replacement, this will ensure the safety of use after mainte- nance. PRODUCT PARAMETER Model LCWB90 Length Width Maximum Adjustable Height Medium Adjustable Height Minimum Adjustable Height Load Limit 25.4... - Page 6 STRUCTURE AND PART NAME...
- Page 7 Name of Parts: 10: M6 Carriage Screws 1: Platform 11: M8 Hex Socket Screws 2: Panel 12: M8 Flange Nuts 3: WB90 Column 13: Inner Hexagonal Wrench 4: WB90 Column 14: 13-10 Open End Wrench 5: Bulkhead 6: Bower Bulkhead 7: Universal Wheel 8: Directional Wheel 9: M6 Flange Nut...
-
Page 8: Assemble Steps
ASSEMBLE STEPS STEP. 1 Put 11 (M8 hex screw) into 7 (universal wheel) and 8 (universal wheel) screw holes and then screw 12 (M8 flange nut) into them with 13 (hex wrench 6) and 14 (13-10 open end wrench) to tighten and fix them. STEP. -
Page 9: Adjust The Height
ADJUST THE HEIGHT 1) The maximum height is 900mm as shown in the figure below. 1.2.3 in 3 (WB90 column 1) and 4 (WB90 column). The holes are aligned, and 10 (M6 carriage screws) and 9 (M6 flange nuts) are put in and tightened with 14 (13-10 open spanner). 2) Medium height 850mm as shown below: 2.3.4 in 3 (WB90 column 1) and 4 (WB90 column 2) as shown below. - Page 10 3) The minimum height of 800 is shown as follows: 3.4.5 in 3 (WB90 column 1) and 4 (WB90 column 2) as shown below. The holes are aligned, and 10 (M6 carriage screws) and 9 (M6 flange nuts) are put in and tightened with 14 (13-10 open span- ner).
- Page 11 Manufacturer:ZHEJIANG LANGCHENG INDUSTRY&TRADE CO., LTD Address:No.18 Weisan East Road, Hardware Machinery Industrial Zone, Tongqin Town,Wuyi County, Jinhua City 321201 Zhejiang, P.R.China Importer: WAITCHX Address: 250 bis boulevard Saint-Germain 75007 Paris Importer: FREE MOOD LTD Address: 2 Holywell Lane, London, England, EC2A 3ET MADE IN CHINA...
- Page 12 E-mail: CustomerService@vevor.com...
Need help?
Do you have a question about the LCWB90 and is the answer not in the manual?
Questions and answers