IMMAX neo - Smart Motion Sensor Manual
- Manual (22 pages) ,
- User manual (22 pages) ,
- Assembly instructions (3 pages)
Advertisement
- 1 FAMILIARIZE YOURSELF WITH MULTI SENSOR
- 2 WHAT'S INCLUDED
- 3 IMMAX NEO PRO APPLICATION
- 4 SET UP POWER
- 5 FACTORY RESET
- 6 INSTALLATION
- 7 ADVANCED FUNCTIONS
- 8 LOW BATTERY ALARM AND CHANGING BATTERIES
- 9 WAKING UP MULTI SENSOR
- 10 MOTION CONFIGURATION
- 11 AUTOMATIC REPORTS: TEMPERATURE, HUMIDITY AND LUMINANCE
- 12 OFFSET OF TEMPERATURE, HUMIDITY AND LUMINANCE MEASUREMENT
- 13 TAMPER ALARM
- 14 DEVICE UPDATE
- 15 TECHNICAL SPECIFICATIONS
- 16 Documents / Resources
Multi Sensor is a Zigbee device that integrates motion detection, tamper alarm, temperature/ humidity/ luminance measurements. Temperature, humidity, luminance, and motion status can be set to trigger customized automation in your smart home system. And it sends a notification when temperature drops or increases.
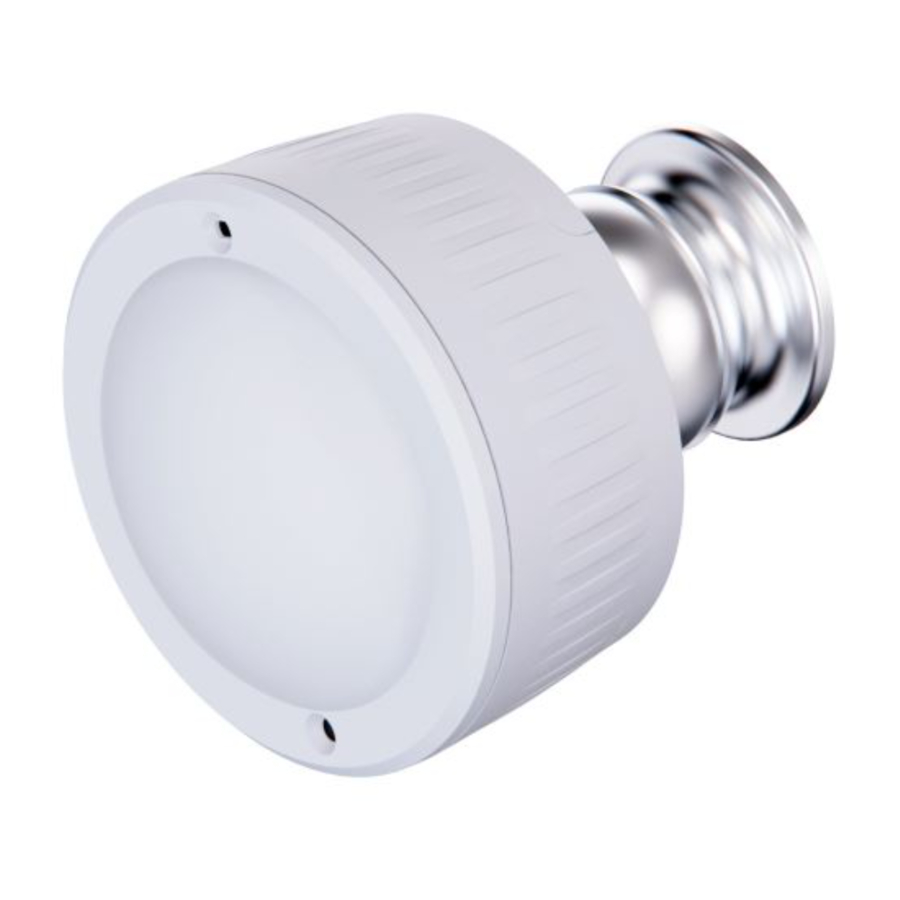
FAMILIARIZE YOURSELF WITH MULTI SENSOR

WHAT'S INCLUDED

IMMAX NEO PRO APPLICATION
Download the Immax NEO PRO app from Google Play or the Apple store.


SET UP POWER
Installation with DC Power from USB port
- Remove the rear cover.
- Insert the USB cable into USB Port, then plug AC adaptor into outlet.
Installation with battery power
- Remove the rear cover.
- Insert two CR123A batteries.
Note: Multi Sensor can be powered by a single CR123A battery. To do this, insert the battery into the primary battery position marked with 1 on the shell.
Adding Multi Sensor to a Zigbee network
- Set your Zigbee gateway to "add subdevice" according to Figure 1.

- Double-click the Action Button on your Multi Sensor, indicated by a quick LED blink. Multi Sensor will wake up 10 minutes after include a Zigbee network, then you can configure it according to the Advanced functions section.

Remove Multi Sensor from network
- Press the Action Button 6 times quickly. If the exclusion is successful, the LED on Multi Sensor will blink quickly. However, Multi Sensor widget is still in the APP. To remove the widget from the APP, please follow step 2.
- Press the "disconnect" button on the edit page of the device in Smart Life APP according to Figure 2.


FACTORY RESET
- Press and hold the Action Button for 20 seconds. The LED on Multi Sensor will blink incrementally fast and will be lit solidly for 2 seconds after the factory reset. However, Multi Sensor widget is still in the APP. To remove the widget from APP, please follow step 2.
- Press the "disconnect and wipe data" button on the edit page of the device in Smart Life APP according to Figure 2.
Note: Factory Reset will reset the following settings:
- Remove Multi Sensor from Zigbee network.
- Delete the association settings.
- Restore the default configuration settings.
INSTALLATION
Installation on the Wall with Back-Mount Arm
- Peel-off tab from Double-Sided Tape and stick it to the metres when it was installed on the wall. Back Cover-Plate of the Multi Sensor, then peel-off the opposite side. Remove the blue film on the Sheet-Iron Plate and stick it to the Double-Sided Tape. Multi Sensor can now be attached to the magnetic Back-Mount Arm.

- Screw the Wall Mount to the wall with KA2.5 x 20mm screws. Slid down Multi Sensor Back-Mount Arm to the Wall Mount.
- Put Multi Sensor on the Back-Mount Arm, and adjust the angle to let PIR detect the motion area.


Note: The PIR detection area of Multi Sensor is 2.5 x 5 x 5

ADVANCED FUNCTIONS
You can modify the configuration of Multi Sensor to your preferences in its settings page of Smart Life APP.
LOW BATTERY ALARM AND CHANGING BATTERIES
Multi Sensor will report battery level to Zigbee gateway and display the battery level on Smart Life APP. Please replace the batteries when the battery level is low.
WAKING UP MULTI SENSOR
When Multi Sensor settings were changed in Smart Life APP, you need to let your Multi Sensor wake up to receive configuring commands. The following methods can wake up Multi Sensor:
- Shaking Multi Sensor to let it wake up a moment.
- Moving in front of Mulit Sensor wakes it up a moment when Multi Sensor has installed on the wall or ceiling.
- Press the Action button one time to let Multi Sensor wake up a moment.
- Press the Action button 5 seconds. Multi Sensor will wake up 10 minutes, and its LED will blink slowly. After finishing the configuration, you can click the Action button to let Multi Sensor go into sleep mode to save battery power.
MOTION CONFIGURATION
- Turn OFF Motion detection to save battery power in case of non-motion detection need.
- Motion detection sensitivity can be adjusted in 3 levels: Low, Middle and High.
- Disarm time after motion detected is adjustable.
AUTOMATIC REPORTS: TEMPERATURE, HUMIDITY AND LUMINANCE
- Turn OFF Automatic reports function to save battery power in case there is no need for Multi Sensor to sent reports automatically.
- Set the interval time of automatic reports from 0 -1440 minutes. The time needs to be an integer with a multiple of 5.
Note: Multi Sensor will sent real-time reports when the interval time was set to 0 minute.
OFFSET OF TEMPERATURE, HUMIDITY AND LUMINANCE MEASUREMENT
Supports manual modification of temperature, humidity and luminance measurement to modified measurement tolerance.
TAMPER ALARM
When the device is shaken, it will immediately send tamper alarm notice to the gateway and push notification to APP.
DEVICE UPDATE
Multi Sensor can obtain new functions through upgrade firmware wirelessly. thus increasing the value of Multi Sensor in your smart home system.
TECHNICAL SPECIFICATIONS
Immax NEO Application: No
Immax NEO PRO application: Yes
PIR detection technology (infrared passive sensor)
Detection angle: 100°
Humidity detection range: 20-80% RH
Temperature detection range: -10 - + 60°C
Lighting detection range: 0 - 1000 lux
Zigbee communication protocol: 3.0
Frequency: 2400MHz-2483.5MHz
Maximum RF output power: 6 ± 1dBm
Wireless range: 30 m direct visibility, 10 m in a built-up area
Power source: 2x CR123A 3V batteries or micro USB 5V 750mA
Battery life: 2 years
Fastening with screws or 3M adhesive tape
Mounting height: 2.2 - 2.8 m, recommended height 2.5 m
Operating temperature: -0°C to + 40°C
Operating humidity: maximum 85%
Degree of protection: IP20
Certificates: CE
Dimensions: 55x55x35mm

Manufacturer and importer:
IMMAX, Pohoří 703, 742 85 Vřesina, EU | www.immaxneo.cz | www.immaxneo.com
Made in P.R.C.

Documents / Resources
References
![play.google.com]() Google Play
Google Play![www.apple.com]() App Store - Apple
App Store - Apple![www.immaxneo.cz]() Velkoobchod s LED technikou IMMAX | Immax.cz
Velkoobchod s LED technikou IMMAX | Immax.cz![www.immaxneo.com]() Velkoobchod s LED technikou IMMAX | Immax.cz
Velkoobchod s LED technikou IMMAX | Immax.cz
Download manual
Here you can download full pdf version of manual, it may contain additional safety instructions, warranty information, FCC rules, etc.
Advertisement


Need help?
Do you have a question about the neo and is the answer not in the manual?
Questions and answers