Table of Contents
Advertisement
Quick Links
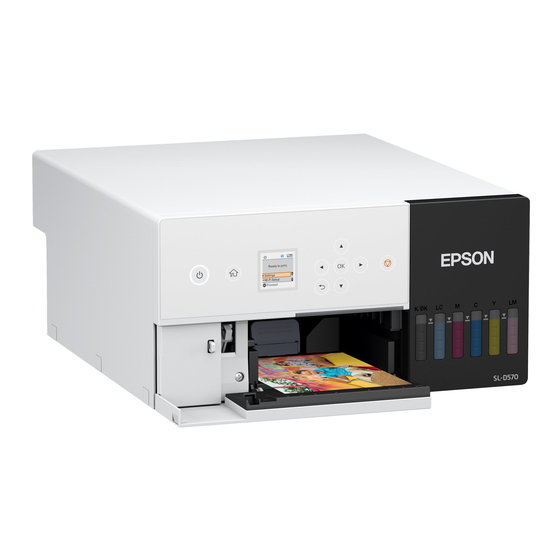
SL-D570
Start Here
IMPORTANT: Before using this product, make sure you read these instructions
and the safety instructions in the online Notices.
Choose a location for the printer
Choose a location for the printer that is near a wall outlet where the power cord
can be easily unplugged.
Avoid places subject to rapid changes in temperature and humidity. Also keep
the printer away from direct sunlight, strong light, or heat sources. Choose a
location with a temperature of 50 to 95 °F (10 to 35 °C) where environmental
conditions are suitable for the loaded paper even if the printer is placed on
a rack. For the environmental specifications for your printer, see the online
User's Guide.
Place the printer on a flat, stable surface with enough space on all sides and that
is capable of supporting approximately 15.4 lb (7 kg).
6.1 in.
(154 mm)
13.8 in.
(350 mm)
17.8 in.
* Space required during
(453 mm)*
operation.
Caution:
When lifting the printer, place your hands in the areas shown below.
Do not hold the printer by any other areas or your fingers may get injured when
setting the printer down.
Front of printer
Unpack
1
Make sure you have these items:
Note:
Ink bottles are not included with the printer.
2
Remove all of the packaging materials and tape from inside and outside
of the printer.
1.2 in.
(30 mm)*
13 in.
(329 mm)
Back of printer
3
Remove the rear cover, then open the front cover.
4
Hold the control panel as shown and
pull out the interior unit until it stops.
5
Open the inner cover, then remove the tape as shown.
Caution:
The printer ships with the transportation lock in the printing position.
Do not move it from the printing position unless you need to transport it.
Note:
The shape, number, and position of the protective materials is subject
to change without notice.
6
Close the inner cover, then slide the
interior unit back into the printer.
7
Reattach the rear cover.
Connect a USB or Ethernet cable
If you are setting up the printer for use with a USB or Ethernet connection,
follow the steps below to prevent the interface cable from getting unplugged
when extending the interior unit. Some printer operations, such as ink charging,
require the printer's interior unit to be extended. If you plan to use the printer
with a wireless connection, go to the "Fill the ink tanks" section.
Note:
Make sure the interior unit is fully inserted.
1
Pass a USB or an Ethernet cable
through the cable support and
connect it as shown.
Note:
•
Do not use a USB cable with ferrite cores.
•
Do not connect your printer to your computer yet.
Advertisement
Table of Contents

Related Manuals for Epson SL-D570


Summary of Contents for Epson SL-D570
- Page 1 SL-D570 Start Here Remove the rear cover, then open the front cover. IMPORTANT: Before using this product, make sure you read these instructions and the safety instructions in the online Notices. Choose a location for the printer Choose a location for the printer that is near a wall outlet where the power cord Hold the control panel as shown and can be easily unplugged.
- Page 2 If any ink remains in the bottle, store it for later use. • Epson strongly recommends the use of genuine ink to ensure optimal print quality and performance. Open the printer’s front cover.
- Page 3 Slide the interior unit back into Slide the edge guides all the way out. the printer, then close the front cover. Connect the power cord. Lift the front edge guide until you see the two tabs on the bottom, then lower it, as shown. Press the power button to turn on the printer.
- Page 4 In Latin America, see the online Notices for technical support information. Online guides EPSON, Epson Smart Panel, and SureLab are registered trademarks and EPSON Exceed Your Vision is a registered logomark of Seiko Epson Corporation. Instructions for using your printer and maintenance tools.
Need help?
Do you have a question about the SL-D570 and is the answer not in the manual?
Questions and answers