
Related Manuals for modway Render EEI-6229


Summary of Contents for modway Render EEI-6229
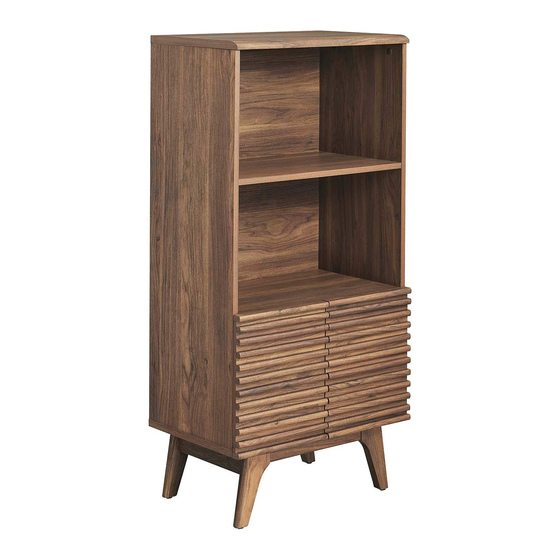
- Page 1 A S S E M B L Y I N S T R U C T I O N S EEI-6229 V1. 12.29.22 Questions? Contact us! 609.256.9000 • cs@modway.com www.modway.com Page 1 of 10...
-
Page 2: Let's Get Started
Cam Lock Cap (1042) JCBCW M6 x 50mm JCBC M6 x 60mm Plastic Corner Block C/board Screw Ø4 x 25mm Missing parts or hardware? Need assistance? Contact us before returning your item. We're here to help! 609.256.9000 • cs@modway.com Page 2 of 10... - Page 3 Step 1 H A R D W A R E Wooden Dowel Ø6 x 30mm Floor Glide B321 C/board Screw Ø3.5 x 16mm C O M P O N E N T S Right Side Panel Left Side Panel Front Leg Panel Back Leg Panel Right Leg Support Left Leg Support...
- Page 4 Step 3 H A R D W A R E Cam Lock Ø15 x 12mm C O M P O N E N T S Front Leg Panel Right Leg Support Left Leg Support Step 4 C O M P O N E N T S Front Leg Panel Leg Support Page 4 of 10...
- Page 5 Step 5 H A R D W A R E Cam Lock Ø15 x 12mm C O M P O N E N T S Back Leg Panel Right Leg Support Left Leg Support Leg Support Step 6 Step6.1 H A R D W A R E Cam Lock Ø15 x 12mm C O M P O N E N T S Left Side Panel...
- Page 6 Step 7 H A R D W A R E Cam Lock Ø15 x 12mm C O M P O N E N T S Right Side Panel Back Panel Fixed Shelf Bottom View Step 8 H A R D W A R E Cam Lock Ø15 x 12mm Cam Lock Cap (1042) C O M P O N E N T S...
- Page 7 Step 9 H A R D W A R E JCBCW M6 x 50mm Allen Key C O M P O N E N T S Right Side Panel Left Side Panel Bottom Panel Step 10 H A R D W A R E JCBC M6 x 80mm JCBC M6 x 60mm C/board Screw Ø4 x 25mm...
- Page 8 Step 11 H A R D W A R E C/board Screw Ø3.5 x 16mm Soft Closing Hinges 5/8 C O M P O N E N T S Doors Step 12 H A R D W A R E C/board Screw Ø3.5 x 16mm Soft-Close Hinges 5/8 C O M P O N E N T S...
- Page 9 Step 13 H A R D W A R E C/board Screw Ø3.5 x 16mm Soft-Close Hinges 5/8 C O M P O N E N T S Right Side Panel Doors Step 14 H A R D W A R E Plastic Corner Block C/board Screw Ø4 x 19mm C O M P O N E N T S...
-
Page 10: Connect With Us
Never use harsh chemicals, as they could damage the finish or integrity of the item. CONNECT WITH US! Tag us @modway_furniture and #modway for a chance to be featured. Max: 66 lbs / 30kg Page 10 of 10... - Page 11 4. Lace the end of the restraint strap (B) through the larger hole in each mounting bracket. Bring both ends together and slide the flat end through the locking end and draw it through until all slack is removed. 5. Confirm that the strap (B) is securely laced and locked. Customer Service 908-368-1025 | www.modway.com...
- Page 12 4. Lace the end of the restraint strap (B) through the larger hole in each mounting bracket. Bring both ends together and slide the flat end through the locking end and draw it through until all slack is removed. 5. Confirm that the strap (B) is securely laced and locked. Customer Service 908-368-1025 | www.modway.com...
Need help?
Do you have a question about the Render EEI-6229 and is the answer not in the manual?
Questions and answers