Advertisement
Quick Links
ASSEMBLY
WARNING!
To reduce the risk of injury, always unplug tool
before attaching or removing accessories. Use
only specifically recommended accessories.
Others may be hazardous.
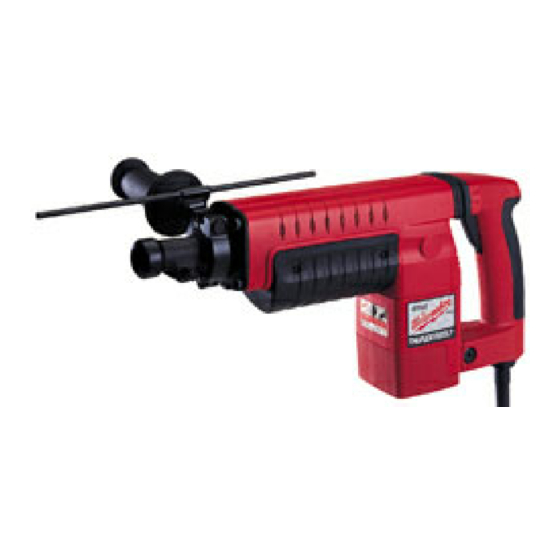
Installing and Removing Drill Bits and Chisels
(Fig. 1)
For Cat. No. 5313 only
1. Insert the bit or chisel into the nose of the tool.
2.Rotate bit slowly until it aligns with locking mechanism.
3. Push bit into tool until it locks.
4. Check to see that bit is locked by pulling on it.
5. To remove bits and chisels pull bit release collar toward
rear of tool and remove bit.
Use caution when handling hot bits and chisels.
For Cat. No. 5311 & 5316 only
1. Place bit lock in unlocked position.
2. Insert the bit or chisel into the nose of the tool. If you are
using a chisel, make sure that the notch in the shank faces
toward the bit lock.
3.Push the bit lock to the locked position.
4. To remove bits and chisels place bit lock in unlock position
and remove bit or chisel.
Use caution when handling hot bits and chisels.
Adjusting the Side Handle Position (Fig. 2)
Loosen the handle slightly, rotate it to the desired position and
tighten it securely.
Side handle can be used at the rear of the tool. Remove and
install in one of the positions provided on either side. Use the
side handle knob (packaged with the tool) in the front handle
position to secure the depth gauge assembly.
RenTrain INC
Milwaukee Tool
1-1/2" Heavy-Duty Rotary Hammers
Model Numbers: 5311, 5313, 5316
SDS
max
Operating Instructions
Setting the Depth Gauge (Fig. 3)
1. Loosen the depth rod adjustment knob.
2. Slide the depth gauge rod backward or forward until it is set
for the desired depth. The drilling depth is the distance
between the tip of the bit and the tip of the depth gauge rod.
3. Tighten the depth gauge rod adjustment knob securely.
Fig. 1
Bit release collar
Handle
Fig. 2
Page 1
Nose
Rear side handle mount
Depth gauge rod
Depth gauge rod
adjustment knob
Bits
Fig. 3
RenTrain INC
Advertisement

Related Manuals for Milwaukee 5311


Summary of Contents for Milwaukee 5311
- Page 1 Handle Fig. 2 Use caution when handling hot bits and chisels. For Cat. No. 5311 & 5316 only 1. Place bit lock in unlocked position. 2. Insert the bit or chisel into the nose of the tool. If you are using a chisel, make sure that the notch in the shank faces toward the bit lock.
- Page 2 This tool has been designed to achieve top performance with only moderate pressure. Let the tool do the work. Depress locking tab The MILWAUKEE 1-1/2” Heavy Duty Rotary Hammers have vibration isolating handles that provide for operator comfort without sacrificing power or performance.
- Page 3 2. Push the guide plate onto the pointed end of the center pin. Insert the center pin and guide plate assembly into the core bit. MILWAUKEE Heavy-Duty Thin Wall Core Bits drill holes up Be sure the small end of the center pin is securely placed into to 3”...
- Page 4 Setting Self-Drilling Anchors chuck. To remove the anchor head wedged in the tool anchor The MILWAUKEE 1-1/2” Heavy Duty Rotary Hammers fea- chuck, use drift pin 48-86-0100. ture a stop rotation knob which is helpful for setting Fig 11 self-drilling anchors up to 7/8”.
Need help?
Do you have a question about the 5311 and is the answer not in the manual?
Questions and answers