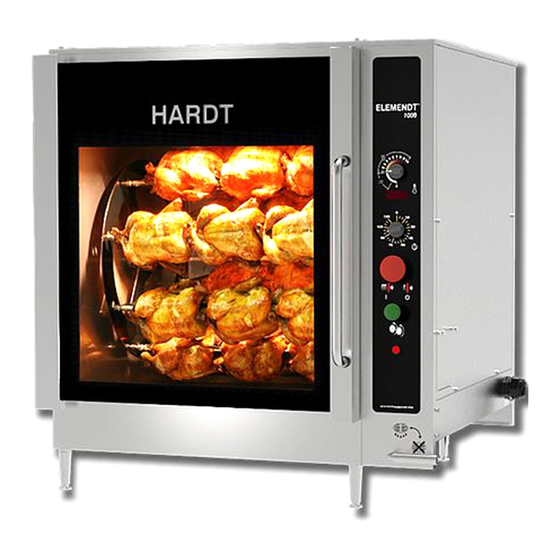
Hardt Elemendt 1000 Assembly Replacement
Drive shaft
Hide thumbs
Also See for Elemendt 1000:
- Manual (10 pages) ,
- Operation manual (32 pages) ,
- Installation manual (26 pages)
Advertisement
Description: These instructions describe how to replace the drive shaft assembly onto existing drive plates in the field.
Required tools
Wrench set
Ratchet set
Torque wrench
Ruler/Tape measure
3ft level (or equivalent metal straight edge)
1 hr
1. BEFORE YOU START
ENSURE THE ROTISSERIE IS COOL TO THE TOUCH BEFORE
PERFORMING THIS PROCEDURE.
2.
Remove drive assembly
a.
Use the green manual drive advance switch to rotate the
drive until the slot of the drive hub is horizontal.
b.
Lift the left side of the drive assembly out of its cradle, then
guide the end key shaft (right side of the drive assembly) out
of the slotted hub as shown.
c.
Carefully guide the drive assembly out of the oven cavity.
3.
Disassemble drive assembly
- Keep all hardware for following steps
SVC-016-0019-02
Drive Shaft Assembly Replacement
Service Bulletin
Required parts available from Hardt (P/N)
1x Drive Shaft Assembly (99-15367)
Figure 1
Figure 2
Elemendt
®
1000
a.
b.
c.
Page 1 of 2
Advertisement
Table of Contents

Subscribe to Our Youtube Channel
Related Manuals for Hardt Elemendt 1000


Summary of Contents for Hardt Elemendt 1000
- Page 1 ® 1000 Service Bulletin Description: These instructions describe how to replace the drive shaft assembly onto existing drive plates in the field. Required parts available from Hardt (P/N) Required tools Wrench set 1x Drive Shaft Assembly (99-15367) Ratchet set ...
- Page 2 Drive Shaft Assembly Replacement Elemendt ® 1000 Service Bulletin P/N 99-15367 Reassemble drive assembly with new drive shaft Observe the enamel coated sides of the drive plates as they will need to be assembled facing inwards. Insert the end key side of the drive shaft into the drive plate ENAMEL SIDE INWARDS (with the triangular slots) and lightly fasten with the hardware previously removed.
Need help?
Do you have a question about the Elemendt 1000 and is the answer not in the manual?
Questions and answers