Advertisement
Quick Links
P
o r
d
u
t c
C
o
d
e
N
u
Maximum Carrying Capacity:
STEP 1
Fitting End
:
Support to Cross-bar
NOTE: Your purchased kit contains
either the "Commercial Series" parts or
the "Sports Series" parts. Please refer to
diagrams on the right.
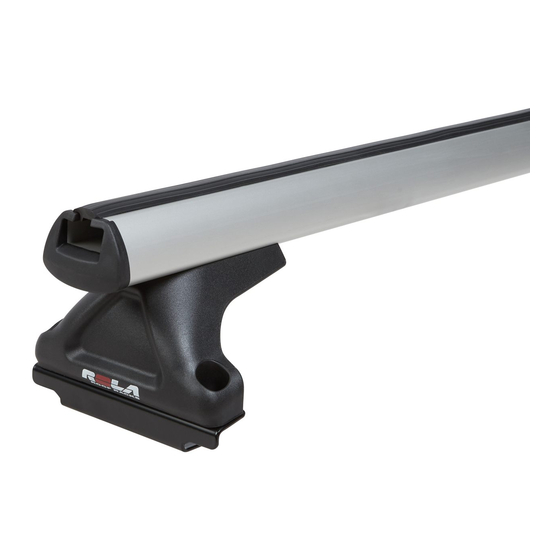
A. Insert End Support into
Cross-bar.
B. Insert Nut into Bottom Slug
and then slide both
components into the
cross-bar.
C. Loosely fasten using Bolt,
Spring Washer and Flat
Washer.
Assemble as shown in Fig.1
D. Fit End Cap to each end
of cross-bar.
STEP 2:
Placement Of Locking Straps
A. Locate Anchor points on vehicle roof (Fig. 2.a).
Unscrew existing button head bolts with the Red Key
supplied, to reveal threaded Anchor points.
B. Locate the Rubber Washer and Retaining Strap over
the Anchor Point.
C. Use the M8x20mm Button head bolts and Spring
Washers supplied to secure Retaining Strap to each
Anchor Point (Fig.2.b). Tighten Bolts with Red key
provided, to secure Retaining Strap to vehicle.
A firm hand tightness is adequate.
m
b
e
: r
C
R
M
1
- 9
2, RME17-2
80 kg
COMMERCIAL SERIES
Commercial Buffer Strip
Commercial Bar
End Cap
Bottom Slug
Security
Bolt
www.rola.com.au
REMOVABLE MOUNT
Commercial
Cross Bar
Under Cover Strip
End Support
Flat Washer
Spring Washer
M8 Bolt
Cage nut
Strap
Fig.1a.
Fig 2a
Anchor Points are indicated by arrows
Front of Vehicle
Fig 2b
Retaining Strap
Arrow Direction
indicates centre
of Vehicle
Rubber Washer
VOLKSWAGEN
CADDY VAN
3/05 ON
ROOF RACKS
SPORTS SERIES
RE Global
Cross Bar
Buffer Strip
RE Global Bar
End Cap
Bottom Slug
Security
Bolt
Front
M8 x 20mm Button head Bolt
Under Cover Strip
End Support
Flat Washer
Spring Washer
M8 Bolt
Cage nut
Strap
Fig.1b.
Rear
532
Issue C
19/11/09
Sheet 1 of 2
Advertisement

Subscribe to Our Youtube Channel
Summary of Contents for Rola CRM19-2
- Page 1 Anchor Point (Fig.2.b). Tighten Bolts with Red key provided, to secure Retaining Strap to vehicle. A firm hand tightness is adequate. Fig 2b M8 x 20mm Button head Bolt Retaining Strap Arrow Direction indicates centre of Vehicle Rubber Washer www.rola.com.au Issue C 19/11/09 Sheet 1 of 2...
- Page 2 VOLKSWAGEN CADDY VAN 3/05 ON REMOVABLE MOUNT Product Code Number: CRM19-2 ROOF RACKS Maximum Carrying Capacity: 80kg STEP 3: Fitting Cross Bar to Vehicle A. Place Cross Bar Assembly onto appropriate Retaining Straps and align end supports. Loosely fit M6x20mm...


Need help?
Do you have a question about the CRM19-2 and is the answer not in the manual?
Questions and answers