Advertisement
Quick Links
TEKTELIC K
ONA
Thank you for purchasing a TEKTELIC Kona Agriculture Sensor. This document will guide you through setting up your new
device. Please register for an account on the TEKTELIC Support Portal at
User's Guide and Technical Resource Manual.
Activating the Device
The device is shipped with the batteries installed and in a state of DEEP-SLEEP until it is woken (activated) with the provided magnet.
There is no need to open the enclosure to activate the device. Ensure the device is commissioned on your Network Server before
activation.
To activate the device, use the provided magnet to apply a specific switch pattern to the internal reed switch. A magnet presence is
achieved by bringing the magnet close to the magnet symbol at the top of the enclosure. For a magnet absence, take the magnet at least
2 cm away from the enclosure. As soon as the specified magnetic pattern is applied to the device, the green LED will blink until the
device is attached to the Network Server. Once attached, the LED will blink every time a message is sent to the Network Server.
Magnetic Pattern to Activate or Reset Device
Step 1: Magnet present for more than 3 seconds but less than 10 second
Step 2: Magnet absent for at least 3 seconds
Note: The magnetic pattern always triggers a module reset, even during normal operation.
If the device remains blinking green for more than two minutes follow these troubleshooting actions:
Ensure the device is provisioned on the Network Server
Ensure a local LoRa Gateway has also been provisioned on the Network Server
Ensure the local LoRa Gateway is online and in close proximity to the device
NOTE: The sensor may take longer than usual to join the network after waking up from deep sleep for the first time due to the wakeup
sequence of the new battery. This should however not take more than 10 minutes.
If you have questions about using this device please visit the TEKTELIC Support Portal
knowledge base and support team.
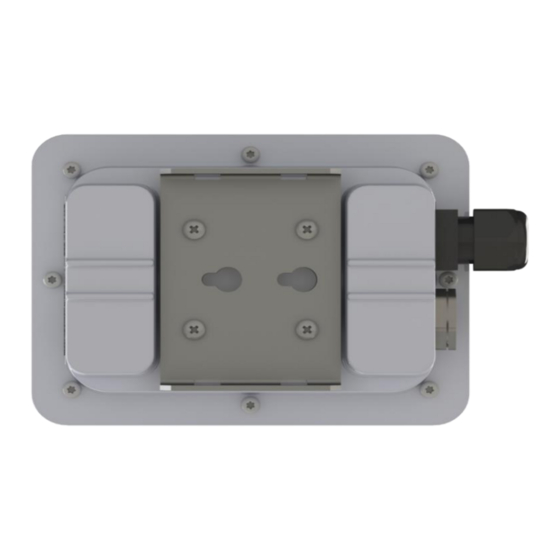
Mounting the Device
There are two variants of the Agriculture Sensor (see below).
Clover Variant: the recommended mounting steps are to push the device into the ground where the device is required manually.
Kiwi Variant: there are two ways to mounting this device.
1. Tie straps can be used with the mounting bracket to hold the device to an upright pole or post.
2. Screws can be used to mount the device by lining up the two screws (M3 or #6) to the mounting bracket and screwing them
into the wall or post where the device is being mounted. The device can then be held by the two mounting holes shown
below:
Release: April 17, 2020
A
S
GRICULTURE
: Q
S
ENSOR
UICK
support.tektelic.com
support.tektelic.com
G
TART
UIDE
for more documentation including a
for access to our
support.tektelic.com
Advertisement

Related Manuals for TEKTELIC Communications Kiwi


Summary of Contents for TEKTELIC Communications Kiwi
- Page 1 Clover Variant: the recommended mounting steps are to push the device into the ground where the device is required manually. Kiwi Variant: there are two ways to mounting this device. 1. Tie straps can be used with the mounting bracket to hold the device to an upright pole or post.
- Page 2 Kona Agriculture Sensor: Clover and Kiwi. See Figure 1. The Clover model is intended to have the probes pressed into soil. The Kiwi model is intended to be mounted on a pole or wall and measure soil conditions from 1 or 2 remote probes. The default feature configurations of each model are listed in Table 1.
Need help?
Do you have a question about the Kiwi and is the answer not in the manual?
Questions and answers