Vivotek FD8133V User Manual
Fixed dome network camera
Hide thumbs
Also See for FD8133V:
- User manual (193 pages) ,
- Quick installation manual (15 pages) ,
- Specification (2 pages)

Related Manuals for Vivotek FD8133V


Summary of Contents for Vivotek FD8133V
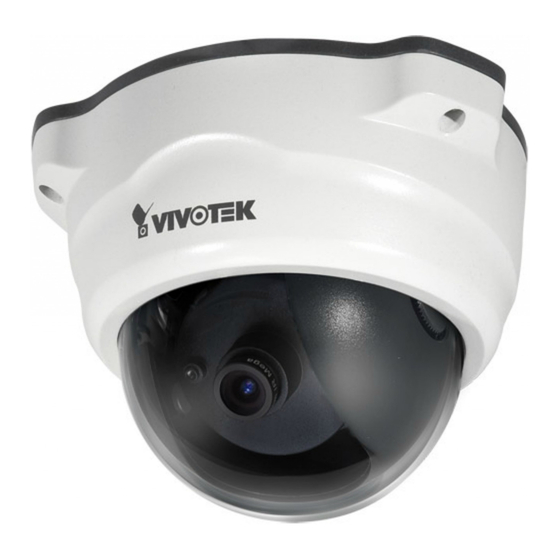
- Page 1 FD8133V/8134V Fixed Dome Network Camera User’s Manual FD8133V: 3-axis FD8134V: IR Illuminators Rev. 1.2...
-
Page 2: Table Of Contents
Applications > Motion detection......................104 Applications > Digital input ........................107 Applications > Tampering detection ....................107 Applications > VADP (VIVOTEK Application Development Platform ........... 108 Recording > Recording settings ......................110 Local storage > SD card management ....................115 Local storage >... - Page 3 VIVOTEK URL Commands for the Network Camera ....................119 Technical Specifications ........................... 195 Technology License Notice ........................196 Electromagnetic Compatibility (EMC) ....................... 197 User's Manual - 3...
-
Page 4: Overview
VIVOTEK cameras, including tamper detection, MicroSD/SDHC card slot, 802.3af compliant PoE (FD8134V), removable IR-cut filter and built-in IR illuminators, and VIVOTEK’s 32-channel recording software. With all of these capabilities, the FD8133V/34V presents the best value in IP surveillance for indoor/outdoor applications. -
Page 5: Read Before Use
Commands of the Network Camera section serves as a helpful reference to customizing existing homepages or integrating with the current web server. Package Contents ■ FD8133V / FD8134V ■ Power adapter ■ RJ45 Female/Female Coupler / Screws / Stardriver / Clamp Core ■... -
Page 6: Hardware Installtion
VIVOTEK Hardware Installtion Physical Description Black Cover Light Sensor IR LEDs (8 units, distance 10m) Lens (FD8134V only) MicroSD/SDHC Card Slot General I/O Terminal Block Ethernet 10/100 Reset Button RJ45 Plug Power Cord Socket Status LED General I/O Terminal Block This Network Camera provides a general I/O terminal block which is used to connect external input / output devices. -
Page 7: Installation
VIVOTEK Installation Removing Dome Cover First, follow the instructions below to remove the dome cover. Flip the black retention tabs in the counter-clockwise direction to release the dome cover (clockwise if you look from the bottom up.) Dome Cover Record the MAC address before installing the camera. - Page 8 VIVOTEK To install the camera to a ceiling or wall: 1. Attach the alignment sticker to the ceiling/wall. 2. Through the two circles on the sticker, drill two pilot holes into the ceiling/wall. 3. The Network Camera can be mounted with the cable routed through the ceiling/wall or from the side.
-
Page 9: Network Deployment
VIVOTEK Network Deployment General Connection (without PoE) This section explains how to configure the Network Camera to an Internet connection. 1. If you have external devices such as sensors and alarms, make the connection from the general I/O terminal block. - Page 10 VIVOTEK Set up the Network Camera through Power over Ethernet (PoE) When using a PoE-enabled switch The Network Camera is PoE-compliant, allowing transmission of power and data via a single Ethernet cable. Follow the below illustration to connect the Network Camera to a PoE-enabled switch via Ethernet cable.
- Page 11 VIVOTEK Internet connection via a router Before setting up the Network Camera over the Internet, make sure you have a router and follow the steps below. 1. Connect your Network Camera behind a router, the Internet environment is illustrated below. Regarding how to obtain your IP address, please refer to Software Installation on page 12 for details.
-
Page 12: Software Installation
After your network environment is analyzed, please click Next to continue the program. 3. The program will search for all VIVOTEK network devices on the same LAN. 4. After a brief search, the installer window will prompt. Click on the MAC and model name that matches the one printed on the product label. -
Page 13: Ready To Use
1. Loosen the tilt adjustment screws and then turn the lens module up or down, or swing left or right. Upon completion, tighten the screw. 2. Turn the lens to adjust the image orientation. Pan 350° Tighten Loosen FD8133V: Tilt 85° Rotate 350° FD8134V: Tilt 70° User's Manual - 13... - Page 14 The sophisticated 3-axis mechanism design offers very flexible, easy hardware installation for either ceiling or wall mount. Pan 350° Tilt Adjustment Screw Rotate 340° DO NOT over rotate the lens. Doing so will damage the FD8133V: Tilt 85° camera lens module. FD8134V: Tilt 70° 14 - User's Manual...
-
Page 15: Completion
VIVOTEK Completion 1. Align the inner side of the black cover with the notches on both sides of the lens, fix the black cover. 2. If you choose to feed the cable through the ceiling/wall, arrange the cable neatly through the cable hole. -
Page 16: Accessing The Network Camera
3. Live video will be displayed in your web browser. 4. If it is the first time installing the VIVOTEK network camera, an information bar will prompt as shown below. Follow the instructions to install the required plug-in on your computer. - Page 17 VIVOTEK ► By default, the Network Camera is not password-protected. To prevent unauthorized access, it is highly recommended to set a password for the Network Camera. For more information about how to enable password protection, please refer to Security on page 74.
- Page 18 VIVOTEK IMPORTANT: • Currently the Network Camera utilizes 32-bit ActiveX plugin. You CAN NOT open a management/view session with the camera using a 64-bit IE browser. • If you encounter this problem, try execute the Iexplore.exe program from C:\Windows\ SysWOW64. A 32-bit version of IE browser will be installed.
-
Page 19: Using Rtsp Players
VIVOTEK Using RTSP Players To view the MPEG-4 streaming media using RTSP players, you can use one of the following players that support RTSP streaming. Quick Time Player VLC media player VLC media player 1. Launch the RTSP player. mpegable Player 2. -
Page 20: Using 3Gpp-Compatible Mobile Devices
VIVOTEK Using 3GPP-compatible Mobile Devices To view the streaming media through 3GPP-compatible mobile devices, make sure the Network Camera can be accessed over the Internet. For more information on how to set up the Network Camera over the Internet, please refer to Setup the Network Camera over the Internet on page To utilize this feature, please check the following settings on your Network Camera: 1.
Need help?
Do you have a question about the FD8133V and is the answer not in the manual?
Questions and answers