Table of Contents
Advertisement
DIGITAL VIDEO CAMERA
GR-DVL910A
GR-DVL510A
GR-DVL450A
GR-DVL313A
GR-DVL310A
GR-DVL210A
GR-DVL910EA
GR-DVL510EA
GR-DVL210EA
Please visit our Homepage on the World Wide Web and
answer our Consumer Survey (in English only):
http://www.jvc-victor.co.jp/english/index-e.html
INSTRUCTIONS
Downloaded from:
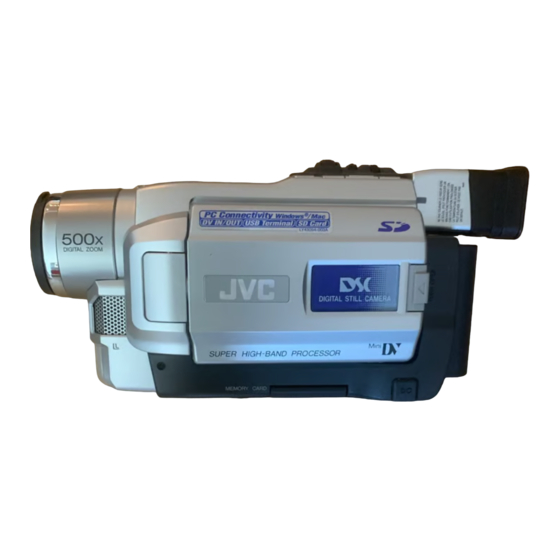
The camcorder illustrations
appearing in this instruction
manual are of the GR-DVL910A.
https://www.usersmanualguide.com/
CONTENTS
AUTOMATIC
DEMONSTRATION
GETTING STARTED
VIDEO RECORDING &
PLAYBACK
VIDEO RECORDING ............ 16 – 20
VIDEO PLAYBACK .............. 21 – 24
DIGITAL STILL CAMERA (D.S.C.)
RECORDING &
PLAYBACK
D.S.C. RECORDING ............ 26 – 27
D.S.C. PLAYBACK .............. 28 – 36
ADVANCED
FEATURES
FOR RECORDING ................ 38 – 45
USING MENUS FOR
DETAILED ADJUSTMENT ...... 46 – 51
DUBBING ......................... 52 – 56
USING THE REMOTE
CONTROL UNIT ................ 57 – 67
SYSTEM CONNECTIONS ........ 68 – 69
REFERENCES
DETAILS ................................... 71
TROUBLESHOOTING ............ 72 – 76
USER MAINTENANCE ................... 77
INDEX ............................. 78 – 84
CAUTIONS ........................ 85 – 87
TERMS ............................ 88 – 89
SPECIFICATIONS ................. 90 – 91
The D.S.C. (Digital Still Camera)
features are available on GR-DVL910A,
GR-DVL510A, GR-DVL910EA and
GR-DVL510EA.
LYT0768-001A
ENGLISH
6
7 – 14
15 – 24
25 – 36
37 – 69
70 – 91
EN
Advertisement
Chapters
Table of Contents


Need help?
Do you have a question about the GR-DVL910A and is the answer not in the manual?
Questions and answers