Table of Contents
Advertisement
Quick Links
Printed Matter No. 9839 0180 01
Publication Date 2020-03-04
Valid from Serial No. C0770001
Valid to Serial No. C2439999
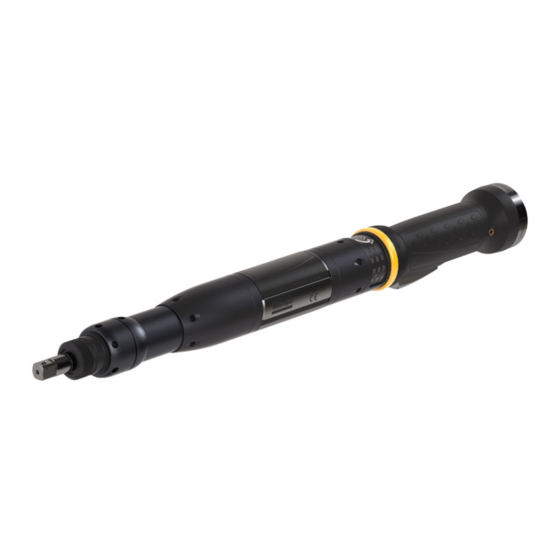
ETD STR61-70-13
(15-80 Nm)
Read all safety warnings and instructions
Failure to follow the safety warnings and instructions may result in
electric shock, fire and/or serious injury.
Save all warnings and instructions for future reference
ETD STR61-70-13
8436626070
WARNING
Electric straight nutrunner
Product Instructions
Advertisement
Table of Contents

Related Manuals for Atlas Copco ETD STR61-70-13


Summary of Contents for Atlas Copco ETD STR61-70-13
- Page 1 ETD STR61-70-13 Printed Matter No. 9839 0180 01 Electric straight nutrunner Publication Date 2020-03-04 Valid from Serial No. C0770001 Product Instructions Valid to Serial No. C2439999 ETD STR61-70-13 8436626070 (15-80 Nm) WARNING Read all safety warnings and instructions Failure to follow the safety warnings and instructions may result in electric shock, fire and/or serious injury.
-
Page 2: Table Of Contents
Service ........................ 18 Preventing ESD problems ................ 18 Maintenance instructions ................ 18 Overhaul .................... 18 Service recommendations .............. 18 Service instructions ................ 18 Lubrication instructions ................... 19 Lubricating guide ................. 19 Lubrication ................... 19 Repair instructions .................. 19 Repair .................... 19 © Atlas Copco Industrial Technique AB - 9839 0180 01... - Page 3 Troubleshooting.................... 20 If the tool becomes very hot................ 20 Power Focus 3000/4000................. 20 Power Focus 600/6000................... 20 Recycling ....................... 21 Environmental Regulations................ 21 Recycling information .................. 21 © Atlas Copco Industrial Technique AB - 9839 0180 01...
-
Page 4: Product Information
WARNING indicates a hazardous situation which, if not avoided, could result in death or serious injury. CAUTION CAUTION, used with the safety alert symbol, indicates a hazardous situation which, if not avoided, could result in minor or moderate injury. © Atlas Copco Industrial Technique AB - 9839 0180 01... -
Page 5: Warranty
■ Damage to parts that occurs as a result of inadequate maintenance or performed by parties other than Atlas Copco or their Certified Service Partners during the warranty period is not covered by the warranty. ■ To avoid damage or destruction of tool parts, service the tool according to the recommended mainte- nance schedules and follow the correct instructions. -
Page 6: Country Of Origin
(>30mA) and if leakage occurs, the drive is switched off (30ms). Changing, interfering or tampering with the protection system voids all warranty and obligations from Atlas Copco. Trouble-shoot- ing and re-start of the system may only be carried out by an authorized person. Check the function of the EFP on a regular basis by pressing the trip-button. - Page 7 Letter Code The EPC memory is writable which enables the chip information to be reprogrammed in cases where the motor from one tool is to be reused in another tool. © Atlas Copco Industrial Technique AB - 9839 0180 01...
-
Page 8: Service Overview
If the product is not working properly, take it out of service and inspect it. If no detailed information about preventive maintenance is included, follow these general guidelines: ■ Clean appropriate parts accurately ■ Replace any defective or worn parts © Atlas Copco Industrial Technique AB - 9839 0180 01... -
Page 9: Installation
POWER FOCUS while the tool is connected will be stored in the tool memory. Installing accessories Disassemble of the tool and/or accessorie must only be performed by qualified maintenance personell. © Atlas Copco Industrial Technique AB - 9839 0180 01... - Page 10 Put the gear back in position. Apply a thin layer of grease on the sealing washer. 13. Put the front part in the clamping jaw and fasten the clamping jaw in the vise. 14. Tighten the front cap nut using adjustable spanners. © Atlas Copco Industrial Technique AB - 9839 0180 01...
- Page 11 ETD STR61-70-13 Installation © Atlas Copco Industrial Technique AB - 9839 0180 01...
-
Page 12: Mounting Of Swivelling Suspension Yoke
Attach the yoke ring to the tool by pushing it onto the clamp rings. NOTICE Make sure the yoke is pointing to the front end of the tool. Secure the yoke ring with a circlip in the slot of the clamp rings. © Atlas Copco Industrial Technique AB - 9839 0180 01... - Page 13 Hold the tool using a vise and assembly/disassembly tool against the rubber cover. Push the yoke ring onto the clamp rings. Secure the yoke ring with a circlip in the slot of the clamp rings. © Atlas Copco Industrial Technique AB - 9839 0180 01...
- Page 14 Hold the tool using a vise and assembly/disassembly tool against the rubber cover. Push the yoke ring onto the clamp rings. Secure the yoke ring with a circlip in the slot of the clamp rings. © Atlas Copco Industrial Technique AB - 9839 0180 01...
- Page 15 Attach the yoke ring to the tool by pushing it onto the clamp rings. NOTICE Make sure the rubber cover and the clamp rings are aligned. Secure the yoke ring with a circlip in the slot of the clamp rings. © Atlas Copco Industrial Technique AB - 9839 0180 01...
-
Page 16: Operation
The soft-start function facilitates entering the screw head and thread. The duration of the soft start is adjustable, see the manual for the drive unit. The tool is equipped with signal lights, ■ Green = OK tightening © Atlas Copco Industrial Technique AB - 9839 0180 01... - Page 17 Yellow = Warning – low torque (not for ES) ■ Red = Warning – high torque ■ Orange = Function indicator (only for SL and DL) ■ Blue = Function indicator (only for SL) © Atlas Copco Industrial Technique AB - 9839 0180 01...
-
Page 18: Service
If you decide that the electric motor is defect or in need of service, return the complete motor unit to Atlas Copco Industrial Technique for replacement. Motors which have been opened by anyone else than Atlas Copco Industrial Technique will not be ser- viced. -
Page 19: Lubrication Instructions
Repair instructions Repair Repair must only be carried out by qualified authorised personnel. For further information contact your lo- cal Atlas Copco sales representative. © Atlas Copco Industrial Technique AB - 9839 0180 01... - Page 20 Is the unit switched on? Check the earth fault circuit breaker behind the front door. Should it have tripped, make sure to find the primary fault before resuming operation. Check that the wiring on the remote start connector is correct. For further information see 9836 4954/9836 7446. © Atlas Copco Industrial Technique AB - 9839 0180 01...
- Page 21 Batteries shall be taken care of by your national battery recovery organization. Recycling information Part Remarks Recycle as Front part Metal, Steel Cap nut Metal, Steel Gear casing Metal, Steel © Atlas Copco Industrial Technique AB - 9839 0180 01...
- Page 22 Note, only on new version Rubber, Thermoplastic of the electronics module elastomer (no 13) Electronics module WEEE Electronics module WEEE HMI module WEEE Handle and button Plastic, other and Metal, Steel Metal, Steel © Atlas Copco Industrial Technique AB - 9839 0180 01...
- Page 24 Original instructions © Copyright 2020, Atlas Copco Industrial Technique AB. All rights reserved. Any unauthorized use or copying of the contents or part thereof is prohibited. Atlas Copco Industrial This applies in particular to trademarks, model denominations, part numbers Technique AB and drawings.
Need help?
Do you have a question about the ETD STR61-70-13 and is the answer not in the manual?
Questions and answers