Advertisement
Packing List
In addition to this guide, the package includes the following items:
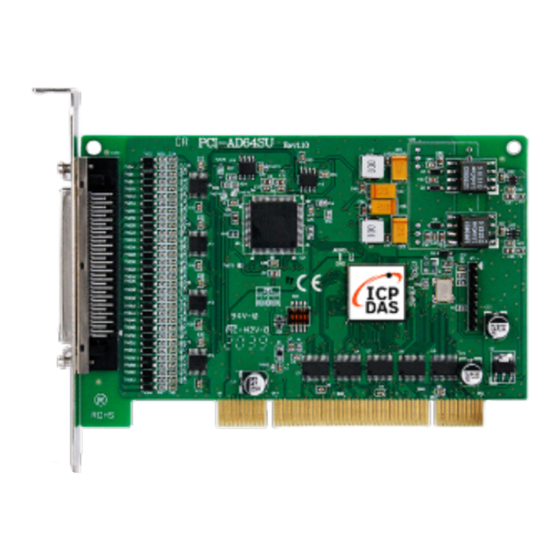
PCI-AD64 Series
Technical Support
service@icpdas.com
www.icpdas.com
For Desktop Web
Related Information
For more detailed information related to the software manual, hardware
manual, PCI-AD64 series Driver & SDK and sample program:
http://www.icpdas.com/en/download/index.php?model=PCI-AD64SU
PCI-AD64 Series Quick Start
Resources
How to search for drivers, manuals and
spec information on ICP DAS website.
For Mobile Web
PCI-AD64
PCI-AD64
v1.0, Dec. 2022
P1
Advertisement
Table of Contents

Related Manuals for ICP DAS USA PCI-AD64 Series


Summary of Contents for ICP DAS USA PCI-AD64 Series
- Page 1 ICP DAS website. service@icpdas.com For Mobile Web www.icpdas.com PCI-AD64 For Desktop Web PCI-AD64 Related Information For more detailed information related to the software manual, hardware manual, PCI-AD64 series Driver & SDK and sample program: http://www.icpdas.com/en/download/index.php?model=PCI-AD64SU...
- Page 2 7) Click the “Next>” button on the Download Information window. 8) Select “No, I will restart my computer later” and then click the “Finish” button. NOTE: For more detailed information related to driver installation, refer to Chapter 4 “Starting” in the PCI-AD64 series user manual.
- Page 3 Installing Hardware on PC 1) Power off the Computer. 2) Remove all covers from the Computer. 3) Select an unused PCI /PCI Express slot. 4) Carefully insert the Card into PCI/PCI Express slot. 5) Replace the Computer Covers. 6) Power on the Computer. 7) The operating system will automatically detect the new hardware and install the necessary drivers after reboot the PC.
- Page 4 Pin Assignments...
- Page 5 Advanced Configuration Before beginning the “Self-test”, use the advanced configuration tool in the Windows Device Manager to settings the Analog Input type, the detail configuration is illustrated in the figure below. 1) Open the Windows Device Manager, Right-click PCI-AD64 and select the Properties on popup menu.
- Page 6 Testing Board Prepare for device CA-SCSI15-H3 (optional) cable DN-68A (optional) daughter board 1) Connect the CON1 to DN-68A board using the CA-SCSI15-H3 cable. 2) AI functional test and wiring Connect the signal AO channel 0 to AI channel 0, and connect the signals as follows.
- Page 7 3) Launch the UniDAQ Utility program, it was installed in the default folder, it will be located at “C:\ICPDAS\UniDAQ\Driver”. 4) Click the “TEST” button to start the test. Click the ”Analog Input” item than click “SINGLE” button to get values. Check the voltage is or not equal battery.
Need help?
Do you have a question about the PCI-AD64 Series and is the answer not in the manual?
Questions and answers