
Related Manuals for Captron CANEO SR Series


Summary of Contents for Captron CANEO SR Series
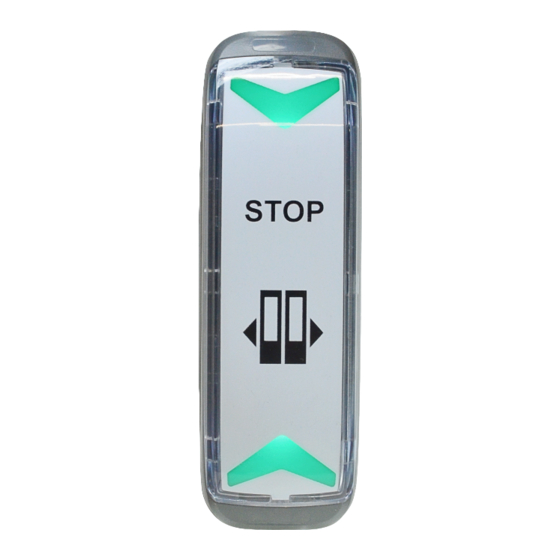
- Page 1 CANEO CANEO Original operating instructions Original operating instructions seriesSR seriesSR...
-
Page 2: Table Of Contents
Table of Contents Foreword..................3 Safety................... 3 Notes and symbols used............3 General safety................4 Personnel qualifications............4 Intended use................4 Reasonably foreseeable misuse..........5 General description of seriesSR..........5 Assembly..................6 Recommended screw types............. 8 Maximum dimensions of the screws........8 Configuring the five-pin version..........8 Maintenance................. -
Page 3: Foreword
Foreword These operating instructions are intended for technicians/installers and operators and should be kept for future reference. Read these operating instructions carefully and make sure that you have fully understood the contents before installing or working with the SENSORswitches. Safety Notes and symbols used Warning notes in relation to personal injury / material damage are formulated according to the "SAFE”... -
Page 4: General Safety
NOTICE Notice designates a situation, which may cause material damages and impair the product’s function if attention is not paid. Tip provides additional useful information about the handling of the product. Symbol Meaning Avoiding and adverting danger in the warning note ►... -
Page 5: Reasonably Foreseeable Misuse
intended for use in accordance with the items listed here, the values from the “Technical specifications” chapter, and the values from the product description. Connect only to a SELV or PELV system. Max. permissible power supply < 100 W Reasonably foreseeable misuse Intended use Any use other than as specified in the section extending beyond this is deemed to be improper. -
Page 6: Assembly
Assembly WARNING Improper work on electrical systems! Electric shock can result in death or life- threatening injuries. Before working on electrical systems, disconnect them from their voltage supply and secure them against being switched on again. Work on electrical installations should be carried out only by qualified personnel in compliance with local and national electrical regulations and specifications. - Page 7 ► Connect the electrics on the circuit board. ► Carefully press the circuit board onto the mounting flange until the circuit board clicks into place. NOTICE The cup cannot be removed without destroying it! Before mounting the cup, pay attention to the orientation of the symbol and the braille.
-
Page 8: Recommended Screw Types
► Align the symbol and carefully press the cup onto the mounting flange until the cup clicks into place. Recommended screw types DIN EN ISO 7045 M4 DIN EN ISO 7049 Ø3.9 mm DIN 7050 C M4 Maximum dimensions of the screws The drawing shows the maximum dimensions of the screws. -
Page 9: Maintenance
► Apply operating voltage to pin 2 or pin 5 (A) for at least two seconds. ► Remove the operating voltage from pin 2 or pin 5. The circuit board is configured as a five-pin version. Maintenance With the exception of cleaning, seriesSR is maintenance-free. Clean seriesSR with a damp microfiber cloth as needed. -
Page 10: Disposal
Disposal Different types of electrical and electronic components must be recycled according to their type. All applicable statutory, state and local laws and regulations must be complied with. Technical specifications Operating voltage 24 V (10 to 32 V) Load current Max. -
Page 11: Dimensional Drawings
Dimensional drawings Drilling pattern The hole diameter is specified for a M4 screw as an example. For a self-tapping screw, the installer must select the appropriate diameter. -
Page 12: Dimensional Drawing Bar Diameter 30 - 32 Mm
Dimensional drawing bar diameter 30 - 32 mm... -
Page 13: Dimensional Drawing Bar Diameter 34 - 35 Mm
Dimensional drawing bar diameter 34 - 35 mm... -
Page 14: Dimensional Drawing Wall Mounting
Dimensional drawing wall mounting... -
Page 15: Connection Options
Connection options 3-pin version 5-pin version Plug JST, 3-pin Plug JST, 3-pin Plug JST, 2-pin Connection plan 3-pin +VDC PNP-NO Load LED1 LED2... -
Page 16: Manual Updates
Chapter , "Configuring the Customer can configure themselves five-pin version". Manual updates CAPTRON reserves the right to make changes to the contents of this manual as needed. The most current version can be found on our website www.captron.com Legal notice... -
Page 17: Imprint
Trademark The CAPTRON, CANEO, and oneGRID names and logos are registered trademarks of CAPTRON in various countries and are the property of CAPTRON Electronic GmbH. All other trademarks mentioned herein are the property of their respective owners.
Need help?
Do you have a question about the CANEO SR Series and is the answer not in the manual?
Questions and answers