Table of Contents
Advertisement
Quick Links
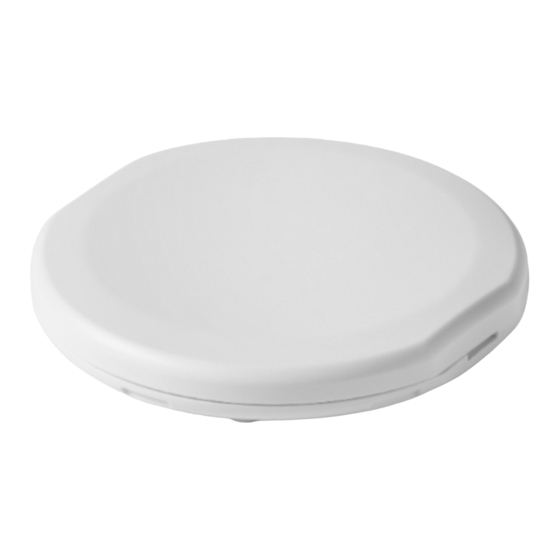
WST-622 Flood and Freeze Sensor
Installation Manual
Specifications
Frequency:
345 MHz
Operating Temperature:
32°
–
120°F (0°
–
Operating Humidity:
5 – 95% RH non condensing
Battery:
One 3Vdc lithium CR2450 (620mAH)
Battery life:
Up to 10 years
Detect Freeze at 41°F (5°C) restores at 45°F (7°C)
Detect a minimum of 1/64th in of water
Compatible with Honeywell receivers
Supervisory signal interval: 64 min(approx.)
Package Contents
1x Flood and Freeze Sensor
1x Installation Manual
1x CR2450 Battery
Optional Accessories
(included in select kits)
1x External Sensor Adapter / Mounting Bracket
2x Mounting Screws
1x Water Detection Rope
Component Identification
Flood and Freeze Sensor
CR2450 Battery
Component Identification (Optional Accessories)
patent pending
External Sensor Adapter / Mounting Bracket
49°C)
OPERATION
The WST-622 sensor is designed to detect water across the gold probes
and will alert immediately when present. The Freeze sensor will trigger
when the temperature is below 41°F (5°C) and will send a restoral at
45°F (7°C).
ENROLLING
To enroll the sensor, set your panel into sensor learn mode. Refer to
your specific alarm panel instruction manual for details on these
menus.
1. On the WST-622 locate the pry points on opposite edges of the
sensor. Carefully use a plastic pry tool or standard slot head
screwdriver to remove the top cover. (Tools not included)
2. Insert the CR2450 battery with the (+) symbol facing up, if not
already installed.
Water Detection Rope
Mounting Screws
(not shown)
Pry Points
Insert battery this way
3. To learn in as a flood sensor, press and hold the Learn Button
(SW1) for 1 - 2 seconds, then release. A single short on/off blink
at 1 second confirms flood learn is initiated. The LED will remain
solid ON during the learn transmission. The Flood sensor enrolls
as Loop 1. Repeat as required.
Learn Button (SW1)
4. To learn the freeze sensor, press and hold the Learn Button
(SW1) for 2 - 3 seconds, then release. A single short on/off blink
at 1 second plus a double on/off blink at 2 seconds confirms
freeze learn is initiated. The LED will remain solid ON during the
learn transmission. The Freeze sensor enrolls as Loop 2. Repeat
as required.
5. After successful enrollment, verify the gasket in the top cover is
properly seated, then snap the top cover onto the bottom
cover aligning the flat sides. Inspect the seam all the way
around the edge of the device to ensure it is completely
sealed.
Gasket
Note: Alternately, the 7 digit serial number printed on the back of each unit can be manually entered into the
panel. For 2GIG systems the equipment code is "0637"
Testing the Unit
After successful enrollment, a test transmission sending current states
can be initiated by pressing and immediately releasing the Learn
Button (SW1), with the top cover open. The LED will remain solid ON
during the button-initiated test transmission. With the unit fully
assembled and sealed, placing wet fingers on any two probes will
trigger a flood transmission. Note the LED will not illuminate for a wet
flood test and remains OFF during all normal operation.
PLACEMENT
Place the flood detector anywhere that you wish to detect a flood or
freezing temperature, such as under a sink, in or near a hot water
heater, a basement or behind a washing machine. As a best practice
send a test transmission from the desired placement location to ensure
the panel can receive it.
Light Emitting Diode (LED)
Advertisement
Table of Contents

Summary of Contents for Ecolink WST-622
- Page 1 Component Identification 1. On the WST-622 locate the pry points on opposite edges of the sensor. Carefully use a plastic pry tool or standard slot head Note: Alternately, the 7 digit serial number printed on the back of each unit can be manually entered into the screwdriver to remove the top cover.
- Page 2 FCC ID: XQC-WST622 IC: 9863B-WST622 1. On the WST-622 locate the pry points on opposite edges of the 4. Use screws to secure the External Sensor Adapter / Mounting sensor, carefully use a plastic pry tool or standard slot head Bracket, if desired.


Need help?
Do you have a question about the WST-622 and is the answer not in the manual?
Questions and answers