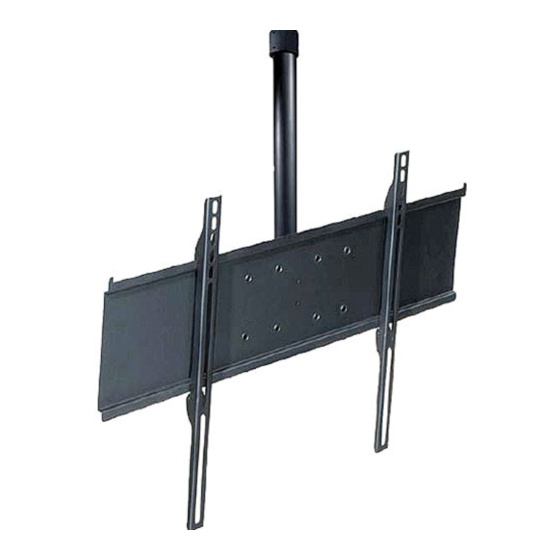
peerless-AV PLCK-UNL Installation And Assembly
Flat panel conversion kit with universal adapter plate
Hide thumbs
Also See for PLCK-UNL:
- Installation and assembly manual (9 pages) ,
- Install manual (24 pages) ,
- Instructions manual (16 pages)
Advertisement
Installation and Assembly -
Read instruction sheet before you start installation and assembly.
TABLE OF CONTENTS
Installation
Parts List.....................................................page 2
Installation of Adapter
Brackets.....................................................page 3
Mounting and Removing Flat Panel
Screen........................................................page 5
Visit the Peerless Web Site at www.peerlessmounts.com
Flat Panel Conversion Kit
with Universal Adapter Plate
• Installer must verify that the wall will safely support the
combined weight of all attached equipment and
hardware.
1 of 5
For customer care call 1-800-729-0307 or 708-865-8870.
Model: PLCK-UNL
Maximum Load Capacity:
125 lb (57 kg)
WARNING
ISSUED:02-22-07 SHEET #: 202-9197-1
Advertisement
Table of Contents

Related Manuals for peerless-AV PLCK-UNL


Summary of Contents for peerless-AV PLCK-UNL
- Page 1 Flat Panel Conversion Kit Installation and Assembly - Model: PLCK-UNL with Universal Adapter Plate Maximum Load Capacity: Read instruction sheet before you start installation and assembly. 125 lb (57 kg) TABLE OF CONTENTS WARNING Installation • Installer must verify that the wall will safely support the Parts List.............page 2...
- Page 2 Before you begin, make sure all parts shown are included with your product. PARTS LIST Description Qty Part # AA adapter plate 201-1109 BB deep bracket 200-0752 Security Adapter Bracket Fasteners M4 x 12 mm (6) M6 x 12 mm (4) M5 x 12 mm (4) M8 x 15 mm (6) 510-1079...
- Page 3 Installing Adapter Brackets Refer to Screen Compatibility Chart to determine the proper fasteners to use. To prevent scratching the screen, set a cloth on a flat, level surface that will support the weight of the screen. Place screen face side down. If screen has knobs on the back, remove them to allow the adapter brackets to be attached. Place deep brackets (BB) on back of screen, align to holes, and center on back of screen as shown in figure 1.1.
- Page 4 Attach tilt bracket to adapter plate (AA) using four M10 x 15 mm penta-pin screws (included in PLCM-2) in accordance with appropriate drawing below. Tighten using M10 penta-pin tool (included in PLCM-2). M10 X 15 mm PENTA-PIN SCREWS TILT BRACKET Note: Screen and adapter plate may appear different than illustrated.
- Page 5 Mounting and Removing Flat Panel Screen Hook deep brackets (BB) onto adapter plate (AA), then slowly swing screen in as shown. Turn screws clockwise at least six times to prevent screen from being removed as shown in detail 1. Note: Tighten using 4 mm allen wrench (included in ACC109). Screen can be adjusted horizontally if desired.
Need help?
Do you have a question about the PLCK-UNL and is the answer not in the manual?
Questions and answers