Advertisement
Quick Links
CARF-Models
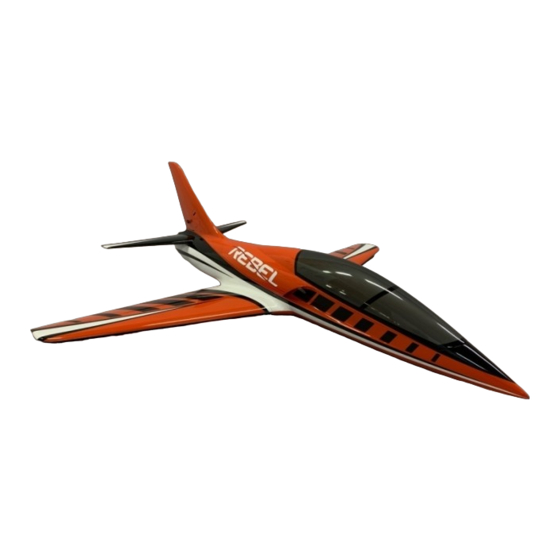
Rebel HOT / Rebel Classic 2m
Instruction Manual
The Rebel HOT and Rebel Classic 2m are very similar, almost identical in all features and
details. So, this manual will describe the building of both of the aforementioned Rebel
types, if there are specific differences we will not them especially.
The Rebels are all very highly prefabricated. There is no actual building to be done. Since
it is only installation work, we kept this manual very brief and don't necessarily show what
a halfway experienced modeler should know anyway. However, the brief but important
specific information will be very important to be read and understood.
There are not many Sport Jets on the market today who have a similar success story as
the Pirotti Rebels. When CARF Models took over the Rebel design, our philosophy was
not to ride the wave of ever new designs, untested, unproven, either always the same
style reinvented - or plain outright ugly just to be different.... No, we decided to go with
one rock solid SportJet in various sizes, which just needed a revitalization in order to
show everybody the lead once more.
The Pirotti Rebels have received a complete makeover by CARF-Models. All 4 sizes are
now incredibly prefabricated and painted in the molds. All important design and
engineering features have been revisited and some of them improved, not only in terms of
ease of build and construction, but also strength, rigidity and performance. The results
are 4 models which are there to remain in the small group industry leading Sport Jets for
many more years to come.
This manual is giving a quick and easy description of the critical installation steps for
Rebel HOT and Rebel Classic 2m for you to successfully integrate your Rebel and get it
ready for the first flight in no time. These two versions are nearly identical in design and
build so this manual will work for both of them.
Lets start with the assembly and equipment installation:
1) Wings
Test fit the Rebel HOT / Classic 2m JP-Gear into the gear mount of the wing. You can
operate the gear with a 1-2 cell Lipo or 5 cell NiCd battery but here a word of caution: BE
VERY CAREFUL not to burn the motors when reaching the end position. Unplug BEFORE
the brass slider reaches its mechanical lock to prevent motor damage. Only with the
controller connected the motors will switch off correctly and automatically by sensing the
peak of current.
If necessary, use thin plywood shims on the wood mount and sand or grind the opening in
the wing so that the wheel and strut fit without hitting the skin.
Advertisement

Summary of Contents for Carf-Models Rebel HOT
- Page 1 1) Wings Test fit the Rebel HOT / Classic 2m JP-Gear into the gear mount of the wing. You can operate the gear with a 1-2 cell Lipo or 5 cell NiCd battery but here a word of caution: BE VERY CAREFUL not to burn the motors when reaching the end position.
- Page 2 Make sure that you manually extend the spring loaded oleos fully. If they bind a little and stop moving before they reach their end point, some white grease from a spray can will help the oleos to ease up. Don’t keep the cutouts in the wing skin too tight, allow sufficient clearance of a few mm around the wheel and strut.
- Page 3 The above is made for you if you order the ARF-Plus Service. Install the 15 mm (HOT) or 20 mm (2m) steering servo, connect the linkages and then route the servo wire together with the gear wire backwards to the receiver position. Install extension wires from the wings and the tail to the receiver position.
- Page 4 Cortex, please make sure you mount them exactly horizontally. This is not so easy at the Rebel HOT, because it does not have the level surface in front of the engine bay. On the Rebel Classic 2m there is the level surface in front of the engine bay, perfectly suited to install any Gyro.


