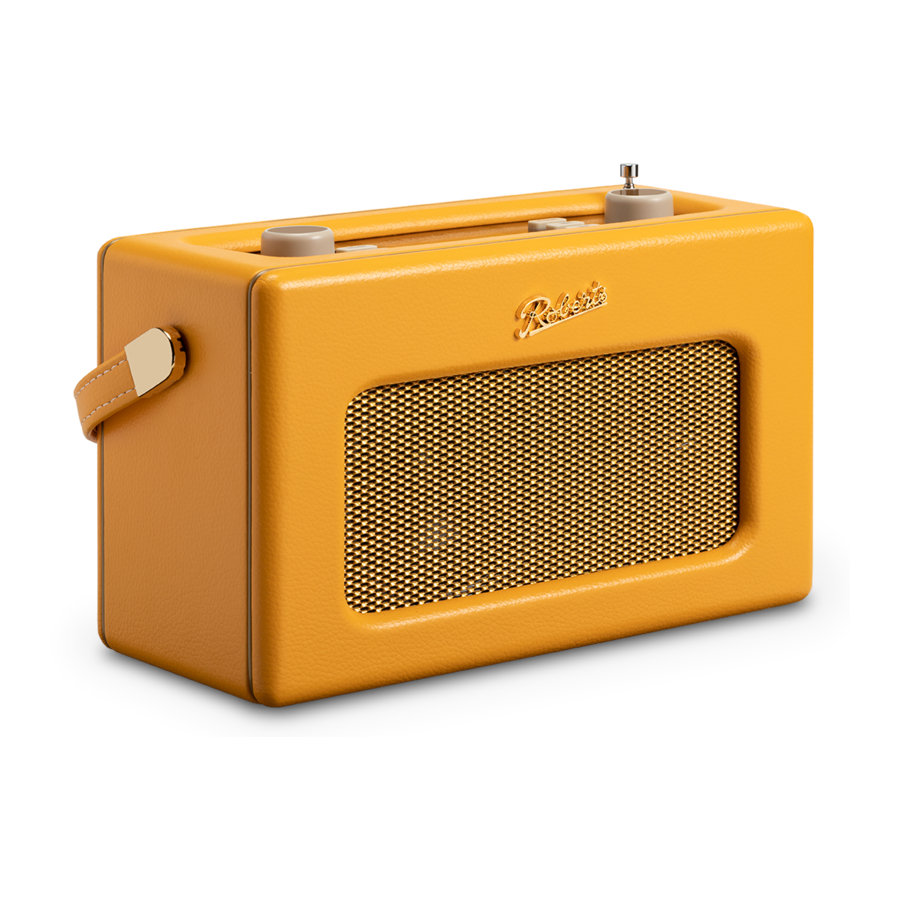
Roberts iStream 3L - Smart Radio With Bluetooth and USB Manual
- Manual (8 pages)
Advertisement
What is in the Box?
Smart radio, mains adaptor, quick start guide, safety/warranty and streaming service leaflet. Please visit www.robertsradio.com if you wish to download the full user guide.
Features
- DAB / DAB+ / FM and WiFi internet radio with colour display and built-in battery charging
- Stream using Spotify Connect, Deezer and Amazon Prime music (Third-party streaming services may require a subscription)
- Bluetooth audio streaming from iPhone or Smartphone
- MP3 playback via USB
- Full control via the UNDOK smartphone app (for Apple iOS and Android)
- 60 presets (40 x Internet Radio/Podcast, 10 x DAB, 10 x FM)
- Wireless connection (Dual-band WiFi, 802.11b/g/n/a)
- 6 equaliser profiles and separate bass and treble
- 2 alarm timers (DAB/FM/Internet or buzzer)
- USB charging of smartphone, tablet or similar devices
- AC adaptor included / Batteries 6 x LR6/AA size or rechargeable equivalent (not included)
- Stereo auxiliary input, line out and headphone sockets
Controls

- Charge / Low battery indicator
- On/Off / Volume control
- Headphone socket
- Auxiliary input socket
- USB playback / Charge socket
- Mode / Bluetooth pair button
- Menu button
- Info button
- LCD display
- Preset / Play / Pause button
- Previous button
- Next button
- Alarm / Sleep button
- Telescopic aerial
- Tuning / Select / Snooze control
- Bluetooth indicator
- Loudspeaker
- WiFi antenna (internal)
- DC input socket
- Line output socket
- Battery compartment
- Battery charge switch (inside compartment)
STEP 1 - Connect to the mains & setup your smart radio
Before you can use your smart radio you must have the following:
- A broadband internet connection (not required for DAB, FM or music player functions).
- A router (or wireless access point) providing a WiFi signal, connected to your broadband internet service provider.
- A Smartphone or tablet which uses the Android operating system (version 4.0.3 or later) or Apple iOS (version 9 or later).
- If your wireless network requires a security password, then you will need to have this available during setup. The radios WiFi system is compatible with 802.11b, g, n or a networks and can use 2.4GHz or 5 GHz WiFi frequency bands.

Before you continue, make sure your router is powered up and working with your broadband internet service provider.
- Connect to the mains
Please read the safety leaflet provided before connecting your radio to the mains.
- Place your radio on a flat surface.
- Plug the cable from the mains adaptor into the DC input socket.
![]()
- Plug the mains adaptor into a wall socket and switch on the socket.
- The display on the radio will show a start up screen for a few seconds. If this is the first time that you use your radio (or after a Factory Reset) the display will show the language menu.

- Setup using the radio or the UNDOK app
Your radio may be configured using either the display and buttons on the radio or using the UNDOK app. First-time users are recommended to use the radio's controls.

- If you wish to use UNDOK to setup your radio, skip to step F now.
- If you would like to setup your radio using the radio's controls follow the setup procedure below and choose the desired language.
- Select language
By default your radio will display all menus and messages in English.

- Rotate the Tuning/Select control to highlight the desired language.
- Press the Tuning/Select control to enter the selection.
- Your radio will display a privacy policy. Please read the privacy policy and then press the Tuning/Select control to accept the policy.
- Select clock and time settings
![]()

- The radio will show a setup wizard. With 'YES' highlighted press the Tuning/Select control to begin setting up your radio.
- Note: If you wish to go back within a menu or if you make an error at any time, please use the Menu button.
- Choose either the 12 or 24 hour clock display.
- A menu allowing you to specify the auto-update option for the clock will be shown. Update from network will be the best for most users.
- Choose the timezone for your region.
- Choose a daylight saving option. This is also known as Summer/ Winter time (or BST/GMT in the UK).
- Connect to your network
To listen to internet radio or to stream music, your radio must first be connected to your network.

- Choose 'YES' to keep the radio connected to the network when in Standby. This will allow remote control software to switch on your radio when needed.
- A list of the available WiFi networks will then be displayed. If no networks are found then your radio may be too far from your router.
- Rotate the Tuning control to navigate the list of available networks and highlight your own Network Name. If your Network Name is not found, then you may have to get your wireless router working or your radio may be too far from the router.
- If your Network Name (sometimes called SSID) is displayed with "[WPS]" (WiFi Protected Setup), then press the Tuning control and a WPS menu will be displayed, otherwise press the Tuning control and proceed to step 6.
- Choose one of the WPS menu options as required for your router (WPS may be via push button, or using an identification number):
'Push Button' - the display prompts you to press the WPS button on your router and then the Tuning control on the radio. The two devices should then connect automatically. Proceed to step 9.
'PIN' - the display shows an identification number which you must enter into your router using a web browser (refer to your router's user documentation). You should then press the Tuning control on the radio. Proceed to step 9.
'Skip WPS' – if you wish to enter your password or if your password was previously entered. - If you are prompted to enter a password (or key), enter each character by rotating the Tuning control to highlight it, then pressing the Tuning control. If you are not prompted for a password then proceed to step 9.
- The three controls on the right-hand side of the password key screen have special functions. You can quickly access these by pressing the Info button and then using the Tuning control as needed.
Select 'OK' - When the complete password has been entered.
Select 'BKSP' - Select to erase a character (long press to clear).
Select 'CANCEL' - To cancel and re-run the Network Wizard. - After the final character of the password has been entered, highlight the 'OK' symbol and press the Tuning control.
- The screen will show 'Connecting..' and then 'Setup wizard completed'. Press the Tuning control to exit the setup wizard. The radio should now be able to connect to the network. Your radio will display the Main mode menu.
- For details on navigation and operation of your smart radio, please see overleaf.
- Use the UNDOK app to setup your radio
- If you wish to setup your radio using the UNDOK app download and install the UNDOK app on to your Android or iOS device.
![]()
![www.apple.com]()
![play.google.com]()
- Follow the on-screen instructions or see the full user guide on-line.


- If you already have the UNDOK app installed on your device ensure that you have the latest version.
STEP 2 - Navigating your smart radio
In this guide the symbol ** indicates that further details are provided in the on-line user guide available from www.robertsradio.com
 | A short press will switch your radio On or to Standby. ** A short press will cancel an active alarm. Rotate to adjust the volume level.  |
 | A short press will access each operating mode in turn. A long press will disconnect a Bluetooth device when in Bluetooth mode. |
 | A short press will access the current menu system. Press the Menu button to go back to a higher level menu or if an error is made. |
 | Rotate clockwise or anti-clockwise to scroll menu items. A short press on Tuning/Select will select highlighted menu items. A short press on Tuning/Select will access snooze when an alarm sounds.** |
 | A short press will display information relating to the music being played. A long press will access the brightness settings. |
 | A short press will change alarm status when the unit is in standby. ** A long press will access alarm settings when the unit is in standby. ** A short press will access alarm settings when the unit is playing. ** A long press will access the sleep timer when the unit is playing. ** |
Preset radio stations

Your radio has 40 memory presets for Internet Radio / Podcasts, 10 DAB and 10 for FM which can easily be set to store a radio station or (for internet radio a podcast).**
- Tune to the required radio station. Apply a long press on the Preset button 'Save to Preset' will be displayed. Use the Tuning control to scroll to an unused preset or a preset you wish to change. Press Tuning to store.
- To recall a preset station, choose internet, Podcast, DAB or FM mode. Give a short press on the Preset button 'Recall from Preset' will be displayed. Use the Tuning control
STEP 3 - Operating your smart radio
Select music mode

- Switch on your radio.
- Pressing Mode gives you access to each of the operating modes in turn.
- Alternatively press Mode and rotate the Tuning control clockwise or anti-clockwise to highlight the desired menu item and then press the select control to select that item.
- Press Menu to access the full menu for the current operating mode.
Internet radio - Listen to internet radio
Podcasts - Listen to Podcasts
DAB radio - Listen to DAB radio
FM radio - Listen to FM radio
Auxiliary input - Connect to other devices
Spotify - Play music from Spotify
Amazon Music - Play music from Amazon Music
Deezer - Play music from Deezer
Bluetooth - Stream music using your smart device
USB - Play music from USB memory device
System settings
You can access your radios 'System settings' from the current menu. The system settings include Equaliser, Streaming audio quality, Network, Time/Date, Brightness, Inactive Standby, Language, Factory reset, Software update, Setup wizard, Info and privacy policy. **
System reset
If you wish to completely reset your radio to its initial state perform a factory reset. Press Menu. Choose 'System settings', 'Factory reset' then 'YES'. All user entered settings will be erased.
Play Internet, DAB or FM radio
Internet - You can search for a radio station or podcast by location, genre or by the station name. You can also store preset stations or add a station to your favourites list. **
DAB - Carefully, extend the telescopic aerial. A scan of the Band III DAB channels will be carried out. Rotate the Tuning control to access the full station list. Press the Tuning control to select the highlighted radio station. **
FM - Extend the telescopic aerial. Rotate the Tuning control clockwise or anti-clockwise and then press the Tuning control to scan low to high or high to low frequency. **
USB
Stream your music collection from a USB memory device.
- Choose 'USB playback' to playback a USB memory device. The USB socket can also be used to charge your smartphone, tablet or similar devices. **
Bluetooth
- Ensure Bluetooth is enabled on your smart device.
- Press Mode to select Bluetooth mode on your radio.
- The Bluetooth indicator will flash blue and your radio will show that it is 'discoverable'. On your smart device select 'iStream 3L'. Once the connection is established the indicator will remain steady. You may now play your music.
- To connect a different device apply a long press on the Mode / Bluetooth Pair button. Your radio will become discoverable by other devices. **
Media playback controls
Control media playback using the play/pause, previous and next buttons. Note: These features are dependent on the music being played and will not always be available. **

Other information
Battery operation
Please read the safety leaflet provided before using batteries.
Battery operation (Alkaline) **
- Slide the battery cover located underneath the unit in the direction of the arrow and lift upwards.
![]()
- Slide the switch inside the battery compartment to the Alkaline position (as shown) and insert six LR6 (AA size) alkaline batteries. Take care to ensure all batteries are inserted with the correct polarity as shown on the battery compartment cover. Then replace the battery cover.
![]()
when using alkaline batteries the battery switch must be placed in the alkaline position. Failure to do so could result in serious damage to the batteries or radio.

If no batteries are fitted then set the switch to the Alkaline position. This minimises the power consumption when the radio is powered from the mains.
Battery operation (Rechargeable) **
- Slide the switch inside the battery compartment to the NiMH position (as shown).
![]()
- Insert six identical Rechargeable LR6 (AA size) batteries. Then replace the cover. The radio is designed to be used with Nickel Metal Hydride (NiMH) rechargeable batteries. No other type of rechargeable battery should be used in the radio.
- Plug the mains adaptor into your radio and then plug the adaptor into the mains. The battery indicator will flash green indicating the batteries are charging. The display will show the status of battery charging
![]() . The batteries will be fully charged in 5 - 7 hours. Under some conditions the charging indicator may switch off after flashing only briefly. This may happen if the batteries are already freshly charged, or if the radio detects that you may be attempting to recharge alkaline batteries. In these cases the charging will be stopped.
. The batteries will be fully charged in 5 - 7 hours. Under some conditions the charging indicator may switch off after flashing only briefly. This may happen if the batteries are already freshly charged, or if the radio detects that you may be attempting to recharge alkaline batteries. In these cases the charging will be stopped. - When charging is completed the charging indicator will show a steady green and a green 'Battery Full' indicator will be displayed. If the charge process stops after a short while this may be due to a faulty battery. In this case the charging indicator will show red and a red 'Battery Fail' indicator will be displayed. You can then press the Info button to show the individual battery status. The faulty battery will be marked with a red cross.

Note: Never mix alkaline and rechargeable batteries.
Note: You should never attempt to recharge alkaline batteries in the radio. Attempted recharging of alkaline batteries can be dangerous.
![]()
when using rechargeable batteries the battery switch must be placed in the NiMH position. Batteries will only be charged when the radio is switched off and connected to the AC adaptor.- When the batteries are exhausted, the low battery indicator will show red for a short while. The radio will then switch itself off. It may not be possible to switch the radio back on until the batteries are recharged, or until the radio is connected to the mains adaptor.
- If the radio is not to be used for any extended period of time it is recommended that the batteries are removed from the radio.
For further details on the use of rechargeable batteries please see full user guide on-line.

Replace batteries only with the same or equivalent type. Danger of explosion if the batteries are incorrectly replaced.
Specifications
Power requirements
Mains (adaptor): 100 - 240V  50/60Hz
Batteries
6 x LR6 (AA size) Alkaline or NiMH rechargeable (not included)
Battery life
Between 8 and 10 hours using alkaline cells **
Connectivity
WiFi 802.11 b, g, n or a supported with WEP and WPA / WPA2 encryption Compatible with 2.4 GHz and 5 GHz WiFi bands.
5 GHz Wi-Fi function: 5150 - 5350MHz, 5470 - 5725MHz and 5725 - 5875MHz

VideosRoberts Radio iStream 3L Setup and Walkthrough Video
Documents / Resources
References
Download manual
Here you can download full pdf version of manual, it may contain additional safety instructions, warranty information, FCC rules, etc.
Download Roberts iStream 3L - Smart Radio With Bluetooth and USB Manual
Advertisement


Need help?
Do you have a question about the iStream 3L and is the answer not in the manual?
Questions and answers