Sony clie PEG-SL10 Operating Instructions Manual
Hide thumbs
Also See for clie PEG-SL10:
- Operating instructions manual (222 pages) ,
- Specifications (1 page) ,
- Application manual (80 pages)
Table of Contents
Advertisement
Quick Links
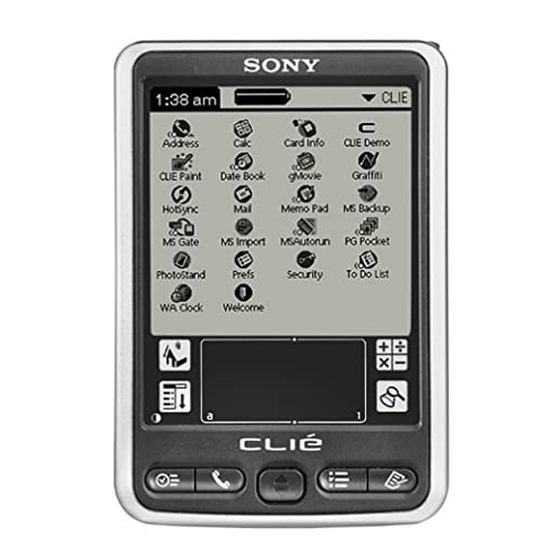
Operat ing
Inst ruct ions
Personal Ent ert ainm ent Organizer
PEG-SL10/ PEG-SJ20/ PEG-SJ30
© 2002 Sony Corporation
Downloaded from:
https://www.usersmanualguide.com/
A-B8F-100-11(2)
Chapter 1
Basic operations of your
Sony CLIÉ Handheld
Chapter 2
Using basic applications
Chapter 3
Exchanging and updating
®
data using a HotSync
operation
Chapter 4
Communicating using
your Sony CLIÉ Handheld
Chapter 5
Customizing your Sony
CLIÉ Handheld
(Preferences)
Chapter 6
Additional information
Advertisement
Table of Contents


Need help?
Do you have a question about the clie PEG-SL10 and is the answer not in the manual?
Questions and answers