
Related Manuals for YOSensi YO People Counter


Summary of Contents for YOSensi YO People Counter
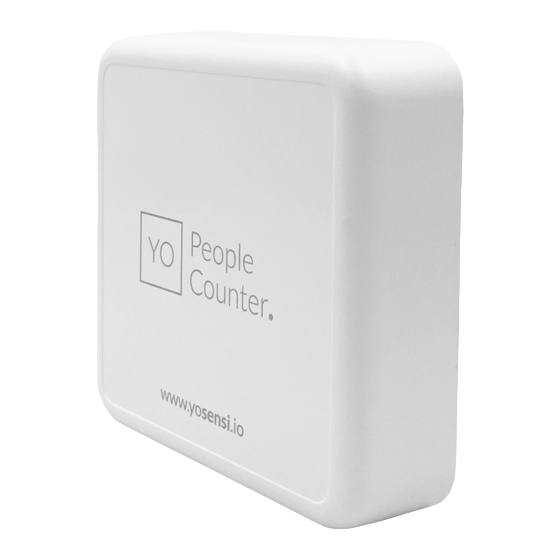
- Page 1 1. Important! Figure 1 shows the direction, this must be taken into account when mounting the device. Figure 1 Opening the enclosure of the device.
- Page 2 2. To open the enclosure, peel off the lower part, as shown in Figure 2. Figure 2 Opening the enclosure of the device.
- Page 3 3. YO People Counter can be powered in via USB-C connector, via power supply 6-30 DC or 5-21 AC. There are two ways to connect the device to the power supply. A. The user must break the centre plastic circle labelled PUSH out of the mounting bracket before installation.
- Page 4 Figure 5 Routing the USB-C cable through the centre hole. B. The second option is routing the wire through the hole in the mounting bracket. You can route the USB-C cable or AC/DC power supply depending on the supply you need. Figure 6 Routing the USB-C cable through the hole in the bottom of the device.
- Page 5 Figure 7 Routing the power supply cable through the hole in the bottom of the device. Figure 8 Bottom view of the device after connecting the supply via the bottom hole.
- Page 6 3. There are two ways to mount the device into a wall. A. Install the bottom part of the enclosure and mount four screws in each corner to the wall. Figure 9 Mounting the device using four screws. B. Fit two mounting screws into the centre of the bottom case. Then, angle the bottom of the enclosure and turn it clockwise.
- Page 7 Figure 11 Mounting the device using two screws after a clockwise turn. Remember to route the supply cable through the centre of the bottom enclosure before mounting it to the ceiling or a wall. 4. Place the upper part of the device enclosure on the bottom part mounted on a wall. Figure 12 Placing the top of the enclosure on the mounting bracket.
Need help?
Do you have a question about the YO People Counter and is the answer not in the manual?
Questions and answers