Planet ICA-80 Series Quick Installation Manual
H.265 smart ir poe ip camera
Hide thumbs
Also See for ICA-80 Series:
- Quick installation manual (12 pages) ,
- Quick installation manual (13 pages)
Advertisement
Quick Links
Advertisement

Subscribe to Our Youtube Channel
Related Manuals for Planet ICA-80 Series


Summary of Contents for Planet ICA-80 Series
- Page 1 H.265 Smart IR PoE IP Camera ICA-x80 series Quick Installation Guide...
-
Page 2: Table Of Contents
Table of Contents 1. Introduction ..................3 2. Package Contents ................. 4 3. Requirements ..................5 4. Starting Web Management ..............6 4.1 Logging in to the ICA-x80 Series ............8 5. Recovering Back to Default Configuration ..........10 Customer Support ..................11... -
Page 3: Introduction
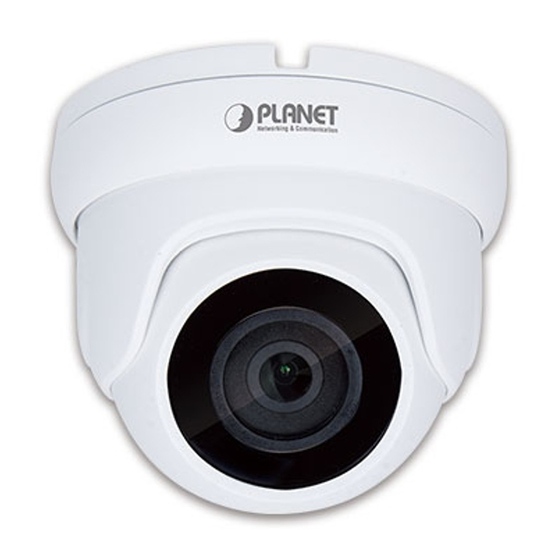
1. Introduction Thank you for purchasing PLANET H.265 Smart IR PoE IP Camera. The “ICA- x80 series” is used as an alternative name in this Quick Installation Guide. The following is the ICA-x80 series: ICA-3280 H.265 1080p Smart IR Bullet IP Camera ICA-4280 H.265 1080p Smart IR Dome IP Camera... -
Page 4: Package Contents
2. Package Contents Open the box of the ICA-x80 series and carefully unpack it. The box should contain the following items: z The IP Camera x 1 z Quick Start QR Code Sheet x 1 z Screw Package x 1 z Waterproof Connector Package x 1 z Drill Template x 1 If any item is found missing or damaged, please contact your local reseller for... -
Page 5: Requirements
3. Requirements z Workstations running Windows XP/2003/2008/Vista/7/8/10/11, MAC OS X or later, Linux, UNIX, or other platforms are compatible with TCP/IP protocols. z Workstations are installed with Ethernet NIC (Network Interface Card). z One IEEE 802.3at PoE switch (Supply power to the ICA-x80 series) z Ethernet Port Connection ... -
Page 6: Starting Web Management
4. Starting Web Management The following shows how to start up the Web Management of the ICA-x80 series. Note the ICA-x80 series is configured through an Ethernet connection. Please make sure the manager PC must be set to the same IP subnet address. - Page 7 For example, the ICA-x80 series default network type is DHCP Client; to search the current IP address of the ICA-x80 series, follow the procedure below: 1. Download the “PLANET Search Tools” utility from the following PLANET website link: http://www.planet.com.tw/en/support/downloads?method=key word&keyword=PLANET+Search+Tools&view=6#list 2.
-
Page 8: Logging In To The Ica-X80 Series
4.1 Logging in to the ICA-x80 Series 1. When the following dialog box appears, please enter the default user name and password “admin”. The login screen in Figure 4-3 appears. Default Username: admin Default Password: admin Figure 4-3: ICA-x80 series Web Login Screen The following web screen based on ICA-3480F will be the same as that of ICA-x80 series. - Page 9 2. After entering the username and password, the main screen appears as Figure 4-4 shows. Figure 4-4: Web Main Screen of ICA-x80 series Now, you can use the Web management interface to continue the ICA-x80 series management. Please refer to the user’s manual for more.
-
Page 10: Recovering Back To Default Configuration
5. Recovering Back to Default Configuration IP Address has been changed or admin password has been forgotten – To reset the network type to the default “DHCP Client” with IP address “192.168.0.20” or reset the login password to default value, press the hardware-based reset button for about 10 seconds. After the ICA-x80 series is rebooted, you can log in the management Web interface within the factory default mode. -
Page 11: Customer Support
Customer Support Thank you for purchasing PLANET products. You can browse our online FAQ resource and User’s Manual on PLANET Web site first to check if it could solve your issue. If you need more support information, please contact PLANET support team.
Need help?
Do you have a question about the ICA-80 Series and is the answer not in the manual?
Questions and answers