Enel X JuicePump Operating Manual
Hide thumbs
Also See for JuicePump:
- Installation manual (35 pages) ,
- User & installation manual (20 pages) ,
- Manual (16 pages)

Related Manuals for Enel X JuicePump


Summary of Contents for Enel X JuicePump
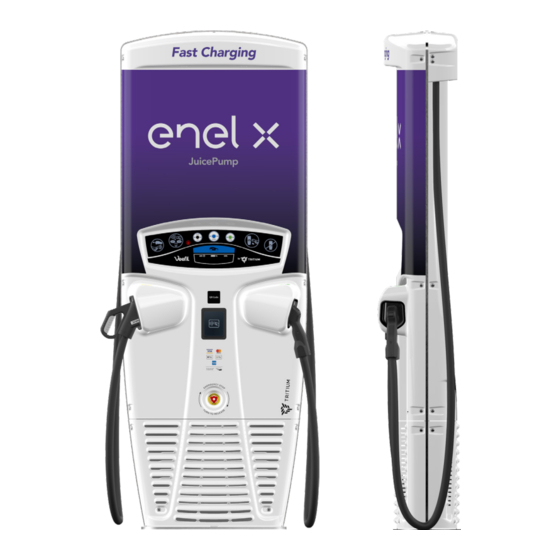
- Page 1 Operating Manual TRI125-175-S (USA) 175 kW DC www.enelx.com Phone: +1-844-584-2329...
- Page 2 This page intentionally left blank.
-
Page 3: Table Of Contents
Contents Important safety instructions.....................1 Operating instructions........................2 Operating instructions: Post-authentication................3 Operating instructions: Pre-authentication................6 Troubleshooting..........................9 www.enelx.com Phone: +1-844-584-2329 TRI125.INS.034.3 - 30 April 2021... -
Page 4: Important Safety Instructions
Important safety instructions SAVE THESE INSTRUCTIONS This manual contains information on how For assistance with operation of the to operate the JuicePump electric vehicle charger, contact the charger operator or fast charger model: Enel X Customer Support. TRI125-175-01, 175 kW DC... -
Page 5: Operating Instructions
Operating instructions Activation security Charging your car with the JuicePump is safe, secure, and easy to do with industry-standard plugs and a simple The JuicePump is designed to activate interface that guides you through the and secure your individual charging charging process. -
Page 6: Operating Instructions: Post-Authentication
When the plug is connected to the car, the plug icon shows a tick. For the purpose of this manual the JuicePump interface panel ACTIVATION icon includes app and SMS. 3. Communication If these icons are not shown on your model, they are not available for use. - Page 7 Operating instructions: Post-authentication 4. Authentication 5. Charge session The charger requests payment authen- The charger starts the charge session. tication. The plug icon is ticked, and the pay icon is highlighted. The charge session starts success- fully. The active session and the ar- Swipe your bank or RFID card over the row for the stop button are displayed.
- Page 8 Operating instructions: Post-authentication 5. Complete charge After 30 seconds of dispensing energy, the charger locks. The active session, and The charge session is automatically the unlock icon are displayed. terminated when the maximum charge level of the electric vehicle is reached. To terminate the session at an earlier point, use the button that is aligned with the stop icon.
-
Page 9: Operating Instructions: Pre-Authentication
Swipe your bank or RFID card over the payment terminal. The charger processes the payment. For the purpose of this manual the JuicePump interface panel ACTIVATION icon includes app and SMS. If these icons are not shown on your On successful payment, the pay icon model, they are not available for use. - Page 10 Operating Instructions: Pre authentication 5. Charge session 3. Connect plug to car The following screen displays when the The charger starts the charge session. unit is available for use, and the plug icon is highlighted. The charge session starts successfully. The active session and the 4.
- Page 11 Operating instructions: Pre-authentication Swipe your bank or RFID card over the 6. Return plug to car payment terminal to unlock the session. The charger detects the plug and the return plug icon shows a tick. The charge session unlocks. The active session and the arrow for the stop button are displayed.
-
Page 12: Troubleshooting
Troubleshooting 1. Communication failed 3. Invalid card Possible communication failure between Possible reasons: • charger and vehicle. Invalid bank card or payment provider • Payment declined • This session failed to start. No price settings in terminal configuration • Return the plug to the charger and try RFID not enabled/network not again.
Need help?
Do you have a question about the JuicePump and is the answer not in the manual?
Questions and answers