
Related Manuals for highmore HM-GD007-001


Summary of Contents for highmore HM-GD007-001
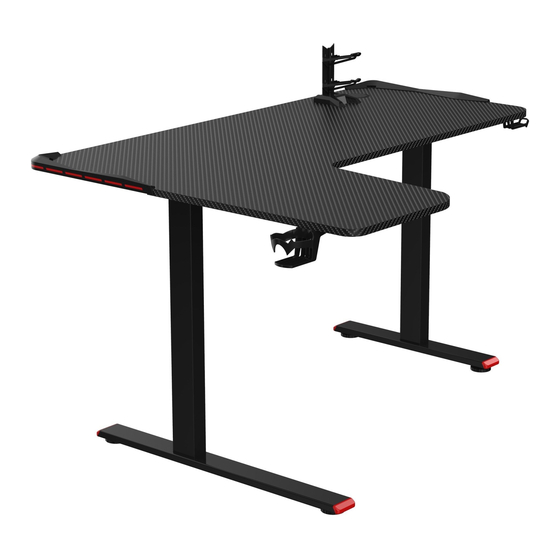
- Page 1 Faze Fixed L Shape Gaming Desk Assembly Instruc�ons Product Ref-HM-GD007-001 Imported By: Forward Industries, 33401. U.S.A Issue 1 - 09/09/21...
- Page 2 Rated voltage of the light strip: 5V Rated current of the light strip: 1.5A Ba�ery Type for Remote: AAA Ba�ery...
- Page 3 Table Top(return) Qty 1 Table Top(main) Qty 1 (41.7*19.9*0.7") (35.2*23.6*0.7") Table Top Connector Return Table Top Return Table Top Plate Qty 2 Support Qty 1 Support Qty 1 (2.0*2.0*0.05") (33.6*4.9*1.2") (5.3*4.9*1.2") Main Table Top Support Frame Leg Qty 2 Support Qty 1 Connector Qty 2 (28.3*4.7*2.0") (23.0*15.7*1.2")
- Page 4 Foot(long) Qty 1 Foot(short) Qty 1 Stand Qty 1 (32.4*2.8*0.8") (22.7*2.8*0.8") (4.1*4.4*6.1") Cup Holder Qty 1 Headphone Hook LED Light Strip(le�) Qty 1 Qty 1 (5.8*3.8*2.8") (4.4*1.2*2.2") (17.8*4.7*1.4") LED Light Strip(right) Cable Cover Qty 1 Foot Pad Qty 4 Qty 1 (φ2.4") (φ2.4*1.0") (17.8*4.7*1.4")
- Page 5 3M Cable Clip Qty 6 St4.2 Screw Qty 18 (St4.2*0.51") M8 Screw Qty 2 (M8*1.38") (11.81*4.33*4.33”) 5x5 Allen key(with cross) Qty 1 M8 Screw Qty 20 (M8*0.79") M6 Screw Qty 15 (M6*1.57") (0.2*0.2*3.15”) Wooden Dowel Qty 2 (φ0.31*1.18")
- Page 6 STEP 1 Locate wood dowels into the holes in the edge of main table top Connect the return table and main table together. Locate and secure table top connec�ng plates using fixings Back St4.2 Screw Qty 8 Underside Front 5x5 Qty 1 SHOWN UPSIDE DOWN Wooden Dowel Qty 2 STEP 2...
- Page 7 STEP 3 a. Assemble the return table top supports together using screws b. Locate return table top support assembly over the ends of the support frame connectors . Secure using screws Secure the return table top supports to the underside of the return table top using screws Back...
- Page 8 STEP 5 A�ach long foot below the return Long table top using screws Repeat to assemble short Short foot to the leg below the main table top. Screw adjustable feet into the underside of feet Back M8 Screw Qty 8 Front SHOWN UPSIDE DOWN 5x5 Qty 1...
- Page 9 STEP 7 With help, turn the desk into the standing posi�on. Warning the desk is heavy, li� with care. Assemble LED lights to the corners of the desk top using fixings Carefully route the cables as required using cable clips 3M Cable Clip Qty 6 St4.2 Screw Qty 4 5x5 Qty 1...
- Page 10 STEP 8 Assemble stand place it on the desk top. Locate cable hole cover into posi�on on STEP 9 Assembly is complete...
-
Page 11: Remote Control Instructions
Remote Control Instructions * Ba�ery Type for Remote: AAA Ba�ery Remote Pairing Connect the light strip and the USB connec�ng cable but do not power on. Press and hold the remote "ON" bu�on then power on the light strip. A�er connec�ng the power supply(Input Voltage: DC5V), keep pressing and holding the "ON"... - Page 12 If you have ques�ons regarding the opera�on of your purchase, or in the unlikely event you need to return the unit because it is faulty or is no longer wanted, please contact our product returns department at customerservice@forwardindustries.com, or 561-465-0030, Op�on 0. Address: Forward Industries, 105 South Narcissus Avenue Suite 412, West Palm Beach, FL 33401 Certification...
Need help?
Do you have a question about the HM-GD007-001 and is the answer not in the manual?
Questions and answers