Advertisement
Quick Links
Advertisement

Related Manuals for highmore Aggro HM-GD009-001


Summary of Contents for highmore Aggro HM-GD009-001
- Page 1 Issue 1 - 30/09/21...
- Page 2 1. The maximum weight that can be placed on this product is 176.4lbs. 2. This product must not be used as a seat. 3. Check carefully to ensure correct and complete assembly before using. 4. Don’t allow children to play near the chair as their behaviour is unpredictable. The manufacturer or importer is not responsible for loss, injury, or damage due to improper actions or use.
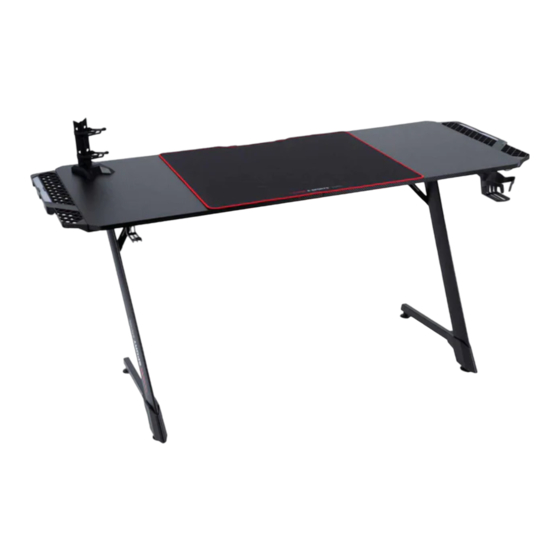
- Page 3 Support A Qty 2 Support B Qty 2 Table leg Qty 2 Rear brace Table top (27.16x1.06x1.1") (27.16x1.06x1.1") (20.86x0.98x28.11") Qty 1 Pair connecting plate (7.87x1.97") Qty 2 (3.15x1.18") UNDERSIDE UNDERSIDE Table top (Left) Qty 1 Table top (Right) Qty 1 Cable management Leg cover Qty 2 (27.56x23.62x0.59”)
- Page 4 Screw Height adjustable foot Allen key Qty 1 M8x8.26" Qty 16 M8x1.96" Qty 10 Qty 4 Screw M4x6.29" Qty 56 Phone holder Qty 7 Pen holder Qty 1 Cable tie Qty 5 LED cable Qty 1...
- Page 5 STEP 1 Assemble supports secure using fixings Screw Allen key Qty 1 M8x8.26" Qty 4 M8x1.96" Qty 2 STEP 2 Assemble supports in between legs using screws Front Screws need to be checked and tightened again after assembly is completed. Back Screw Allen key Qty 1...
- Page 6 STEP 3 Assemble rear braces the positions shown,at the back of the desk. Secure using fixings Front Tighten all screws. Back Screw Allen key Qty 1 M8x8.26" Qty 4 M8x1.96" Qty 2 STEP 4 With help, carefully place desk top upside down onto a clean, flat, protected surface.
- Page 7 STEP 5 Assemble the two parts of cup holder together as shown. Assemble cup holder headphone hook to the underside of desk top using screws Screw height adjustable feet into the underside of legs Back Front Shown Upside Down Height adjustable Screw Allen key Qty 1 foot Qty 4...
- Page 8 STEP 7 Assemble cable management brackets to the back of desk top using screws Front Back Back Screw Allen key Qty 1 M4x6.29" Qty 6 STEP 8 Assemble cable management box between cable management brackets using screws Front Back Screw Allen key Qty 1 M4x6.29"...
- Page 9 STEP 9 With help, carefully turn the desk over into the standing position. Warning! The desk is heavy. Lift with care. Clip leg covers to legs as shown.
- Page 10 STEP 10 Assemble LED side extensions each side of the desk top using screws Connect cable in between LED side extensions as show. Use cable tie to support cable Stick decals legs as shown. Place Mouse Pad into position. Back Screw Allen key Qty 1 M4x6.29"...
- Page 11 STEP 11 Locate Phone Holders and Pen Holder required. Button M (means Mode) Press M once to turn RGB light on Press M twice to enter special volume control mode Press M three times to turn RGB light off Button C (means Colour switch) Press C to scroll through light colour options Phone holder Qty 7...
Need help?
Do you have a question about the Aggro HM-GD009-001 and is the answer not in the manual?
Questions and answers